Creating Jobs
Job extents must be created to include the features that need to be edited.
You can define the extents for a new job in one of three modes:
| Icon | Mode | Description |
|---|---|---|
|
|
Digitise an extent |
Draw a polygon on the map around the feature(s) you want to include in the job extent. The polygon must consists of at least three vertices, must not self-intersect, and can not contain duplicate points. |
|
|
Define a bounding box | Specify the co-ordinates of the job extent. |
|
|
Use a feature on the map | Select one or more polygon features from the selectable layers on the map to combine and buffer to create the job extent. |
Note:
![]() Define a Job Extent using a Map Feature
Define a Job Extent using a Map Feature
Specifying Job Metadata
Once you have defined the extent of a job you have options when defining the Job metadata in the Job Data Panel (see Job Data Panel for more information):
- You can manually fill in the mandatory fields and appropriate optional fields.
-
You can copy the job metadata for the last created job from your current browser by selecting the Reuse last attributes button
 . This can make it easier to create similar jobs in sequence. You will be prompted if copying the metadata will overwrite any values you have already specified manually.
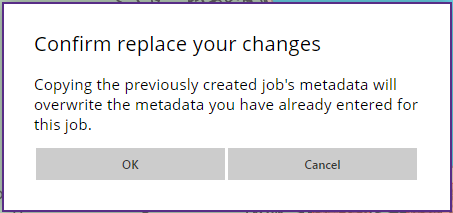
The prompt that will appear if metadata is to be overwritten