Permissions
The Permissions section allows Users with the User Manager and/or System Manager Roles to manage and monitor Access Groups.
All Users have access to the following Permissions by default:
-
See Assignments
-
Start Submissions
-
See personal Dashboard
-
Edit own profile
-
Generate Personal API Keys
Additional Permissions can be granted by Access Groups which contain one or more Roles.
Roles
Roles are groups of permissions that cover a set of related 1Data Gateway features. The System Manager and User Manager Roles give a User the permissions to create Access Groups from one or more Roles and assign members to their required Access Group(s).
 Role Permissions
The table below shows all Roles and the permissions that they grant.
|
Permission |
Data Viewer |
Project Manager |
User Manager |
System Manager |
ArcGIS Pro Add-In |
|---|---|---|---|---|---|
|
Interact with 1DG via |
|
|
|
||
|
View all Submissions |
|
|
|
|
|
|
See global |

|
|
|
|
|
|
Manage Access |
|
|
|
|
|
|
Manage Projects and |
|
|
|
||
|
Export/Import projects |
|
|
|
||
|
Manage users |
|
|
|
||
|
Manage suppliers |
|
|
|
||
|
Manage user |
|
|
|
||
|
Generate API Keys for other users |
|
|
|
||
|
Generate Activation and |
|
|
|
||
|
User import |
|
|
|
|
|
|
System configuration |
|
|
|
|
|
|
Help and support |
|
|
|
|
|
|
* Except for the System Manager Role |
|||||
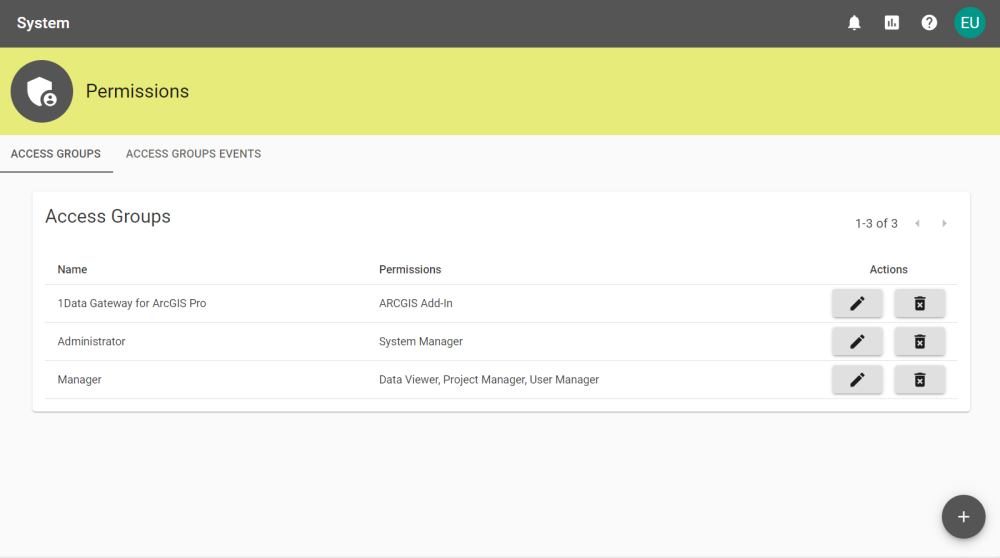
Access Groups
Access Groups are how permissions are granted in 1Data Gateway.
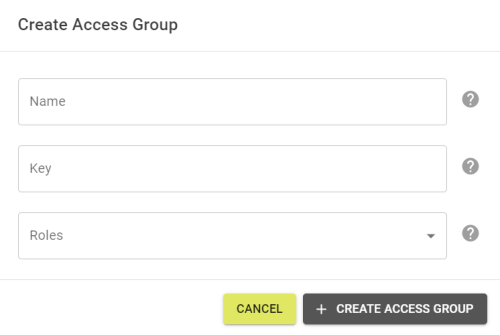
Creating Access Groups
-
To create new Access Groups select the Add button
 on the Access Groups tab.
 -
Add a Name, Key, and select all required Roles from the drop down menu.
-
Click Create Access Group and the Access Group should be created and show a success notification.
-
The Access Group is now created and open the Access Group on its Members tab.
Note: The Key should be unique and auto generates based on the Name. It can be adjusted manually if necessary. The Key cannot be changed after creation.
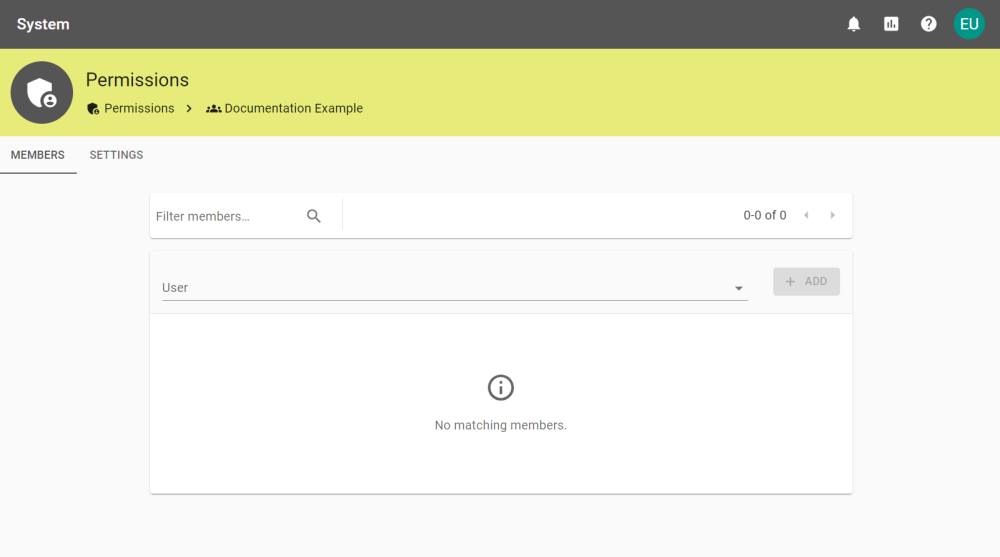
Editing Access Groups
To edit an Access Group select the Edit Access Group button ![]() next to the Access Group.
next to the Access Group.
This opens the Members tab where users can be chosen from the User drop down and added to the Access Group with the Add button ![]() .
.
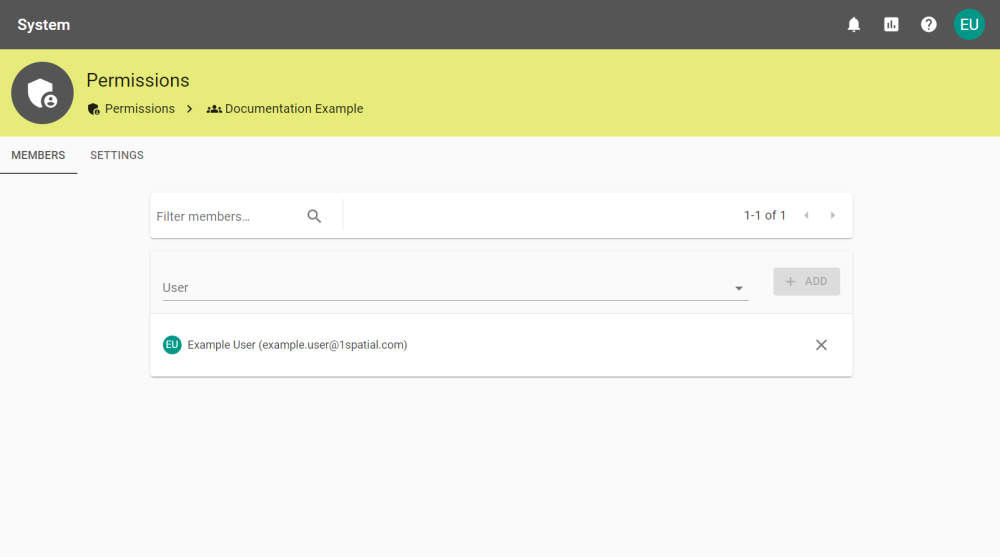
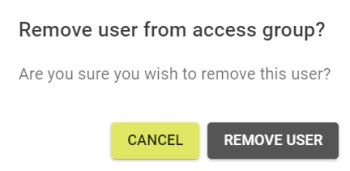
Users can then be removed with the Remove button, and confirming by clicking Remove User.
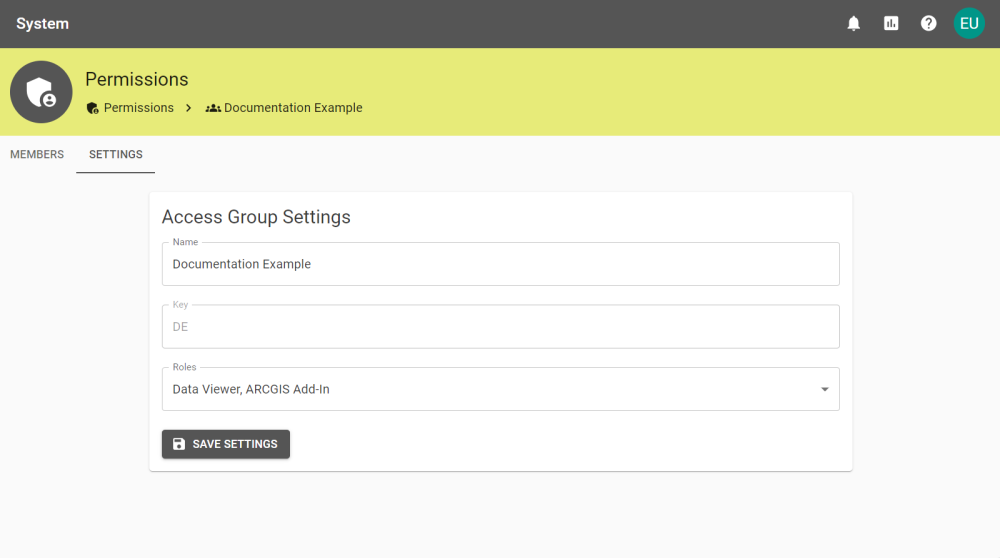
If an Access Groups requires a change to the Name or Roles, it can be edited in the Settings tab and confirmed by clicking Save Settings.
Deleting Access Groups
To delete an Access Group select the Delete Access Group button ![]() .
.
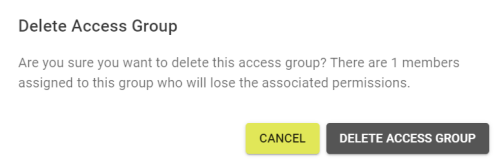
Then click Delete Access Group to remove the Access Group and any permissions granted to members of the group.
Access Groups Events
The Access Groups Events tab shows events with Event Type, Time and Date, and the user involved in any changes to Access Groups.
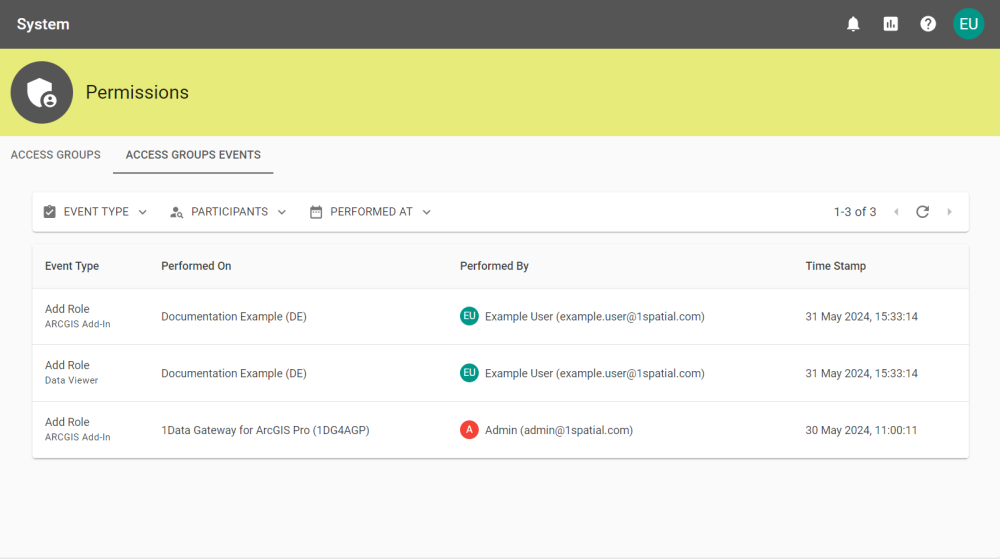
These can be filtered by Event Type, the User who made the change, and by Date.


