Raster Layers
You can use a raster layer to add a raster image background to the map.
There can only be one raster layer in a style; however that raster layer can contain many GeoTiff (.tif ) or JPG (.jpg) files. You can add and remove files from this single layer.
If you pick a GeoTiff file with no header or a JPG on its own then it will be placed it at the current map position (as there is no spatial information associated with it). If you also select the associated raster positioning file (.jpgw, .tifw, or .tfw) then it uses this added spatial information to position the image in the right place.
Note: If you are using raster positioning files (also known as "world" files) they must have the same name as their corresponding raster file (e.g. raster.tif and raster.tifw).
Note: 1Edit does not support the use of GeoTiff header metadata contained as a transformation matrix.
Adding a Raster Layer
To add a raster layer, open the Styles page from the lower app bar and click the Raster Layer button.
![]()
Click Add Raster, then navigate to the file you want to use, select it, and click Open.
Note: If adding a world file alongside your image file, you must select both files at the same time. If using a keyboard, hold Ctrl to use multi-select.
Only GeoTiff files that are in the same SRID as the vector data are shown. Adjust the Opacity if required.
Note: When adding files to the raster layer, they are copied to the project. Any changes made to the raster image (see Transforming Raster Images) are made locally within the project and will not be copied back to the original files.
Note: 1Edit uses the Windows libraries for displaying GeoTIFFs and only some compression
techniques are supported by Windows. When saving the GeoTIFF files, use the JPG
compression technique and the BIP interleaving type to ensure the images can be loaded
by 1Edit.
A good test is to view the image file in Windows Explorer to see if it
can show you a thumbnail. A visible thumbnail means that 1Edit should be able to
display the GeoTIFF.
Transforming Raster Images
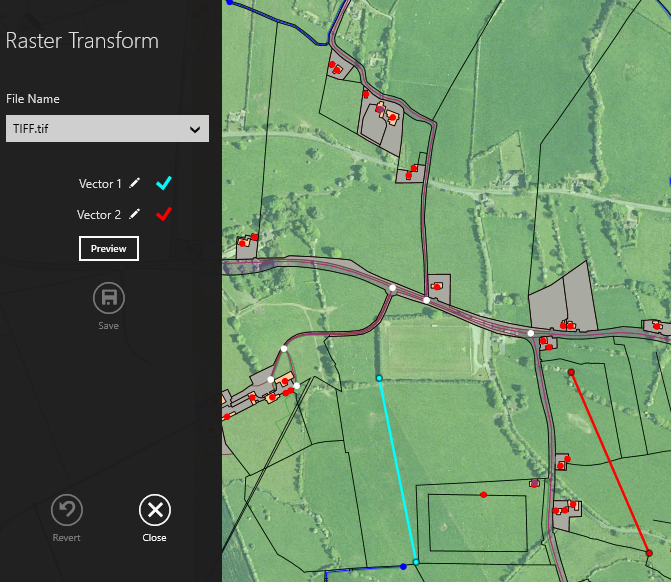
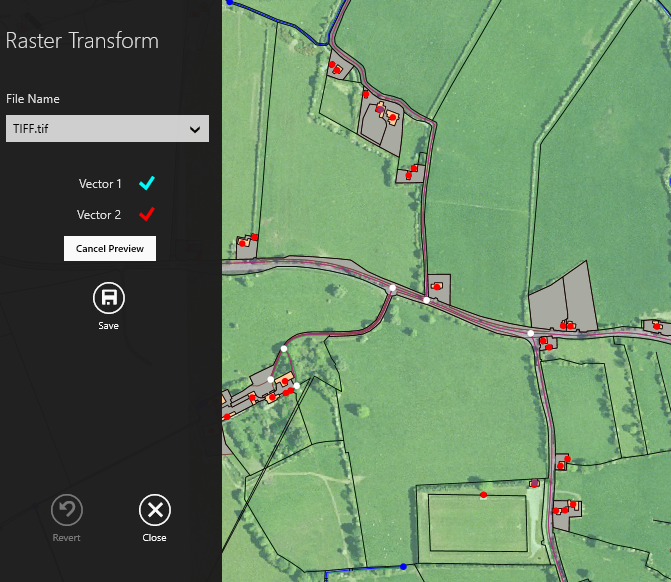
Images within the Raster layer can be transformed (re-positioned) by describing two vectors in Raster Transform mode. The two vectors will apply a uniform scale, shift and rotate to the image.
Note: When in Raster Transform mode, you cannot edit or select data.


