Editing Tools

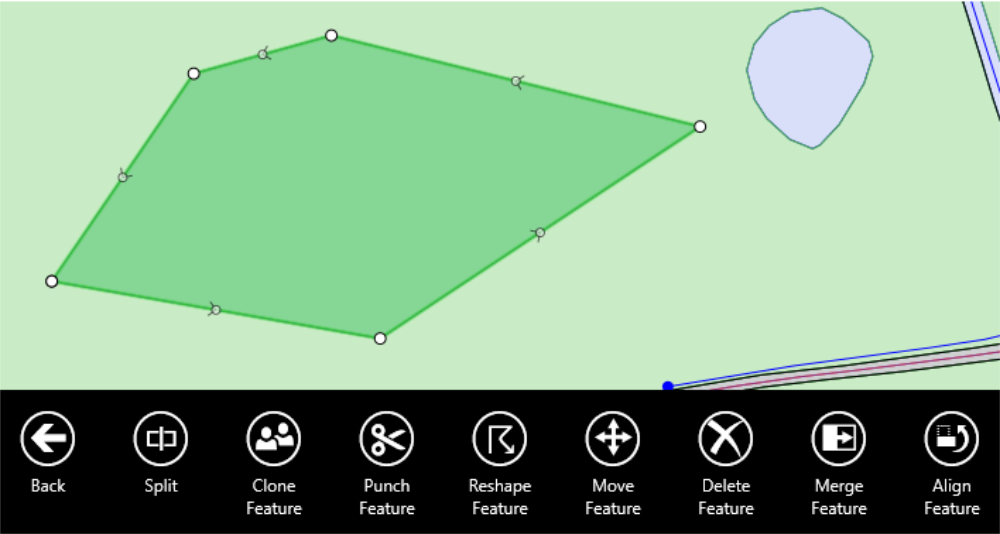
To edit a feature, select it and then select an operation from the Edit menu in the Lower App Bar.

The App Bars are opened by right-clicking with the mouse or swiping up from the bottom on a touch screen. App bar menu options can change depending on the context or feature selected.

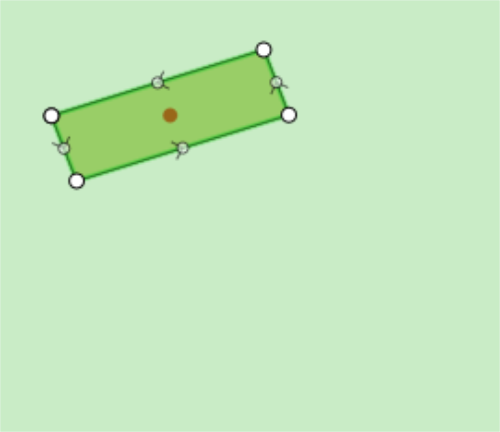
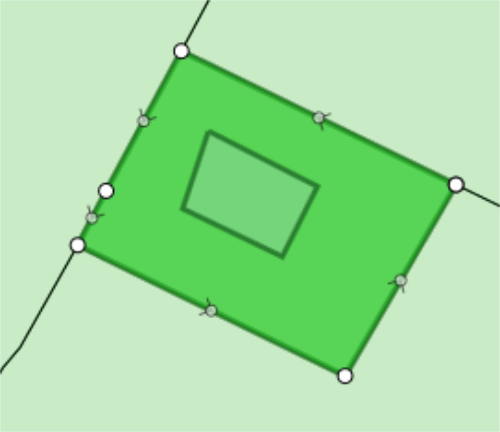
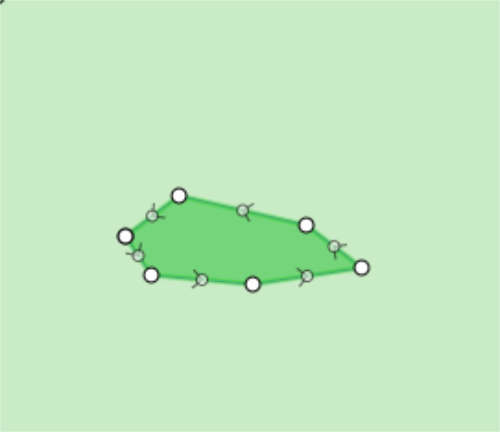
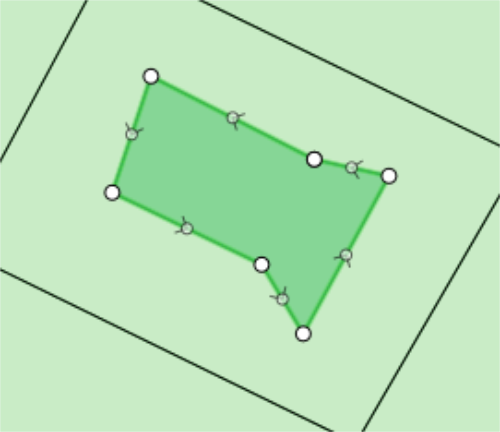
The available operations will depend on the type of geometry you have selected.

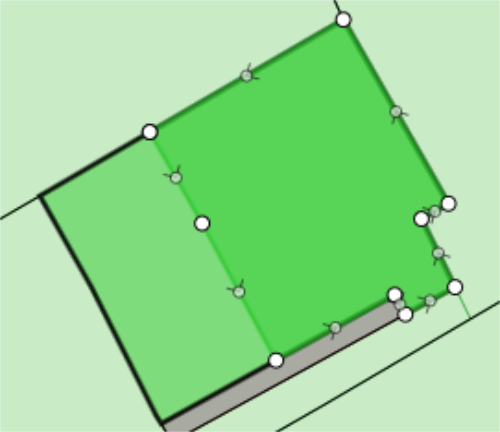
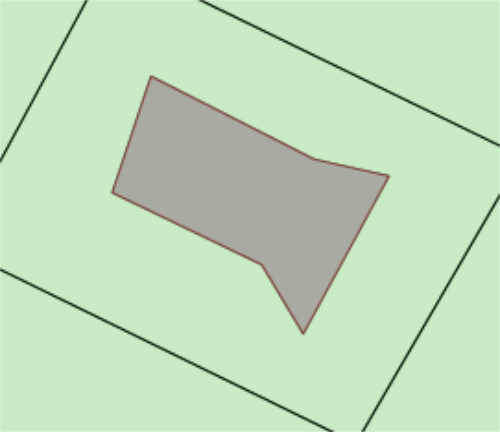
An example of operations available for a polygon

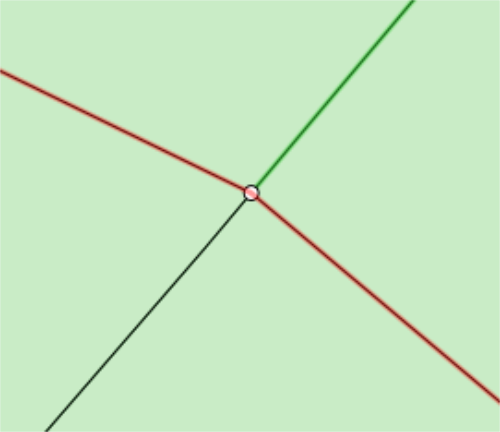
When editing features, the lifecycle of the features can be controlled. For example, when merging polygons, the feature you initially select is the one that is retained and when splitting polygons, the feature that is split becomes the largest of the parts.

For most operations, you can go back a step in the process by using Undo.
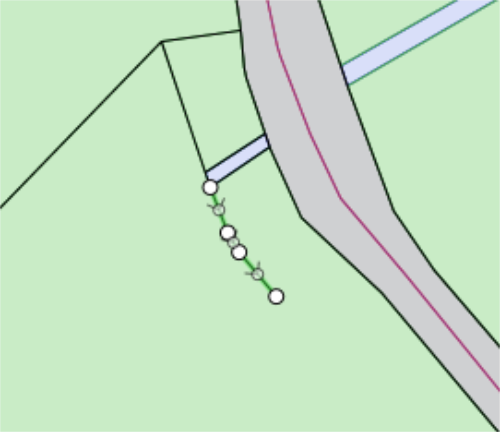
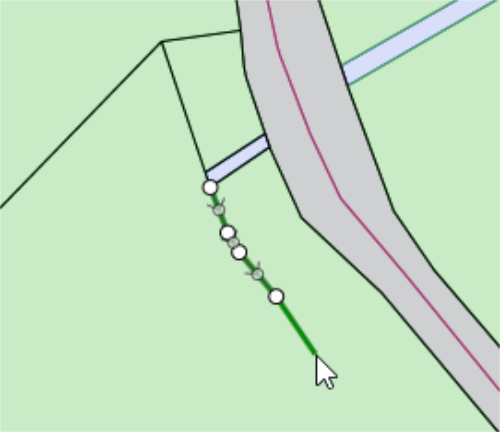
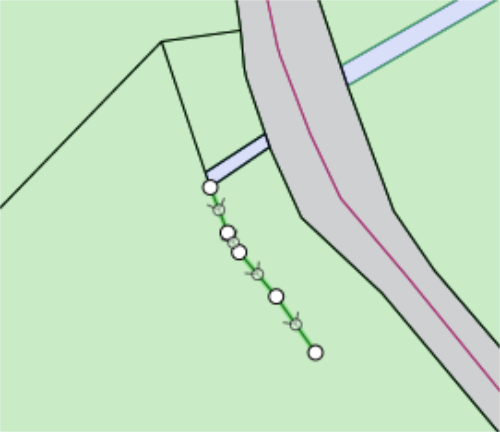
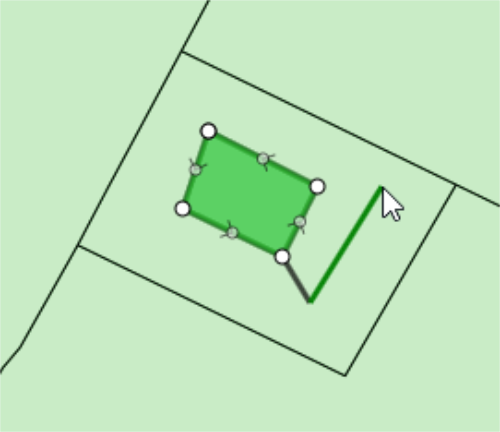
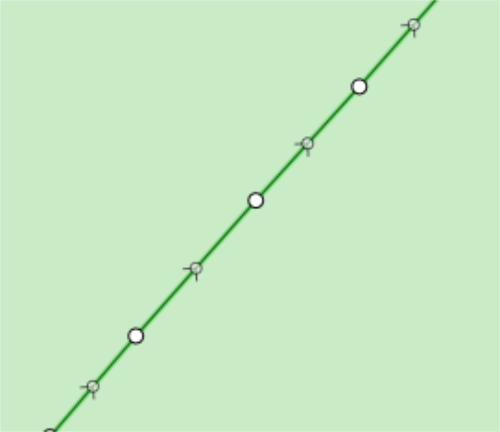
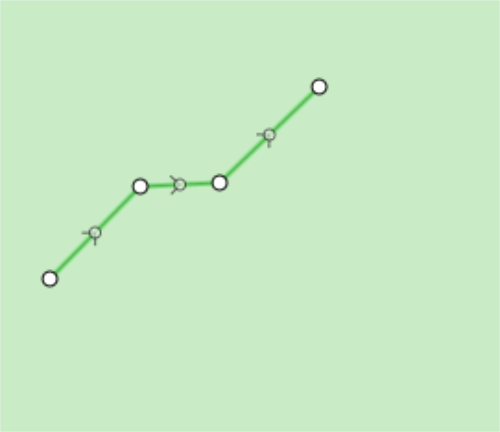
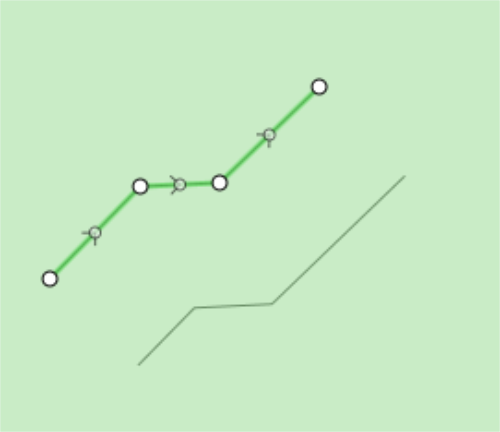
Append to Line

Append to Line allows you to add one or more points to the end of a line to digitise an extension in any shape.

ClosedAppend a line

  1. Select the line you want to append.

    A selected line feature.
  2. Open the lower app bar and select Edit > Append to Line.

  3. Click on the end of the line you want to append.

  4. Digitise new vertices as required.

    The line feature with new vertices being digitised.
  5. Finish digitising by double-clicking or selecting from the Context bar.

    The finished line feature.

Extend Line

Extend Line allows you to project one end of a line (in a straight line) until it meets a selected feature.

ClosedExtend a line

  1. Select the line you want to extend.

    The line feature has been selected.
  2. Open the lower app bar and select Edit > Extend Line.

    Extend Line icon
  3. Click on the end of the line you want to extend.

  4. Click on the feature you want to extend the line to meet.

    The Line being extended.

    The line will extend in a straight line and snap to the selected feature.

    The line extended to the new location.
  5. Click in the Context bar to confirm the extension.

Split

Split can be used to split a single line or a polygon into multiple features.

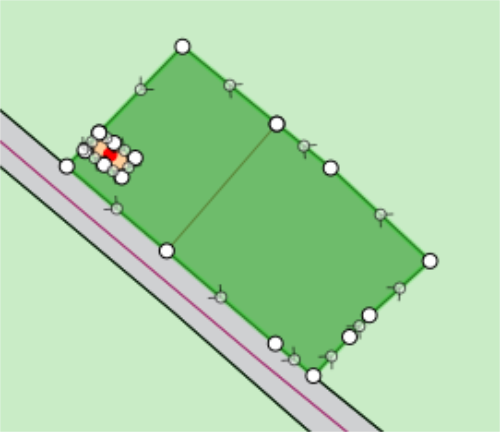
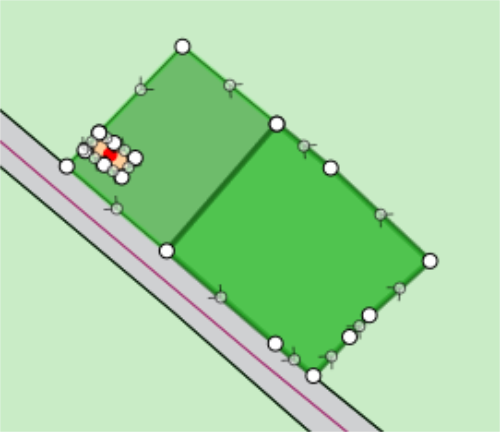
When splitting a feature, by default the largest part retains the identity of the original feature. The other parts are created as new features of the same class and with the same attribute values as the original feature. This can be overridden by selecting the part to retain the original identity.

ClosedSplit a line

  1. Select the line you want to split.

    The selected line.
  2. Open the lower app bar and select Edit > Split.

    The split icon
  3. Click on the location of the line you where you want it to split, or select an intersecting feature you want to use to split the line.

    A line selected at the point to split.
  4. Select the part of the line you want to retain the original ID (by default, the largest part is selected).

  5. Click in the Context bar to confirm the split.

    The split line.

ClosedSplit a polygon

  1. Select the polygon you want to split.

    The polygon to be split.
  2. Open the lower app bar and select Edit > Split.

    The split icon.

         Note: For multi-part geometries, split is only enabled after selecting a part of the multi-part geometry.

  3. Select the line (or chain of lines) crossing the polygon.

    The line crossing the polygon
  4. Select the part of the polygon you want to retain the original ID (by default, the largest part is selected).

  5. Click in the Context bar to confirm the split.

    The split polygon

Clone Feature

You can create a copy of a feature by cloning it.

     Note: If you select a single part of a multi-part geometry clone feature will operate as if the whole feature is selected.

ClosedClone a feature

  1. Select the feature you want to clone.

    A selected polygon feature.
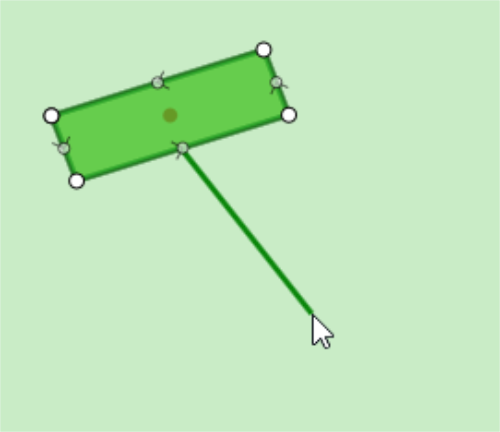
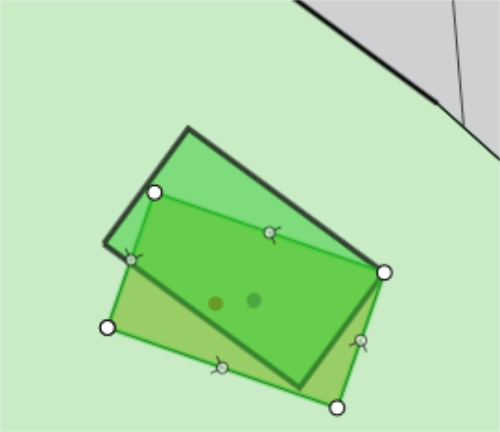
  2. Open the lower app bar and select Edit > Clone Feature.

    The clone feature icon
  3. (optional) Draw a vector to describe an offset at which the clone should be placed.

    You can click undo and re-draw the vector until the cloned feature is in the correct position.

    Drawing a vector to describe the offset.

    If you click accept without drawing a vector, the clone will be placed in the same location as the original.

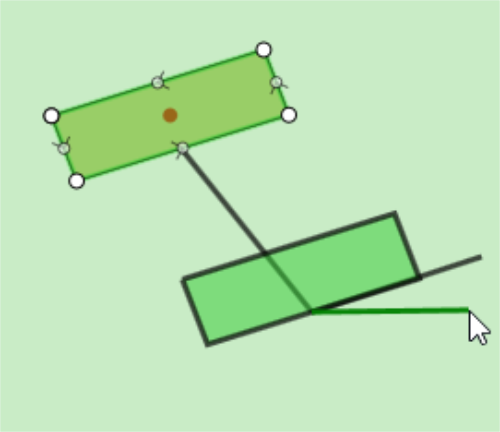
  4. (optional) Draw a pair of vectors to describe the rotation of the new cloned feature.

    You can click undo and re-draw the vectors until the cloned feature is in the correct position.

    Two vectors showing the rotation.

    If you click accept without drawing a pair of rotation vectors, the clone will be placed without rotation.

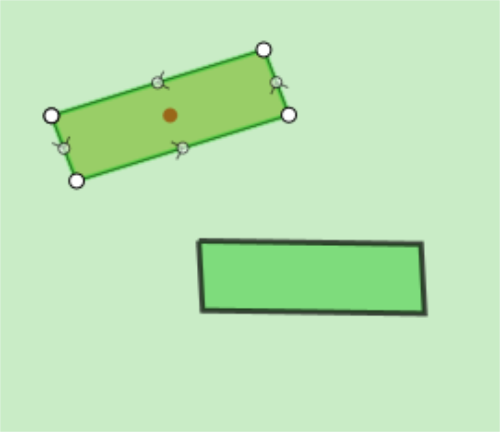
  5. Click in the Context bar to confirm the cloned feature.

         Note: You can repeat the last two steps to move and rotate the cloned feature as many times as required before confirming.

    Two new polygons.

Punch Feature

"Punching" a feature cuts areas out of an existing polygon using one or more polygons.

You can either use a completely contained polygon (resulting in a hole in the original feature) or a polygon that touches or overlaps the boundary, (resulting in the selected polygon being shrunk without creating a hole).

     Note: The result must still be a single-part polygon, so Punch Feature cannot be used if the resulting polygon would be split in two.

ClosedPunch a feature

  1. Select the polygon in which the hole is to be cut.

    A polygon feature has been selected.
  2. Open the lower app bar and select Edit > Punch Feature.

    The punch feature icon.
  3. Select the polygon(s) with which to cut the hole(s).

    Selecting the cutout in the polygon.
  4. Click in the Context bar to confirm the reformed polygon.

    Confirmed new polygon.

Reshape Feature

You can reshape a line or polygon by re-digitising parts of it.

     Note: When reshaping polygons, the reshape must be defined in the same direction as the polygon boundary, that is anti-clockwise for the outer boundary and clockwise for the inner boundary.

ClosedReshape a feature

  1. Select the feature you want to reshape.

    The feature to be reshaped is selected.
  2. Open the lower app bar and select Edit > Reshape Feature.

    Reshape feature icon
  3. Click at the point on the line or polygon where you want to restart digitising and then digitise as normal.

    The first point for digitising is shown. Digitising additional lines.
  4. Double-click or click in the Context bar to complete the operation.

    The new shape.

Reverse Line

You can reverse the direction of a line feature.

ClosedReverse the direction of a line

  1. Select the line you want to reverse.

    The line to be reversed.
  2. Open the lower app bar and select Edit > Reverse Line.

    The reverse line icon.
  3. Double-click or click in the Context bar to complete the operation.

    The line with the new direction.

Move Feature or Part

You can move a feature from one location on a map to another.

     Note: If you’ve selected a single part of a multi-part geometry then the operation will only move that part.

ClosedMove a feature

  1. Select the feature you want to move.

    The feature to be moved
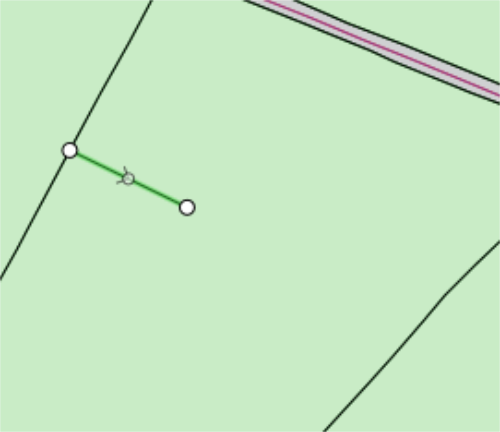
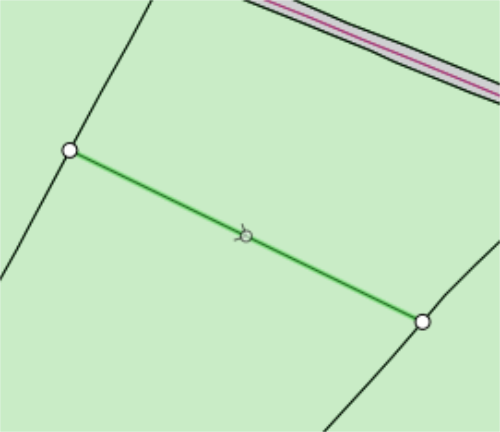
  2. Open the lower app bar and select Edit > Move Feature.

    The Move Feature icon.
  3. Draw a vector to describe how the object should be moved. You can draw multiple vectors until the object is in the correct place.

    A single vector drawn to move the feature. The feature in the previous and new location.
  4. Click in the Context bar to confirm the move.
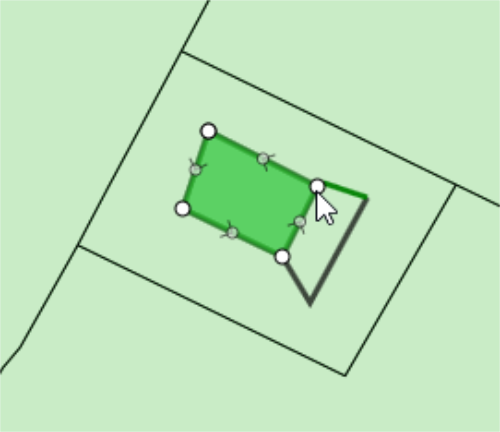
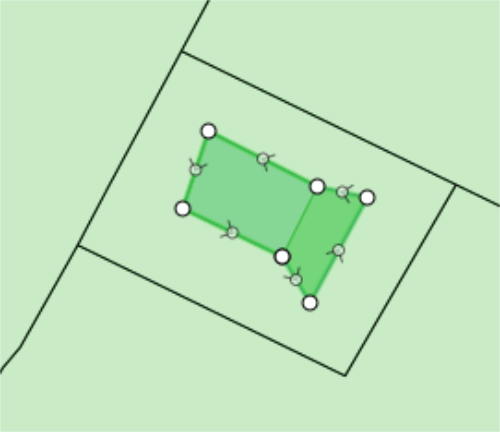
    The final feature.

Merge Features

You can merge multiple features of the same class that are adjoining (touching edges) into one feature. If you use Merge Feature to merge polygons that are disjoint then you create a multi-part polygon.

     Note: To merge a feature that is of a different class, first change the feature's class to be the same (see Change Class).

ClosedMerge multiple features

  1. Select the first feature (this is the feature that will be retained).

    The first feature is selected and highlighted
  2. Open the lower app bar and select Edit > Merge Feature.

    The Merge Feature icon.
  3. Select the adjoining feature(s) to be merged (this feature will be deleted).

    The adjoining feature is selected.
  4. Click in the Context bar to confirm the merge or tap on another feature to add it to the list of features being merged.

    The new merged single feature.

Align Feature or Part

You can align features with line segments (e.g. to align buildings to roads).

     Note: If you’ve selected a single part of a multi-part geometry, then only that part is aligned.

ClosedAlign a polygon with a line

  1. Select the feature you want to align.

    The feature to be aligned is selected in the map view.
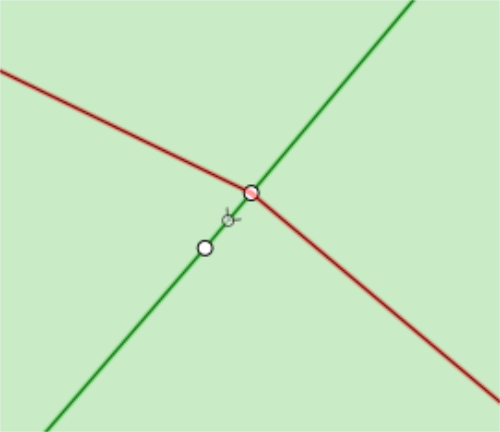
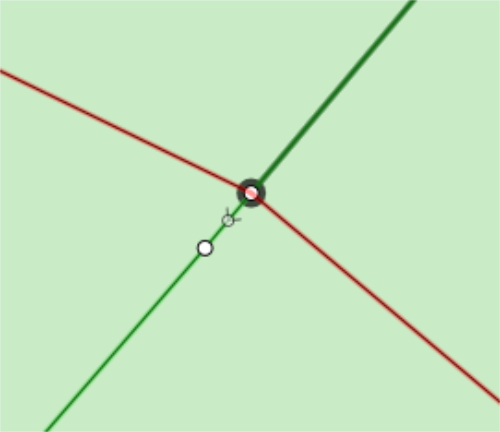
  2. Open the lower app bar and select Edit > Align Feature.

    The Align Feature icon.
  3. Select the vector on the feature you want to align (e.g. the side of a building).

    The top vector of a rectangular polygon has been selected.
  4. Select the vector to be used to align the feature (e.g. a road).

    An additional vector has been selected.
  5. If the alignment is in the wrong direction (that is, the feature needs to be rotated 180 degrees), click anywhere on the map again to toggle between the two directions.

  6. Click in the Context bar to confirm the alignment.
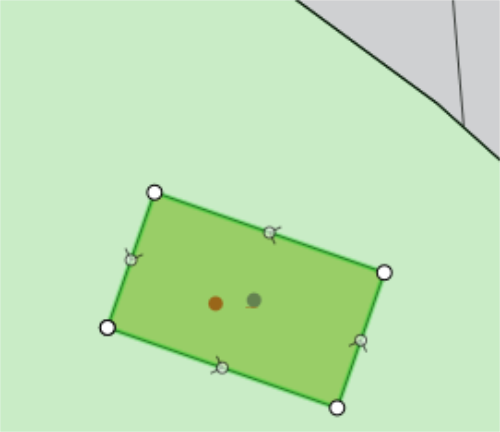
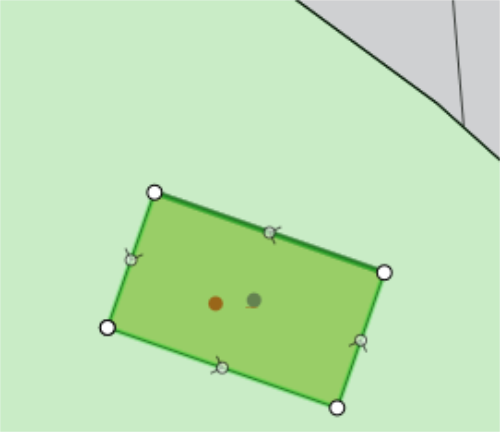
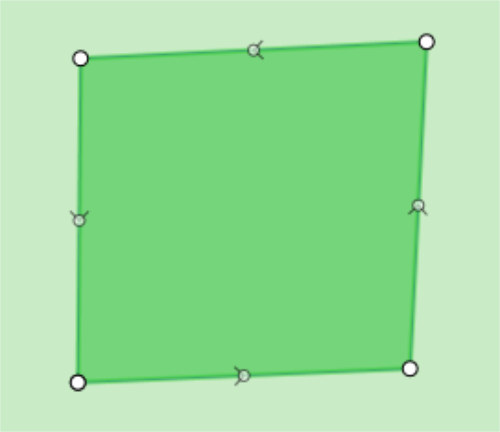
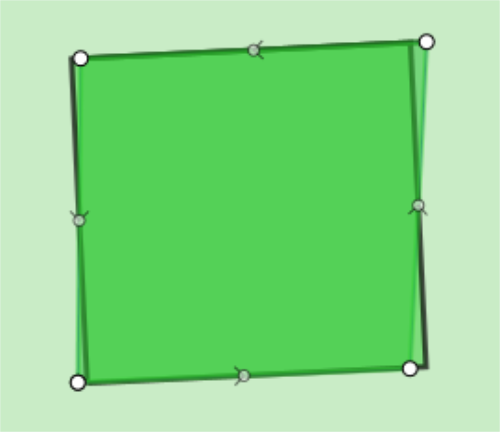
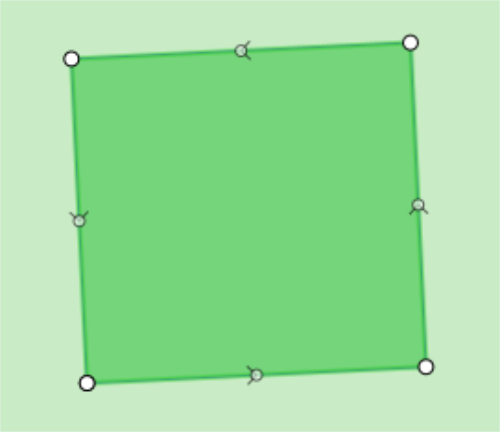
    The finished and newly aligned feature.

Square Feature

You can use Square Feature to adjust angles on lines and polygons to be close to 90 degrees.

     Note: The Squaring Tolerance setting is a tolerance in degrees, which specifies the maximum angle by which the Square function will adjust a line segment (see 1Edit Settings).

     Note: The Square operation does not support Multi-part geometries.

Line segments are adjusted so that they are parallel to the base line or form a right angle with the base line.

ClosedSquare a polygon

  1. Select the feature to be squared.

    A feature with four sides that is not square is selected.
  2. Open the lower app bar and select Edit > Square Feature.

    The Square Feature icon.
  3. Select the vector on the feature to be squared against.

    A preview of the squared object is displayed.

    The original feature overlayed with a preview of the newly squared feature.
  4. Click in the Context bar to confirm the squared feature.

    The newly squared feature.

Change Class

The class of a feature can be changed.

ClosedChange the class of a feature

  1. Select the feature for which you want to change the class.

    The feature to change class of is selected.
  2. Open the lower app bar and select Edit > Change Class.

    The Change Class icon.
  3. Select the new class for the feature.

    A list of classes to select from.

    The feature class will be changed.

    The feature with the new class.

Create Parallel

You can create a line parallel to another existing line.

ClosedCreate a Parallel Line

  1. Select a line feature.

    A line feature has been selected.
  2. Open the lower app bar and select Edit > Create Parallel.

    The Create Parallel icon

    An Offset field will appear in the Context bar.

  3. Enter a value in the Offset field (in dataset units).

         Note: A positive value will create the parallel line to the right of the original line, a negative value will create the parallel line to the left.

  4. Click in the Context bar to create the new line.

    Two parallel lines with one selected.

Detach Part

Th Detach Part operation will only appears if you have selected a single part of a MultiPart geometry.

This transforms the selected part into a new Polygon feature, taking all the attributes from the source feature, except it is given a new unique identifier.