
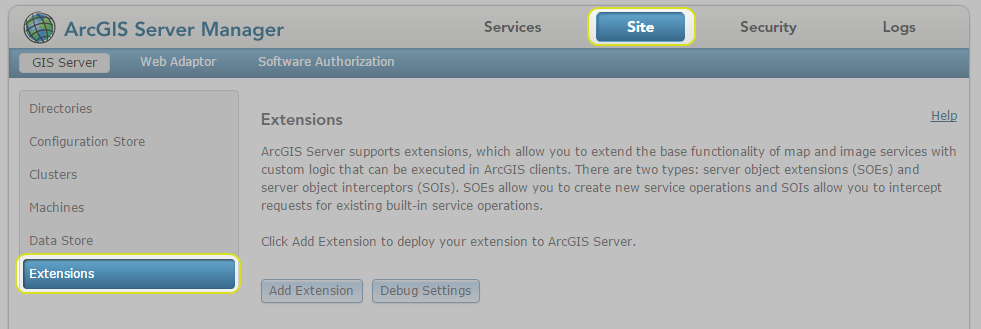
Configuring ArcGIS Server
In order to enable 1Integrate for ArcGIS to be used for your data services, it must first be configured through the ArcGIS Server Manager.
The server extension must first be added, and then each data service must be configured to use the extension.
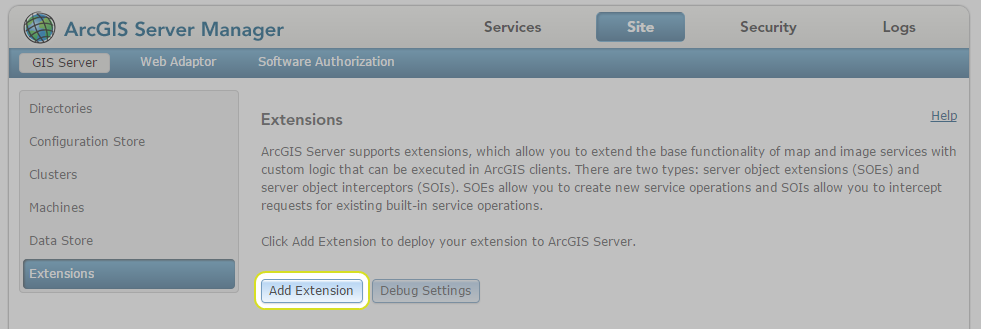
Adding the 1Integrate for ArcGIS Server Extension
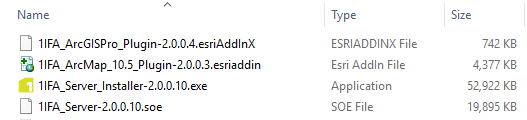
The 1Integrate for ArcGIS Server Extension must be added to ArcGIS server before any data services can use it.

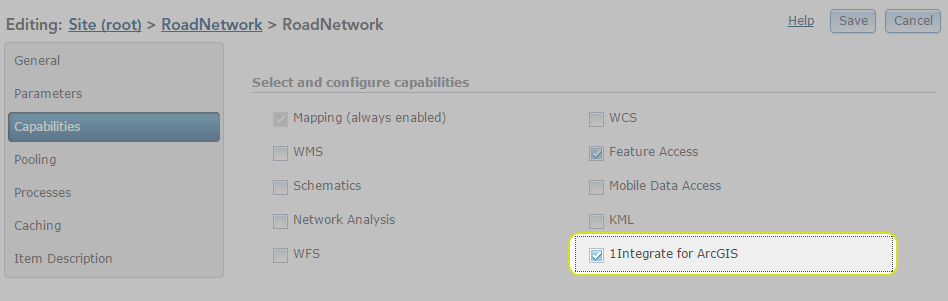
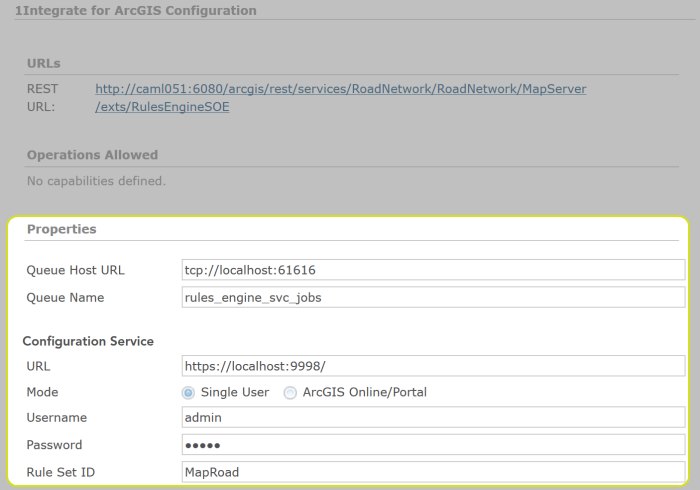
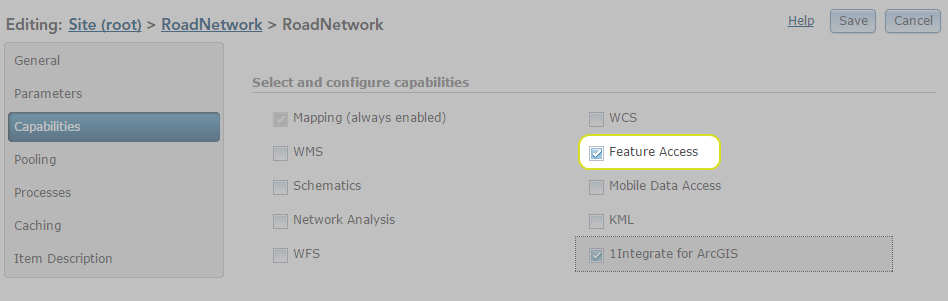
Configuring a Data Service
In order for data services to be able to use the 1Integrate for ArcGIS Extension (via an Add-in or widget), they must first be configured.
Additionally, each data service must be configured to be associated with a ruleset, to determine the rules that will be available.
Note: A data service can only be associated with one ruleset, but a ruleset can be associated with many data services.


Federated ArcGIS Server sites with Portal for ArcGIS
Federating an ArcGIS Server site with your portal is an advanced configuration for integrating the security and sharing models of your portal with one or more ArcGIS Server sites. If your site has a federated server with portal, then please set up the security of the map services to be used by 1Integrate for ArcGIS so that users authorised by portal can access them.
Note: Currently if using the 1Integrate for ArcGIS add-ins in ArcGIS Pro or ArcMap to access map services in a federated ArcGIS Server, it is necessary to make the map service available to "Everyone". This is a known limitation and will be fixed in a future release.
The 1Integrate for ArcGIS web widget (for web apps) and 1Integrate for ArcGIS Mobile users (Collector) are unaffected by this, and map services used by these applications can be made available to Portal for ArcGIS users and groups within the federated ArcGIS Server.
Certification Authentication
On Federated and Secured networks, certificate authentication issues can result in the following error when trying to fetch rules in ArcGIS Desktop:
“javax.net.ssl.SSLPeerUnverifiedException: peer not authenticated”
To resolve this error, your self-signed certificate must be in .cert format.
Note: There are several methods for converting certificates into the required .cert format. A commonly used tool is OpenSSL.
In order to use the new certificate, it needs to be imported into two Java certificate keystores, one for the ArcMap Add-in (C:\Program Files (x86)\ArcGIS\Desktop10.4\java\jre\lib) and one for the Rule Author interface (JAVA_HOME\jre\lib).
The import can be achieved using the keytool Java command line application that is available in the Java\jre..\bin directory.
Use the keytool command to import certificates (replacing the variables indicated in <angled brackets>):
keytool -import -alias
<certificate_alias>
-file
<name of the certificate which is exported in .cert format>
-keystore
<JAVA_HOME>
/jre/lib/security/cacerts –trustcacerts"
Example:
For ArcMap Add-in this is imported into ArcGIS desktop's Java jre, for example.:
keytool -import -alias
{certificate_alias} -file {name of the certificate to import} -keystore C:\Program Files (x86)\ArcGIS\Desktop10.4\java\jre\lib\security\cacerts –trustcacerts
For the Rule Author interface this is imported into the 64 bit java home, for example:
keytool -import -alias {certificate_alias}
-file
{name of the certificate to import}
-keystore C:\Program Files\Java\jre1.8.0_74\lib\security\cacerts –trustcacerts
See Certificate Authentication for more information.

Copyright © 2019 1Spatial
US Patent Number 9542416 B2 (2017-01-10)

