
Using the Web AppBuilder Widget
The following steps outline how to use 1Integrate for ArcGIS to run validation and enhancement rules within the Web AppBuilder for ArcGIS.
Note: For general information on using the Web AppBuilder, please refer to the ArcGIS documentation.
![]() Launch the Web AppBuilder widget
Launch the Web AppBuilder widget

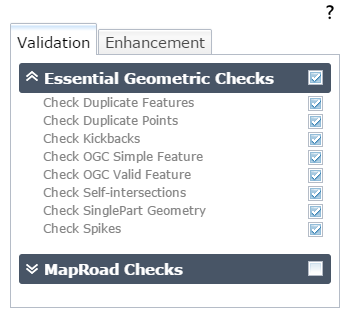
Running Rules
Rules can be run across a specific area of your dataset, or the visible extent.
Note: When running rules in the Web AppBuilder Widget, the default extent to be processed is limited to the data visible within your data frame. If you want to process the entire dataset, make sure you are zoomed out so that the full extent is visible.
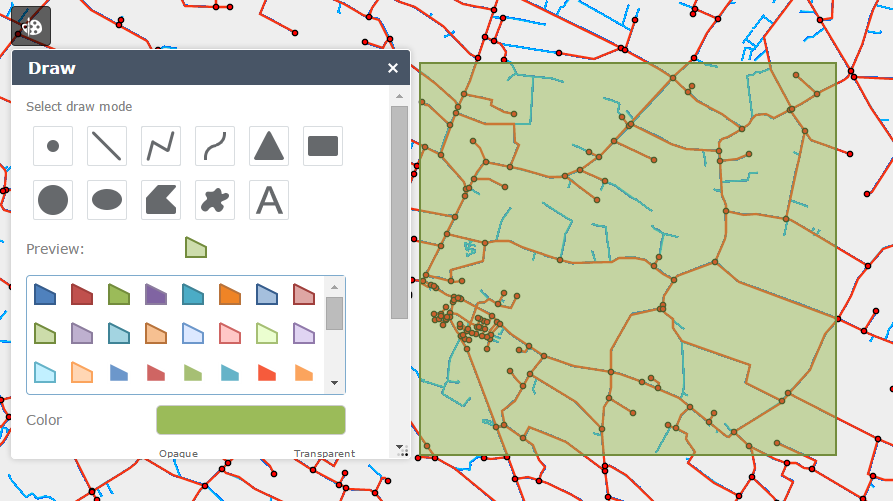
![]() Run rules over the visible extent
Run rules over the visible extent
![]() Run rules over a selected region
Run rules over a selected region
Viewing Validation Results
Once your rules have finished running, the progress bar will display "COMPLETED" and the results will be displayed.
Beneath this progress bar is a count of the number of objects processed, and the number of features that failed the rules ("non-conformances").
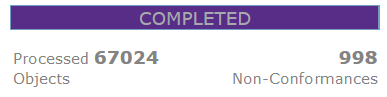
Validation results
A traffic light next to each rule will also indicate where large numbers of features failed (red) or where most features passed (green).
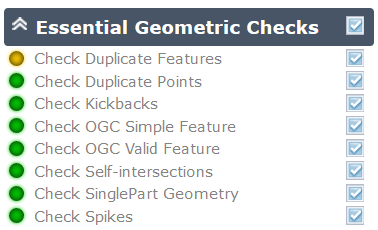
Traffic light rating
By hovering the mouse over each traffic light icon, a summary for than rule can be displayed.
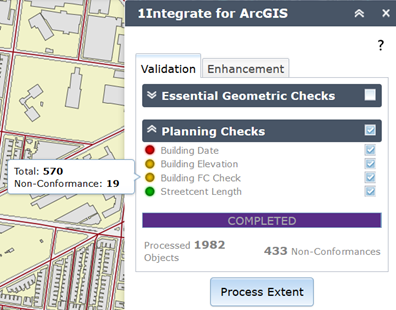
Traffic light summary for a rule
Layers of Pins
All non-conformances are marked in your dataset with a pin.
Clicking on a pin will display details of the non-conformance, such as the associated feature IDs and the name of the rule.
As the pins are displayed as layers within the application, they can be turned on or off just like any other layer.
Within Web AppBuilder, open the layer list.

Layer List icon
The layer list displays which pin type represents each rule. These individual layers can then be turned on or off.
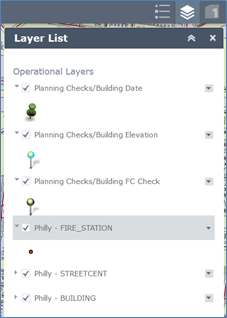
Web AppBuilder Layer List

Copyright © 2019 1Spatial
US Patent Number 9542416 B2 (2017-01-10)

