Configuring Login Banner
You can configure a login banner to appear at the top of the login page to include additional text for your users. This banner will not replace the 1Integrate login graphics or logo, but will appear at the top of the page.
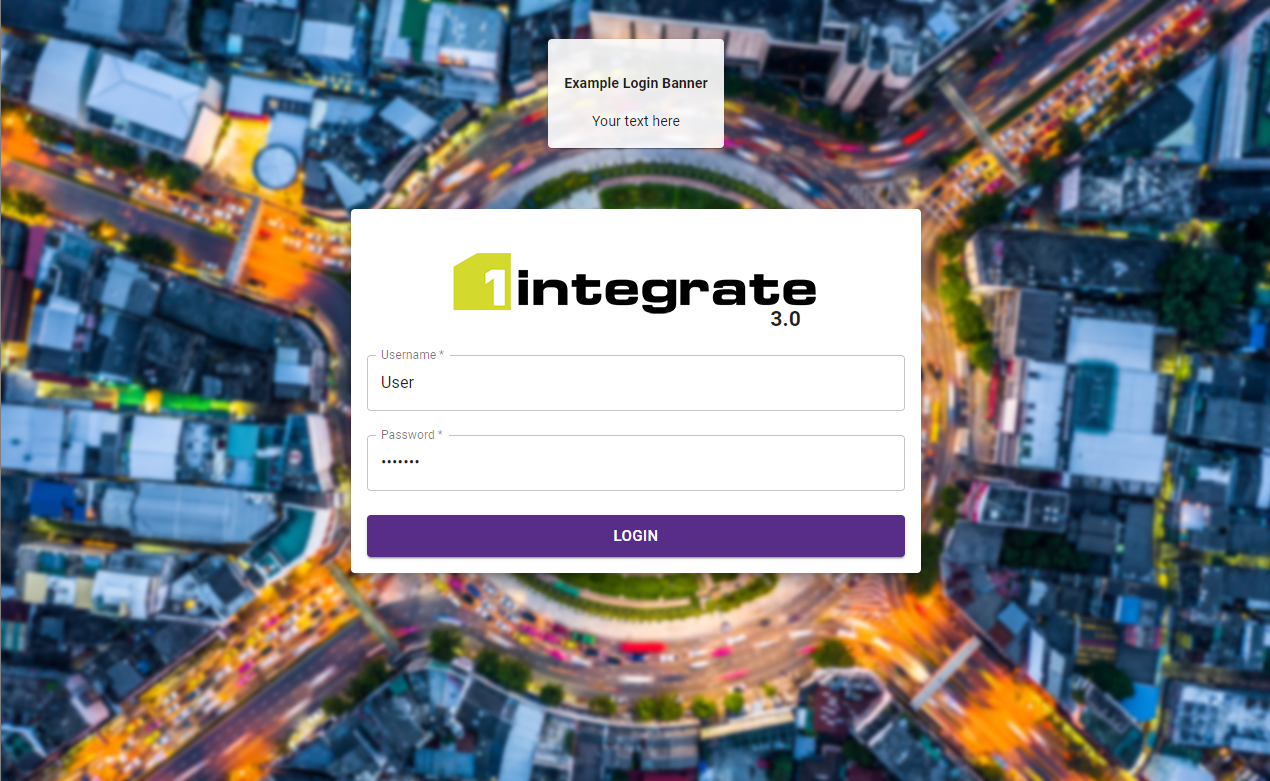
Login page with an example banner
The banner is defined by a file that includes a snippet of text or other HTML.
Note: The Login box will remain at the same location and in the foreground, so if the banner is too large it will appear behind the login box.
HTML tags, while not required, can be included for further customisations. For a full list of supported tags, see the drop-down below.
The file can have any extension and must be placed on the filesystem accessible to all interface servers in the deployment.
Configuration
WildFly
- Create your HTML file.
-
In the settings.properties file, add the following:
Parameter Description loginBannerEnter a file path to a HTML document you have defined e.g:
loginBanner=C:/Apps/1Spatial/1Integrate/Banner%20Folder/Heading_Banner.htmlNote: The HTML file must be accessible by each Interface server.
WebLogic
- Create your HTML file.
-
In the installer's config.properties file, add the following:
Parameter Description 1Integrate_par_user_defined=-DloginBannerEnter a file path to a HTML document you have defined e.g:
1Integrate_par_user_defined= <other parameter=value pairs> -DloginBanner=C\:\/Apps\/1Spatial\/1Integrate\/Banner%20Folder\/Heading_Banner.htmlNote: The HTML file must be accessible by each Interface server.
Note: The
1Integrate_par_user_definedsystem parameter can only be entered once. Ensure all additional parameters are under this. Each should be entered as a space separated list ofparameter=valuepairs. Colons and backslashes need to be prefixed with a \ character, even on Windows and use%20for spaces in file or folder names .