Access Groups
When using 1Integrate, you may want to restrict access to specific objects.
Administrative users can control this by setting Access Groups and applying the group restrictions to their chosen objects.
Key Information
-
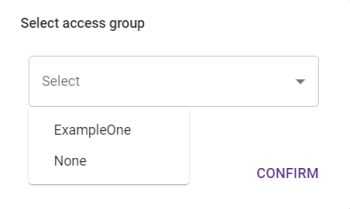
Access groups that have been defined can be applied to a folder, or applied individually to items within these folders.
-
Access group permissions are stored at the object level, meaning that any references to items (such as data opened within a session) will not be restricted. For this reason, it is recommended that you keep referenced material in the same folder with the same permissions.
-
Adding restrictions to a child of a restricted folder does not replace the parent restriction. This allows you to use subsets of additionally restricted objects.
-
Once an Access Group has been set on an object, users that are not in that group will see it greyed out and be unable to access it.
-
Restricted objects show a lock next to their name. If a user has access to that group it will show as
 , and
, and  if not.
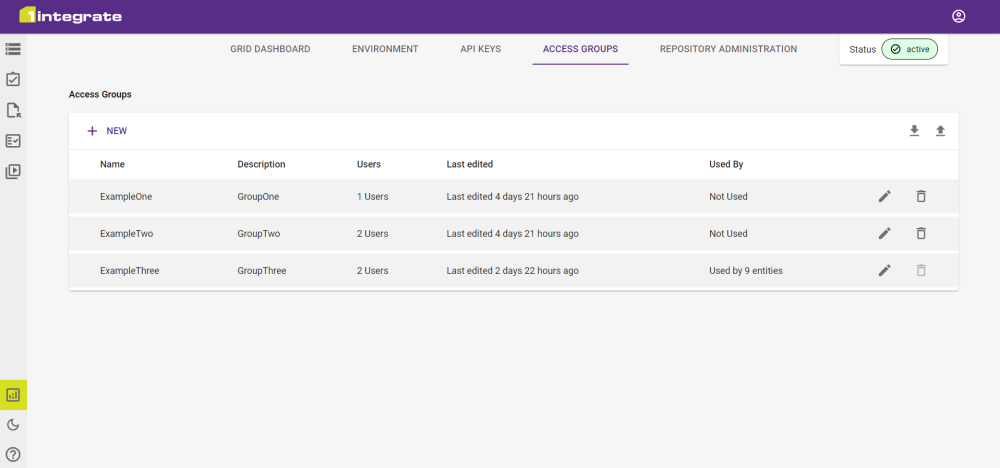
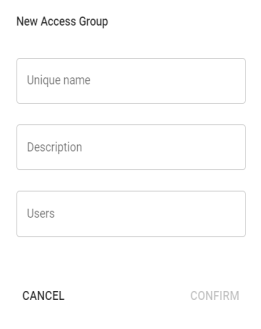
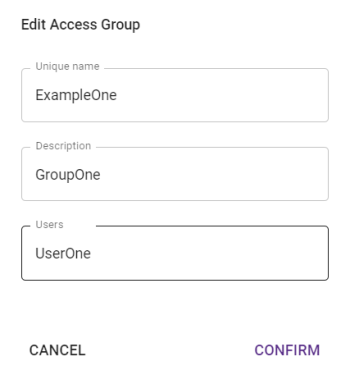
|
Field |
Description |
|---|---|
|
Name |
Name of the group. |
|
Description |
Description of the group. |
|
Users |
The users that are part of this group. Hover over this to display a list of users. |
|
Last Edited |
How long ago this group was last edited. Hover over this to display the date of the last edit. |
|
Used By |
Number of entities that use this group. Hover over this to display a list of entities that use this group. |