Backup and Restore
There are two methods for backup and restore when using 1Integrate.
-
Back up and Restore Items
-
Full Repository Backup and Restore
Note: Full repository backup and restore can only be carried out by a user with the 1int-repository permission.
When performing the backup and restore of items, the following can be downloaded (backup) or uploaded (restore) by right-clicking objects in the Navigation Pane:
-
Data Stores
-
Rules
-
Rule templates
-
Actions
-
Action Maps
-
Sessions
-
Folders
Backup Items
Performing a back-up downloads your chosen objects in JSON.
Depending on the item you are downloading, the following will be true:
-
Sessions are downloaded with all the items needed for the run to complete, such as any Rules or Actions referenced in the Session.
-
Rules and Actions are downloaded with all referenced templates.
-
Action Maps are downloaded with referenced Rules and Actions.
-
Folders are downloaded with the folder structure and all items within the folders.
Restoring Items
Uploaded items are placed in the folder structure defined by the location of the items in the backup. If identically named Rules or Actions already exist at those locations, they are restored with an increasing numbered suffix (e.g. Rule, Rule 2, Rule 3).
Note: File and password information is not included in the backups. If you are restoring file based Data Stores then you will need to upload all associated files and any Data Stores requiring password authentication will need their passwords re-entering.
When uploading an JSON, the system also uploads:
- All referenced items in a Session, such as Rules and Actions
- Any referenced templates within Rules and Actions
- Any referenced Rules and Actions within Action Maps
- All items within folders as well as the original folder structure
- Any associated Data Stores for a Session
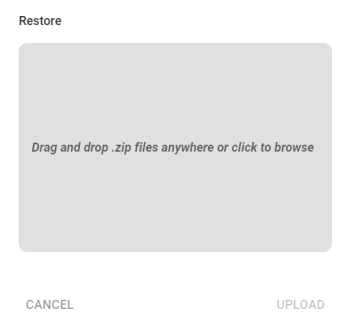
Backup and Restore Repository
From the Repository Administration tab of the Dashboard it is possible to perform a full backup and restore of the data contained in your repository.
Performance Tips
Performing a full Backup or Restore of your database can represent a memory intensive process, particularly where the repository contains a lot of data (e.g. Data Store features, large Sessions and a lot of Rules).
We recommend ensuring that 1Integrate has 1GB of memory available per 10,000 items.
To increase the maximum memory allocated to your 1Integrate installation, please see Increase Memory.