Create a Data Store
Data Stores allow 1Integrate to connect the data that you want to use to the Rules, Actions and other parts of 1Integrate. Configuring a Data Store may often be the first step in a workflow, as it will make configuration of the latter steps easier.
-
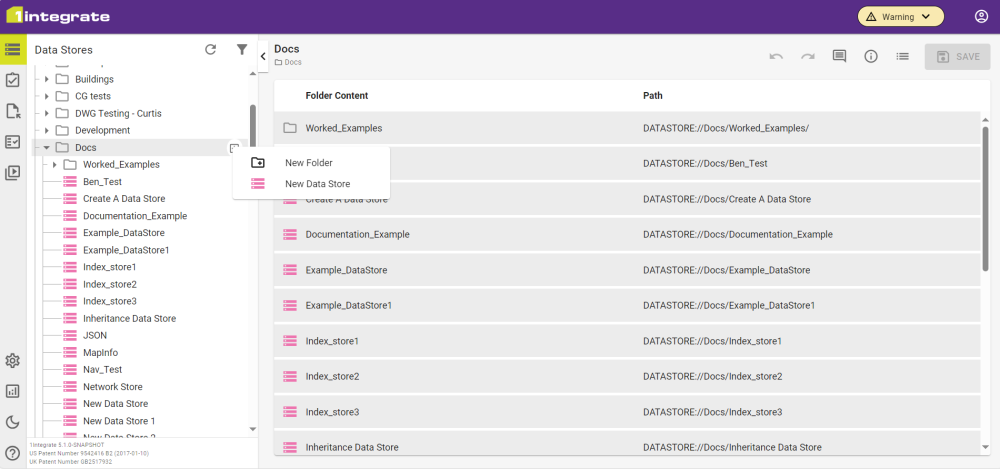
In the folder structure on the Data Store tab, click the Add button
 and name your Data Store.
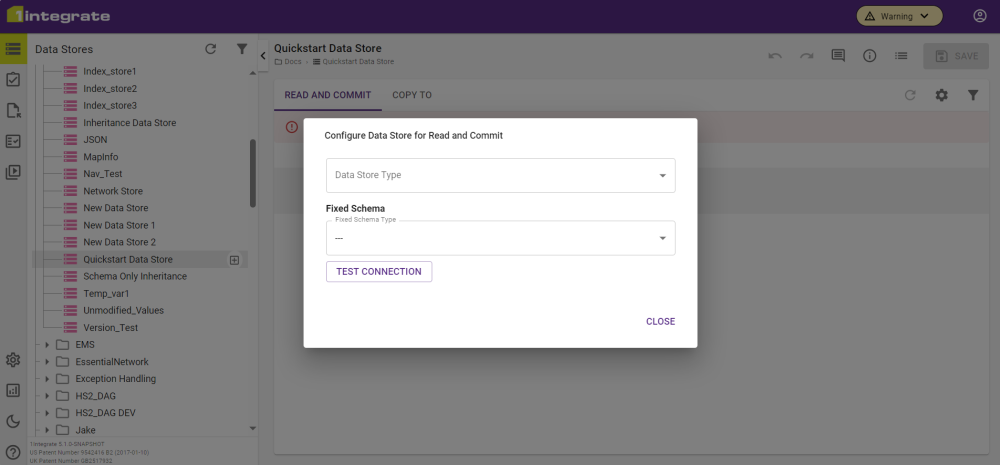
Each Data Store needs to be configured for at least one of the two settings: Read and Commit, or Copy To.
Read and Commit will use the same settings for reading the data as it will for any committing of that data. This includes the format as well as any settings, like character encoding or CRS override.
Copy To allows a Data Store to output data into a different Data Store type (format/file type), with some options for settings too. Not all Data Store types are supported for Copy To.
-
As soon as a new Data Store is added you will have to choose the file type. Pick the required type and the panel will update with all the relevant configuration settings.
-
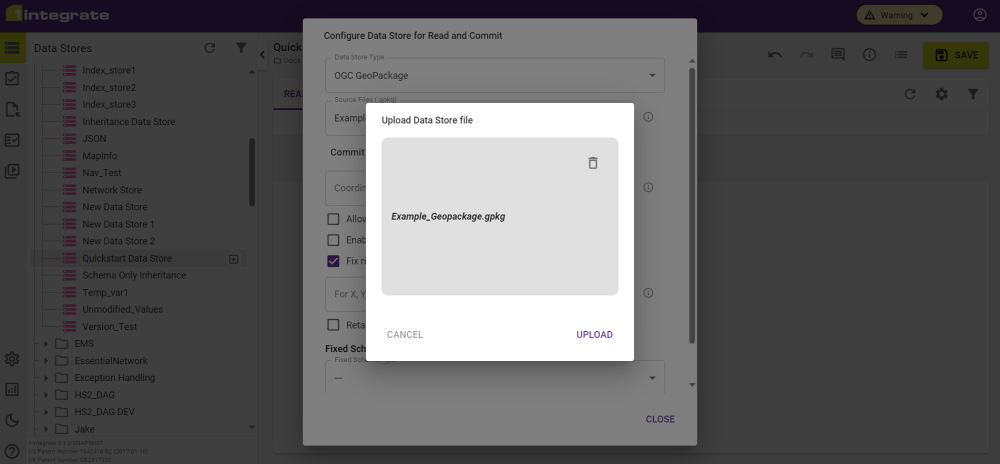
Upload the source file(s) by clicking the Upload button
 and picking your file(s). Or, if you are connecting to a external database, enter the required details.
-
Complete any remaining configuration and then close the panel. Click the Refresh button
 to load the Schema Mapping.
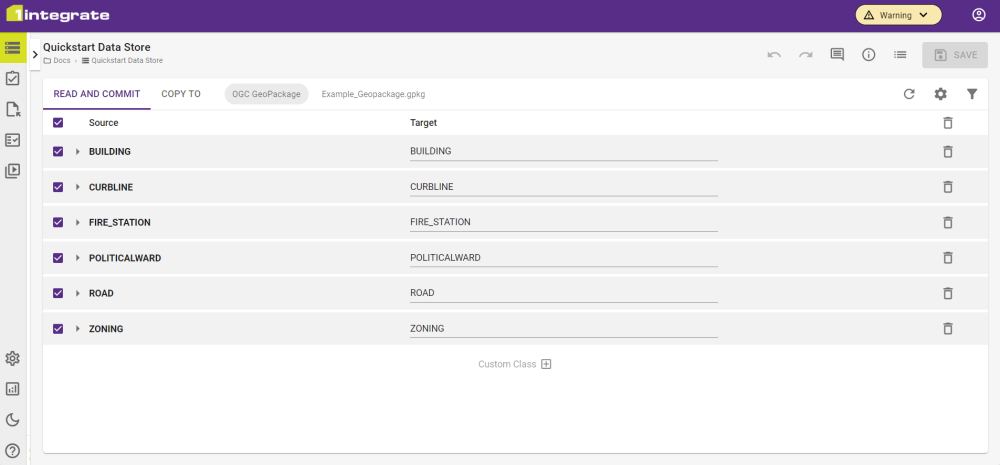
The Schema Mapping is how the Classes and Attributes within the chosen data is understood within 1Integrate.
The Data Store can now be accessed by Rules, Actions, and Sessions.


