Submission
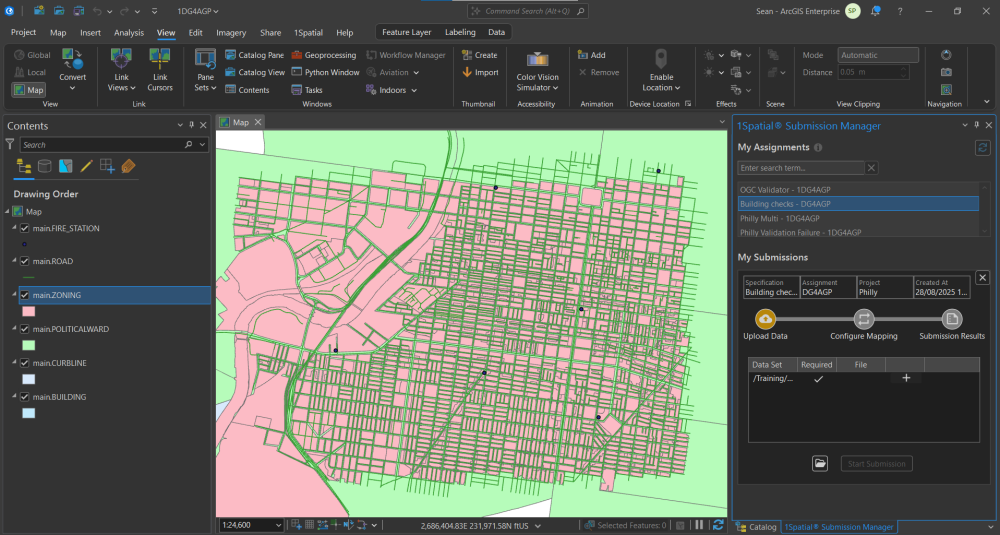
After creating a New Submission from the Submission Manager, it opens the Submission under My Submissions.
Upload Data
Submissions begin in the Upload Data stage, and lists all the Data Sets that are available for upload.
Click the + next to a file to open its configuration. It lists the available Maps, Layers and the Feature Selection types.
Only features from the selected Map and Layers are uploaded, filtered by the feature selection.
|
Feature Selection |
Description |
|---|---|
|
All Features |
Uploads all features on the selected layers. |
|
Selected Features |
Features are selected using the ArcGIS Pro selection tools. All currently selected features from the selected layers will be uploaded. If a selected layer has no selected features, then all of its features will be uploaded. |
|
Current Extent |
Any feature from the selected layer fully or partially within the view box for the Map will be uploaded. |
|
By Polygon |
Allows you to draw a polygon to upload all features from the selected layers fully or partially within the drawn area. Note: When there are multiple inputs, the drawn area is remembered and can be reused in the next input. |
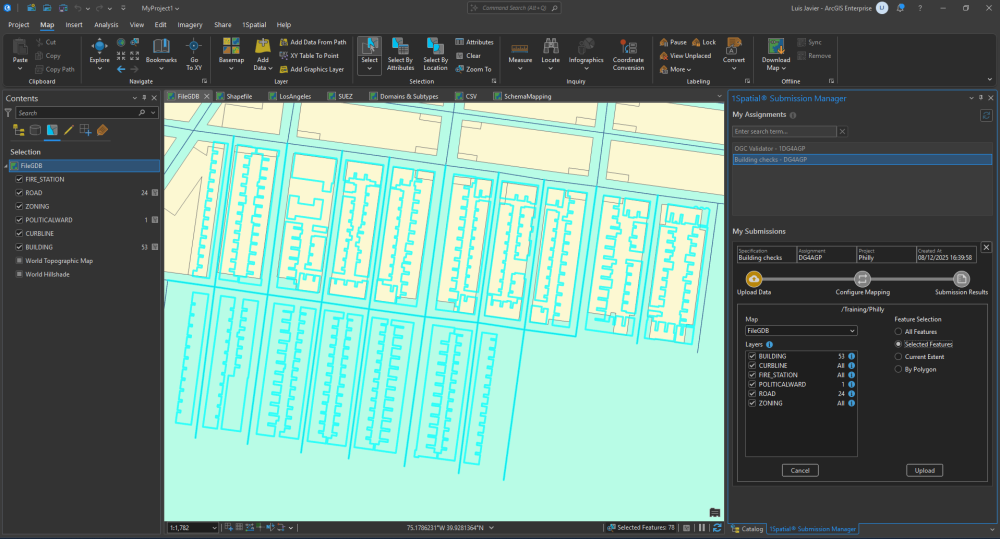
Once you have the necessary settings, click Upload to confirm. This creates a temporary Esri File Geodatabase file for the Submission. To continue click Start Submission.
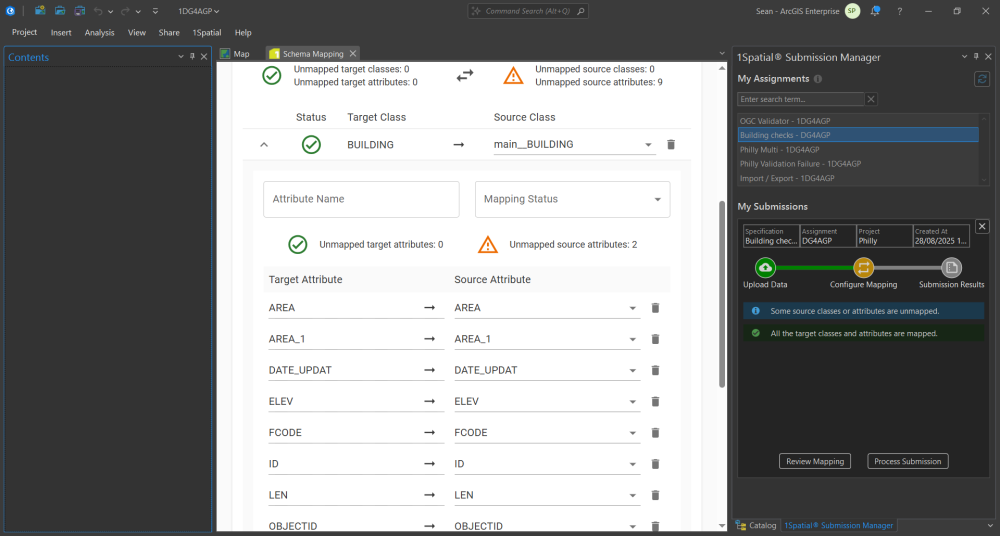
Configure Mapping
Before processing the submission, the Configure Mapping stage highlights whether there are any unmapped target and/or source classes or attributes in the Data Sets.
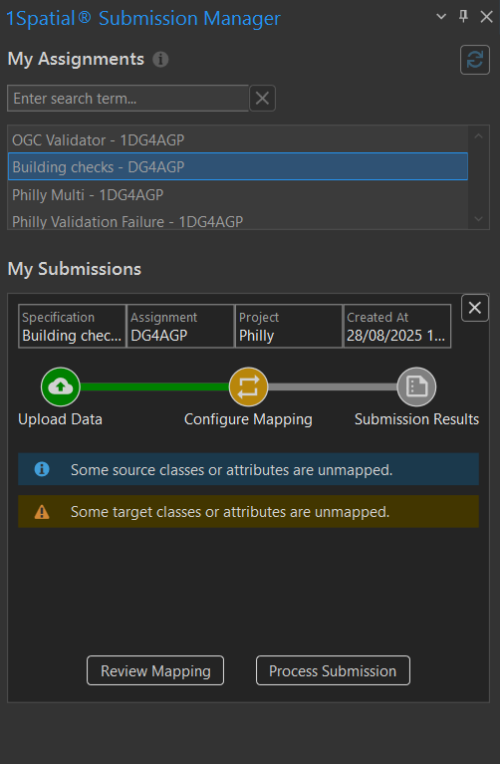
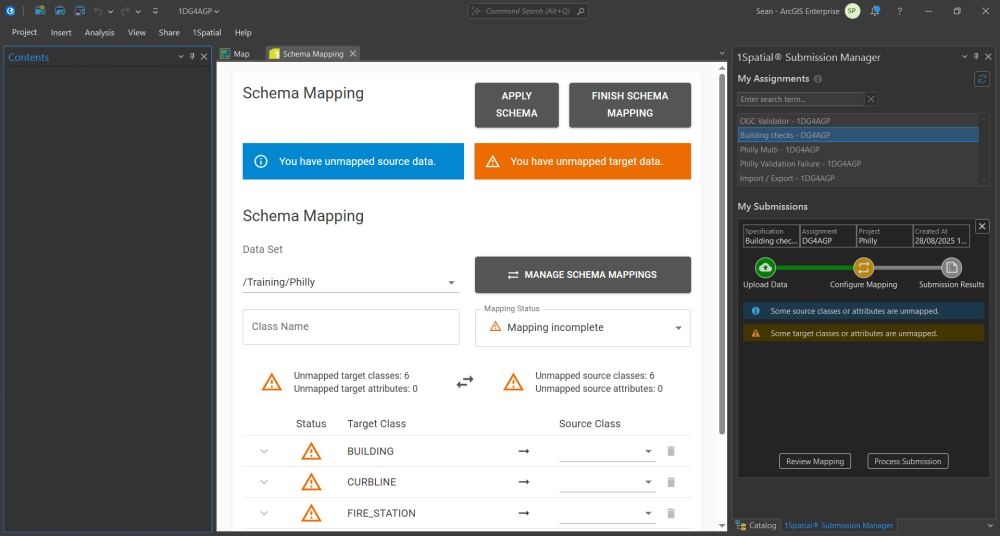
Click Review Mapping to open the Schema Mapping view.
The Schema Mapping view works in the same way as Schema Mapping in 1Data Gateway, see the 1Data Gateway documentation for more details.
Schema Mapping takes a Source Class and maps it to a Target Class. These can be changed by clicking their drop down menus.
-
Source Classes / Source Attributes are derived from the data uploaded by the user. Selecting a Source Class populates the Source Attributes.
-
Target Classes / Target Attributes are derived from the schema set in the portal. Choosing a Target Attribute in the right-hand column maps the source attribute to that target attribute.
Clicking the Toggle Classes button![]() toggles whether classes are mapped from "Source to Target" or "Target to Source".
toggles whether classes are mapped from "Source to Target" or "Target to Source".
Target classes and attributes can be "removed" from a mapping by clicking the Delete button ![]() next to their drop down menu.
next to their drop down menu.
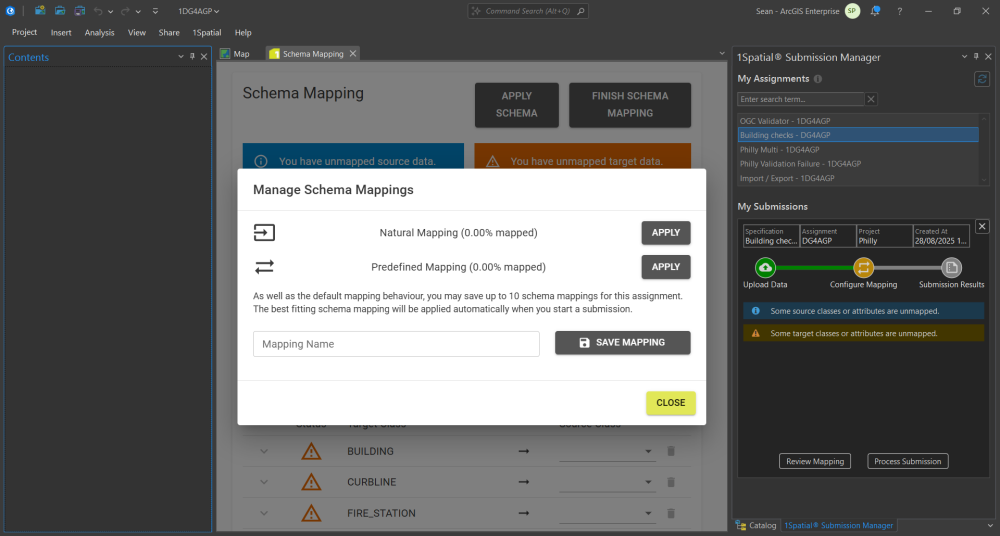
Click Manage Schema Mappings to access set mappings. There are three types of set mappings:
-
Natural Mapping: Automatically created mapping based on source and target class/attribute names.
-
Predefined Mapping: Applied if mapping has already been defined by Users with the Project Manager Role during the set up of the specification.
-
Saved Mapping: A mapping previously saved by the user. Up to five mappings can be created and saved. All available Saved Mappings will be listed below.
Source and Target Attributes can also be edited manually. Clicking an attribute drop down menu brings up a full list of all available attributes.
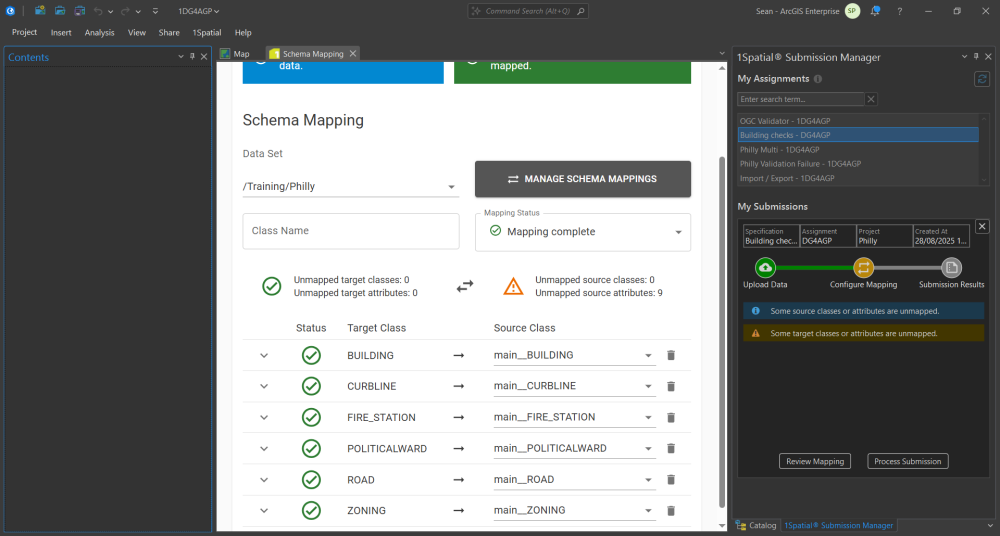
Click Apply Schema once all necessary class and attribute mappings have been set.
Click Finish Schema Mapping to close the Schema Mapping view.
Return to the Submission Manager pane and click Process Submission.
Note: Process Submission is only enabled if all Classes and Attributes are mapped, unless the Project Specification allows unmapped Classes and Attributes.
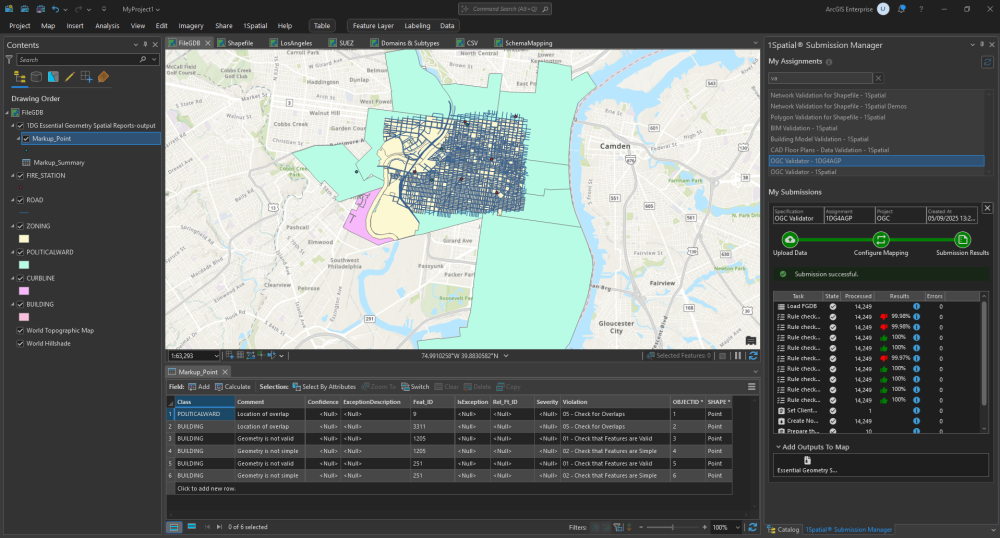
Process Submission
While the Submission is processing, the tasks show their current status. Once processed tasks with a green thumbs up show that they've passed conformance tests to the specified percentage and failures have a red thumbs down.
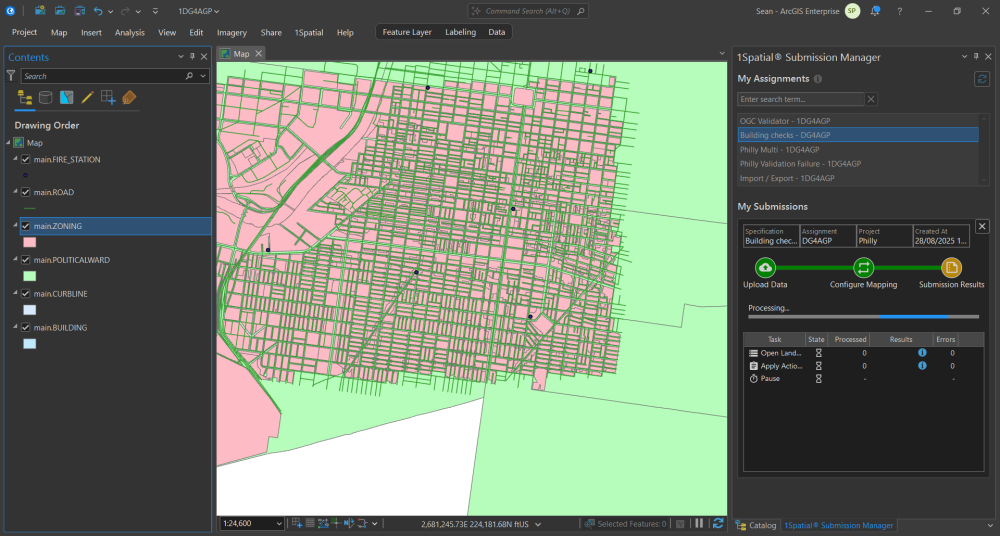
Once all tasks have been completed the Submission continues to the results.
Note: Pause Tasks are auto-resumed unless they would stop a Submission due to conformance failures.
Completed Submissions can be finished or have their results added to the map.
Click Add Results To Map to add all non-conformance reports to the map as new feature layers with a "1DG Results" layer group.

Clicking on a pin opens a Pop-up containing information, including the Rule that it failed and other related information.
Clicking Finish Submission progresses the Session to the Submission Results.
Submission Results
If there are output datasets for the Submission, you can add them by clicking Add Outputs To Map. They appear as new layers within a layer group.
While Add Results To Map displays the default non-conformance reports on the map, Add Outputs To Map displays custom reports, new data generated, or modifications to the existing data that have been specifically configured in the assignment.
The Submission Results are saved and you can return to this information via the Submission History in the Submission Manager, according to the retention period configured within 1Data Gateway.


