Specifications
A specification defines the data to be uploaded or downloaded and the workflow required from a User.
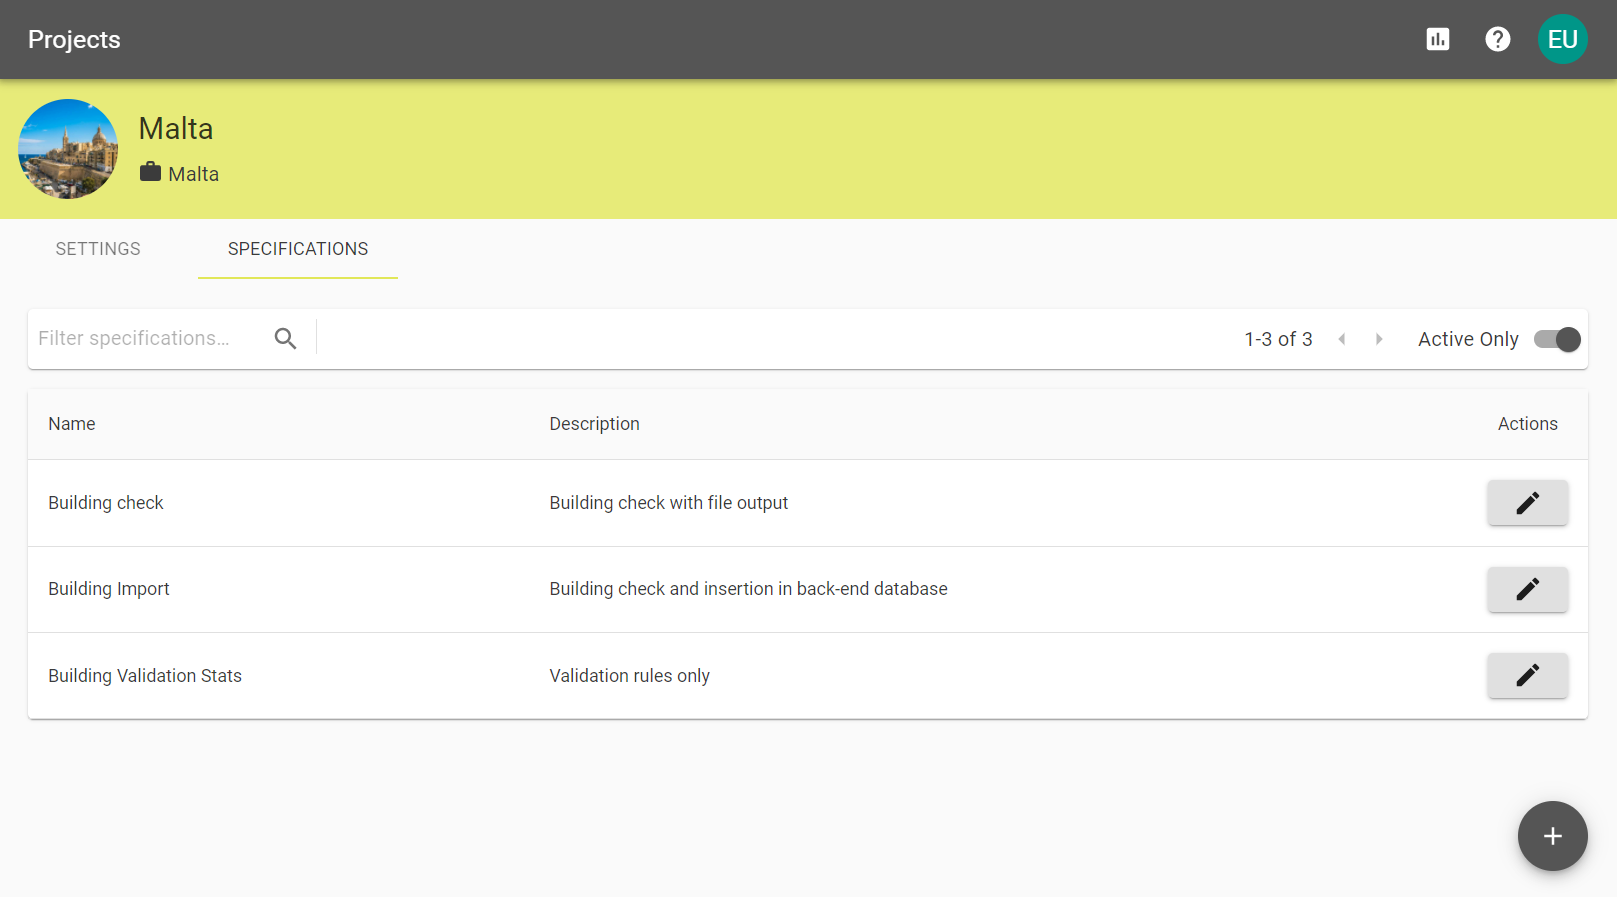
An administrative user can create multiple specifications within a project. Once a specification has been created it needs to be configured.
Note: Visit Assignments for information on assigning Users to Specifications.
 Creating Specifications
Once you have added a project you can use the Specifications tab to define specifications associated with the project.
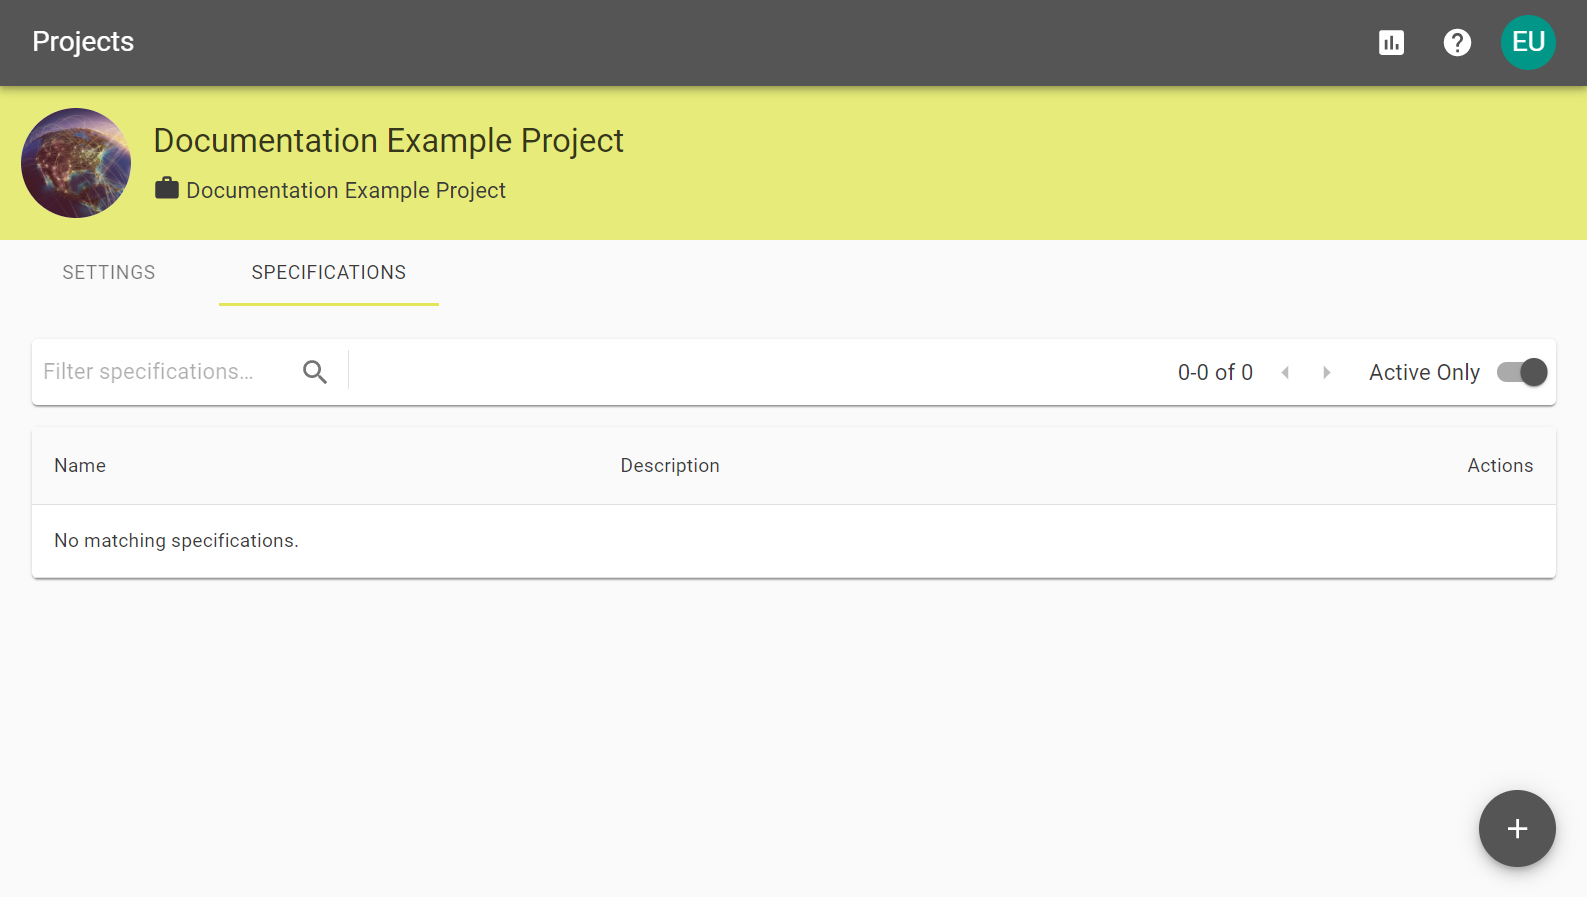
You can add a specification by selecting the ![]() icon, where you will be prompted to add a specification Name, Description, and choose a Media Retention Policy.
icon, where you will be prompted to add a specification Name, Description, and choose a Media Retention Policy.
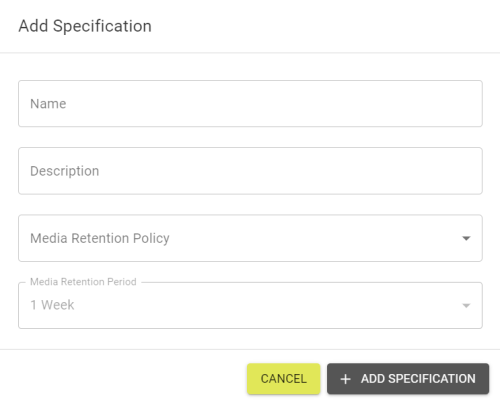
Fill out the form and click the ![]() button to create a default Specification.
button to create a default Specification.
 Specification Settings
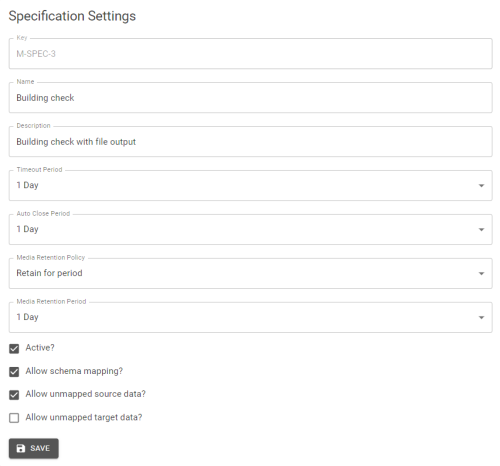
Within the Settings tab the following configuration options are available.
| Setting | Description |
|---|---|
| Key | An auto-generated unique Key based on the project name. |
| Name | Enter the name for the specification you are defining. |
| Description | This description will appear for users who have been assigned to the specification. |
| Timeout Period |
How long before an incomplete submission times out and is rejected:
|
| Auto Close Period |
How long before a finished submission closes automatically. This has the same options as Timeout Period. |
| Media Retention Policy |
The media retention policy defines how long any uploaded data will remain on the system, from the following options:
|
| Media Retention Period |
How long media is retained for if the Media Retention Policy is set to Retain for period. This has the same options as Timeout Period. |
| Active? | Set to mark the specification as active to allow interaction. |
| Allow Schema Mapping? | Select if you would like Suppliers to configure their own schema mapper. |
| Allow unmapped source data? |
Select this option to allow suppliers to submit unmapped data. Note: Allowing unmapped data can lead to submission failures during data processing. |
| Allow unmapped target data? |
Select this option to allow users to submit unmapped target data. |
 Configuration
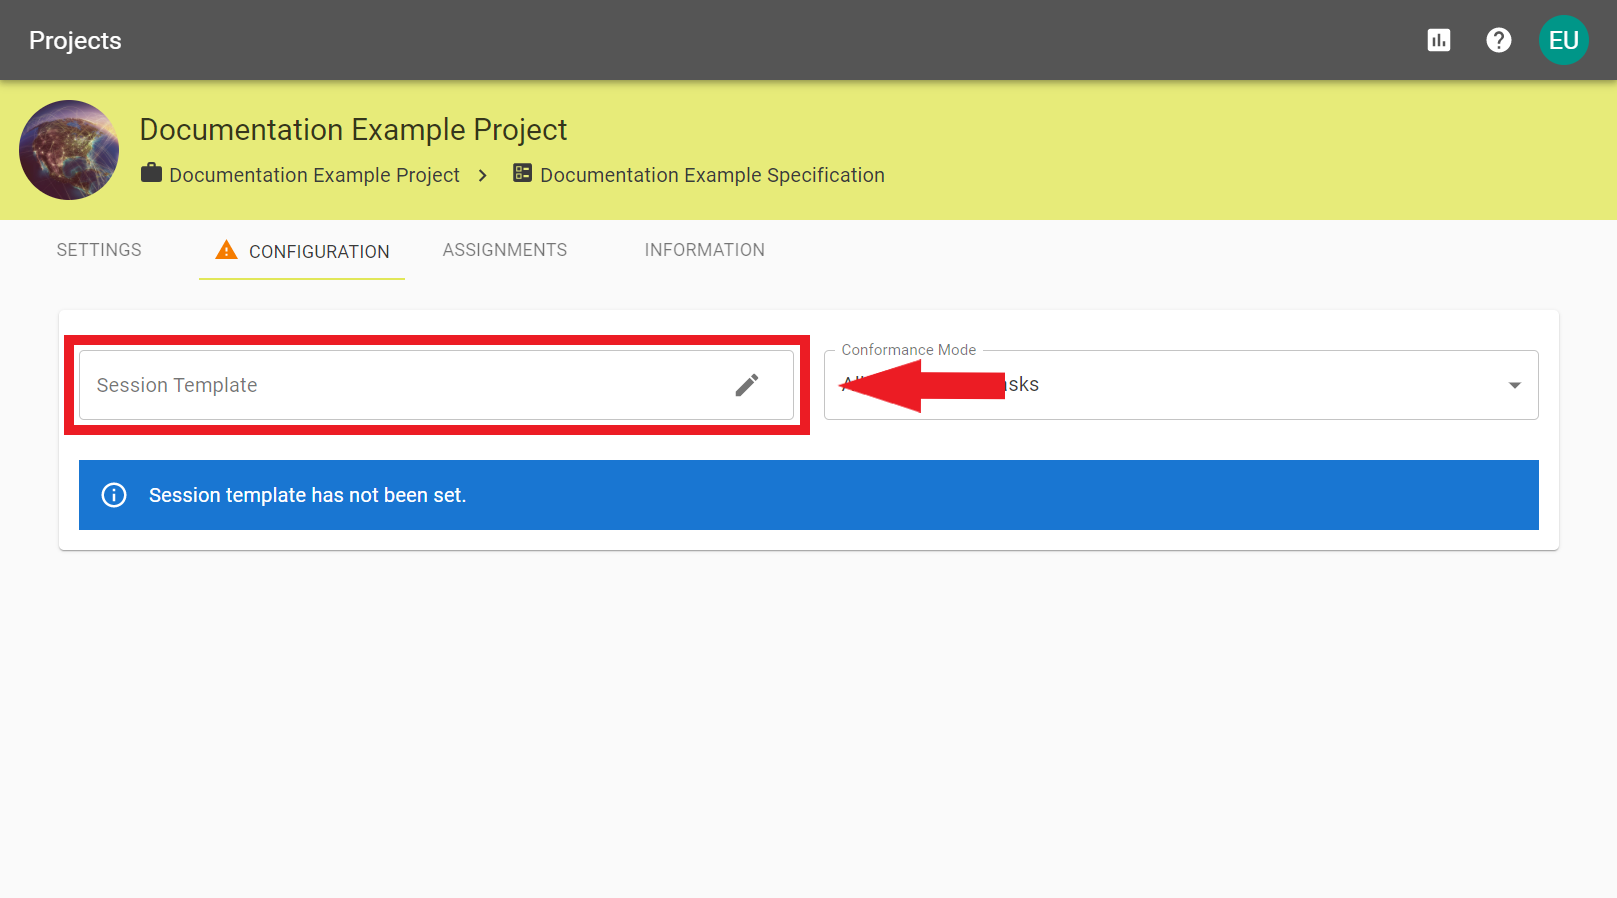
Within the Configuration tab you can select which session template you would like to use, and configure conformance modes.
Selecting the ![]() icon in the Session Template field will allow you to choose a template to use and, once this has been selected, the relevant data stores will be available to configure.
icon in the Session Template field will allow you to choose a template to use and, once this has been selected, the relevant data stores will be available to configure.
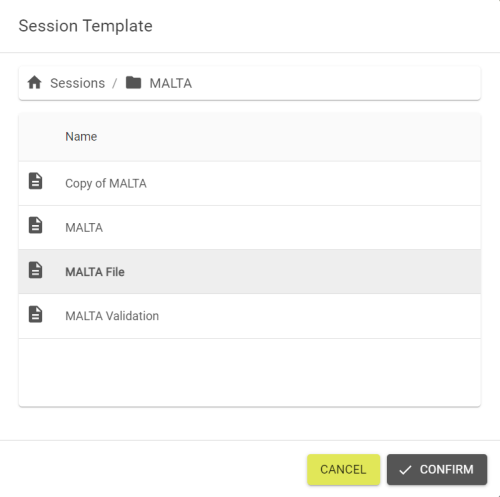
Navigate the file structure and choose the required template and click Confirm.
 Conformance Mode
The conformance mode can be changed by selecting one of the three options form the drop down menu:
- All Check Rules Tasks - Only Check Rules Tasks will be used for verification.
- All Tasks - Both Rules and Actions Maps will be used for verification.
- Selected Tasks - Only the selected Tasks will be used for verification.
 Data Stores
From here, you can decide whether to allow the upload and download of input/output data.
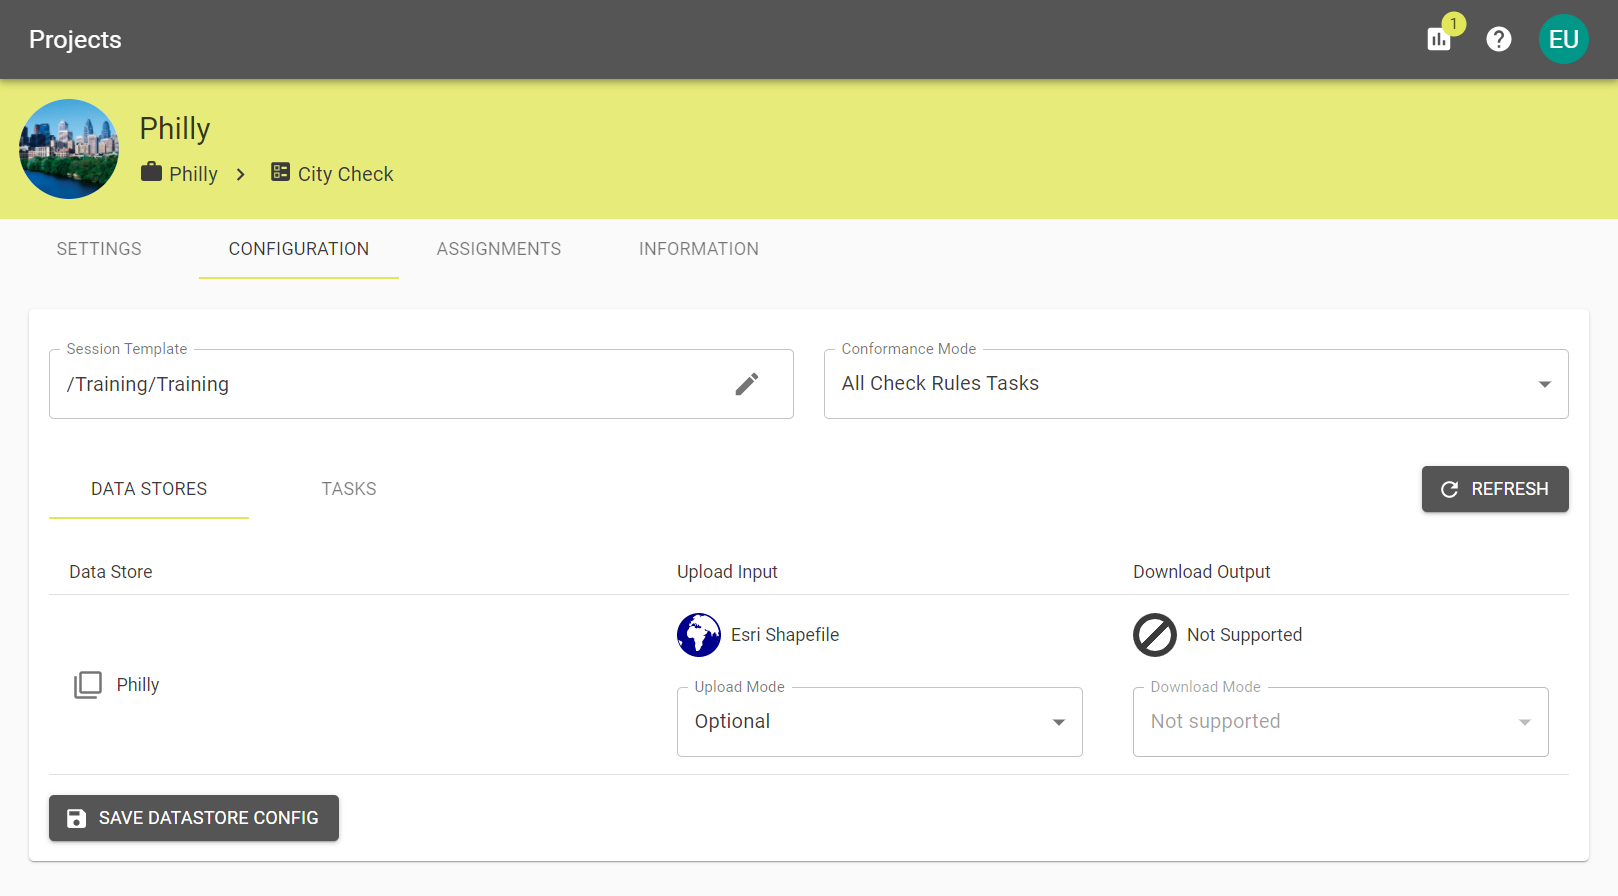
The Upload Mode can be set so that submissions don't require data to be uploaded before running. This will use the data that was set in the 1Integrate configuration for the submission.
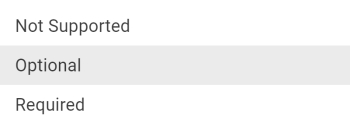
- Not Supported - Data cannot be uploaded.
- Optional - Data isn't necessary but can be uploaded if needed.
- Required - A file must be uploaded.
 Tasks
Tasks
This tab displays a breakdown of all tasks associated with your selected template.
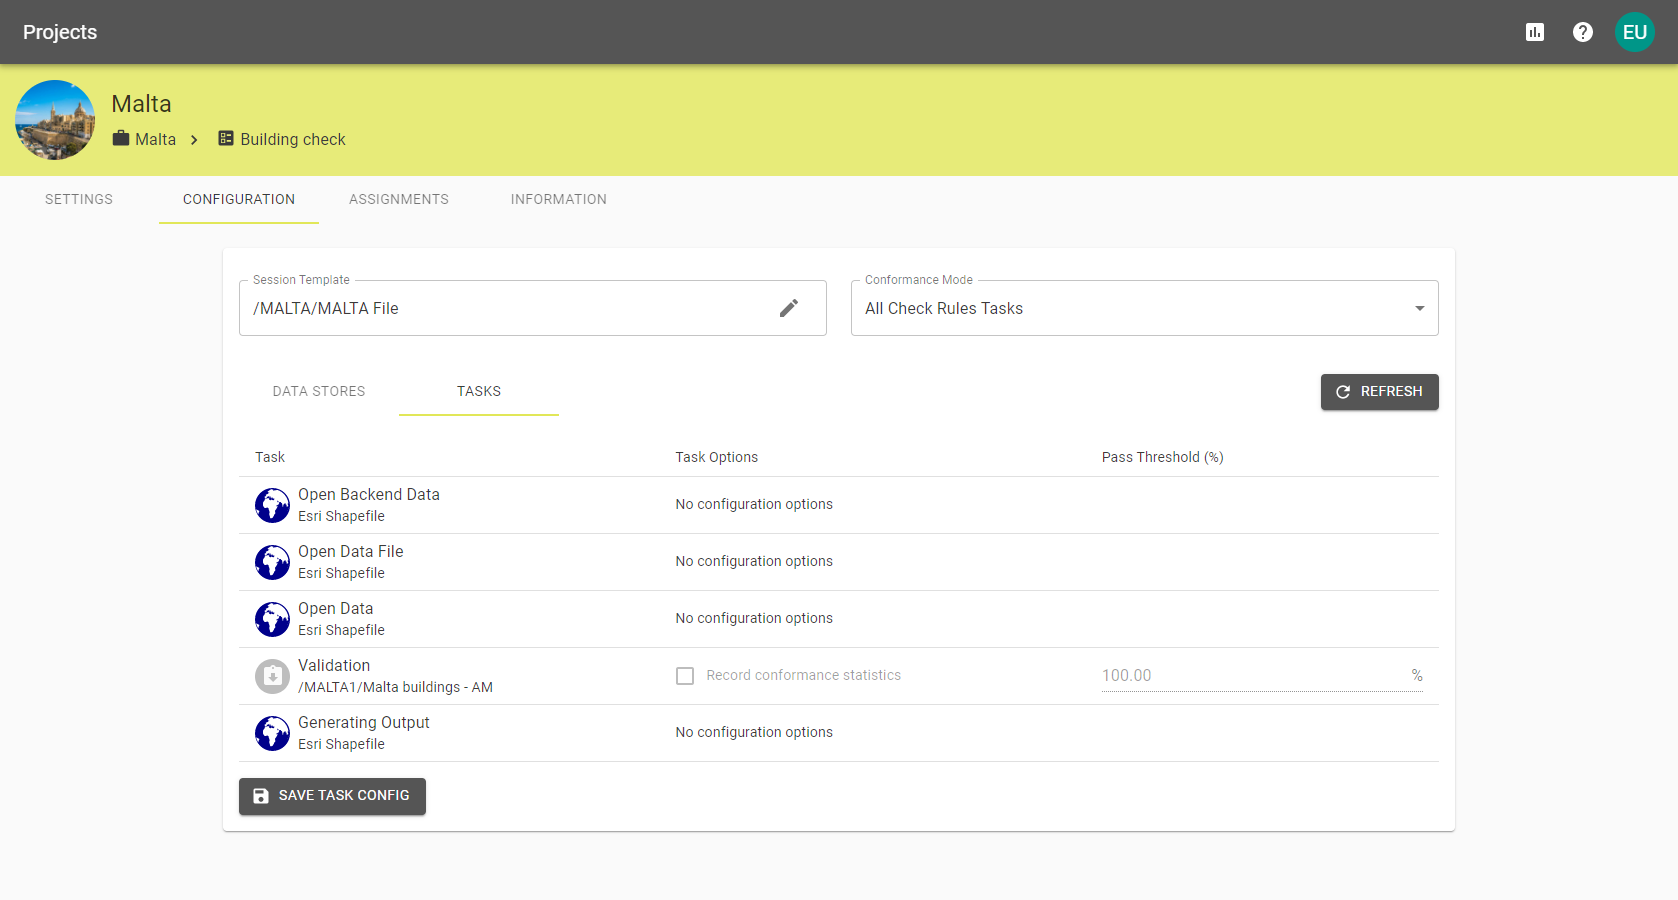
If Selected Tasks Only is the chosen Conformance Mode, you can choose which Tasks will be used to confirm success or failure by selecting the Record conformance statistics check boxes.
 Pass Thresholds
If you have Pause tasks defined in your 1Integrate Session, you have the option to Enforce Pass Thresholds. For more information about 1Integrate Sessions, please refer to the 1Integrate documentation.
Defining a Pass Threshold (%) on a task will determine the percentage of feature conformance required in order to continue a submission. The Pass Threshold (%) defaults to 100.00% and can only be edited on Tasks used in conformance.
Note: You can set a Pass Threshold (%) for submissions that do not have pause tasks. This will not halt the submission process but will give a warning to the user and show the percentage of conformation.
 Deleting Specifications
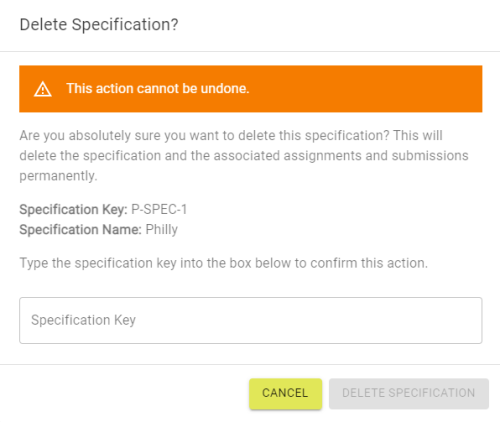
To delete a specification select Delete Specification from the Specification Settings tab.
Note: Deleting Specifications cannot be undone and can only be deleted by Administrators with the receiver permission.
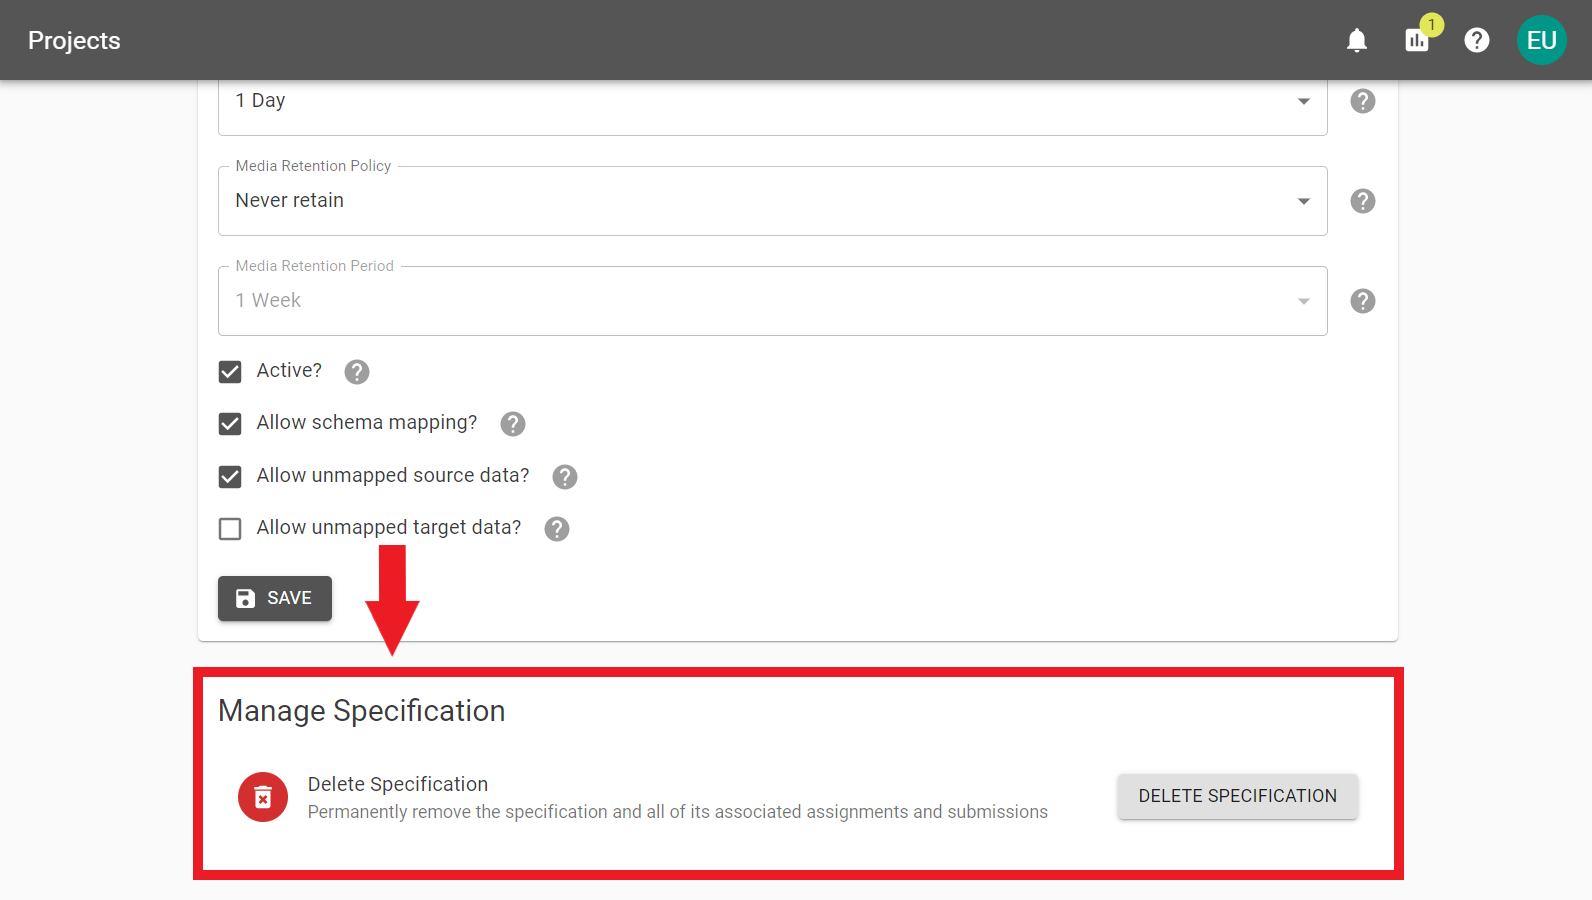
To confirm deletion enter the Specification Key to remove the Specifications and all its associated Assignments, and Submissions.
