|
Append To Line: Allows you to add one or more points to the end of a line to digitise an extension in any shape. Click on the end of the line you want to append, then click to create new vertices. |
|
Extend Line: Extends a line by projecting one end in a straight line until it meets the selected feature. Click the end of the selected line that you want to extend, then click the feature to which you want it to extend. |
|
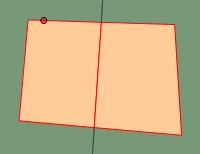
Split: Splits lines or polygons. When splitting a feature, the largest part retains the identity of the original feature. The other parts are created as new features of the same class and with the same attribute values as the original feature. Lines can be split in two ways:
Polygons are split by selecting one or more lines that cross the polygon. These lines might split the polygon into multiple parts, and a polygon can be split by selecting a chain of contiguous lines. |
|
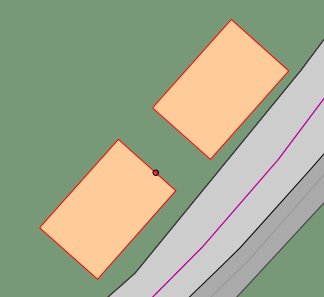
Clone Feature: Creates a copy of the selected feature. To create a clone, click the feature and select Clone Feature. Either accept to create an identical copy, or click a start point and end point to create a copy that is offset by the specified distance. |
|
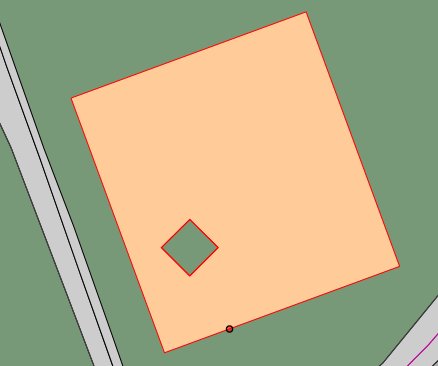
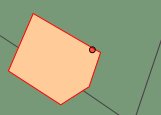
Punch Feature: Cuts out of an existing polygon using another polygon. Click the polygon to use to cut the hole. This can either be a completely contained polygon (which results in a hole in the original feature) or a polygon that touches or overlaps the boundary, resulting in the selected polygon being shrunk without creating a hole. The result must still be a single-part polygon, therefore you cannot use this operation if the resulting polygon would be split in two. |
|
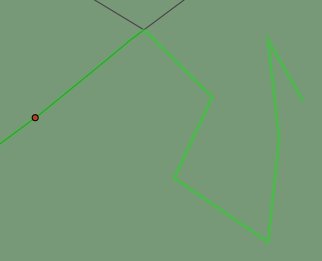
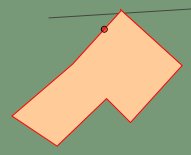
Reshape Feature: Reshapes polygons and lines by re-digitising part of the line or polygon. Select the feature you want to reshape and select Reshape Feature. Click at the point on the line or polygon where you want to restart digitising and then digitise as normal. Double-click on the selected line or polygon to define the end of the new section or click Complete to complete the operation. You can also change the shape of a line or edge by following another line. See Creating features for more information on reshaping with follow enabled. When reshaping polygons, the reshape must be defined in the same direction as the polygon boundary that is anti-clockwise for the outer boundary and clockwise for the inner boundary. |
|
Reverse Line: Reverses the direction of lines. Line direction is indicated by arrows. |
  |
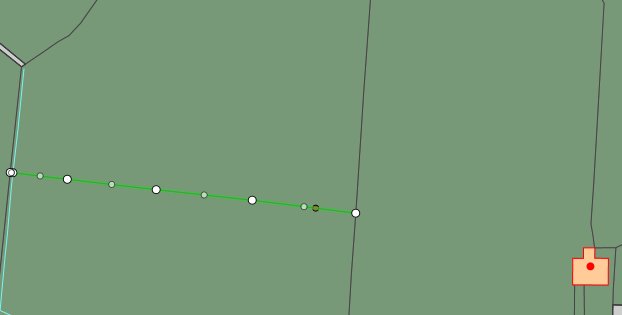
Move Feature: Allows you to move a feature to another location on the map. Select Move Feature, click on the feature, then accept or double-click on the map to place the feature in the selected location. |
|
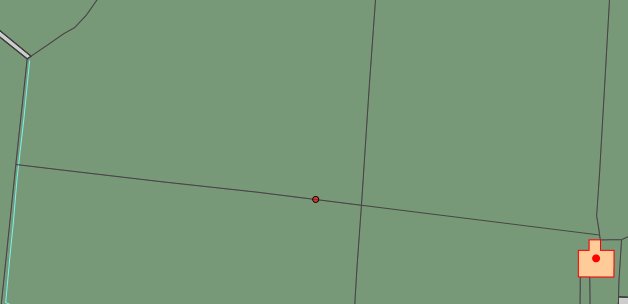
Delete Feature: Deletes the currently selected feature. |
|
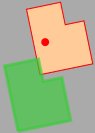
Merge Feature: Merges features of the same class that are adjoining (touching edges.) Select a feature, select Merge Feature, then select an adjoining feature to merge into the first feature selected. To merge a feature that is of a different class, first change the feature's class to be the same. |
|
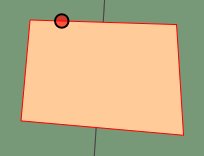
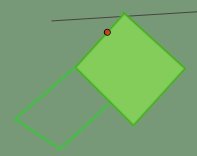
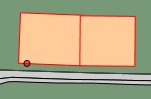
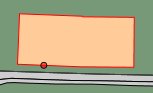
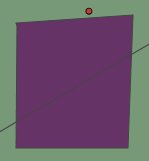
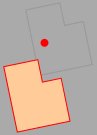
Align Feature: Aligns features to a selected line segment, for example, to align buildings to roads. Select the feature to align by clicking near the segment that you want to align, then select Align Feature. Select the line segment you want to use for alignment. The feature is now aligned to this line segment. In the example on the left, the bottom edge of the polygon has been selected and is then aligned to the line segment on the left-hand side. |
|
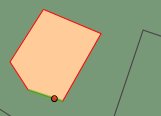
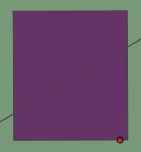
Square Feature: Adjusts polygon edges to square angles that are close to 90 degrees. Line segments are adjusted so that they are parallel to the base line or form a right angle with the base line. The squaring tolerance is a tolerance in degrees, which specifies the maximum angle by which the Square function will adjust a line segment. First click the segment of the feature on which to square against, then accept the operation to square the feature. Line segments that need adjusting by more than this tolerance are not adjusted. |
Change Class: Allows you to change the class of a selected feature. Click the feature, select Change Class, and select a class from the list. Properties (other than id) that are common between the source and target classes will be retained. |
|
|
Create Parallel: Creates a line parallel to another existing line. Select a line, select Create Parallel, enter an offset value in the Offset field (typically in meters), and click on the map. To create a parallel to the right or below the original line, enter a positive value in the Offset field. To create the parallel to the left or above the original line, enter a negative value. You can also click on the map to define the positive offset. |