-
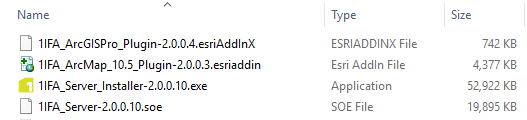
Launch the wizard by double-clicking on 1IFA_Server_Installer-[version].exe.
The 1Integrate for ArcGIS Setup Wizard will open.
-
Click Install to proceed.
If prompted to trust the application, click Accept.
-
The Setup Wizard will now run through each component to be installed, starting with the Metadata Service.
Click Next to proceed.
-
If you want to change the location in which to install the Metadata Service, click Change.
To accept the location and proceed, click Next.
-
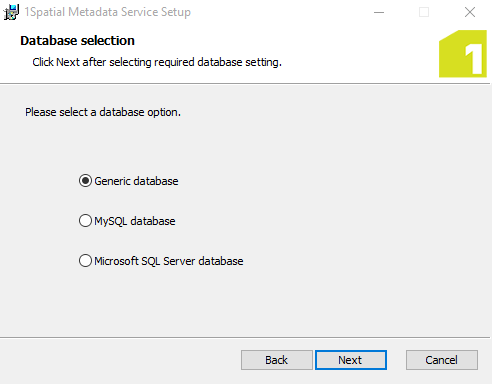
Select a database option (and enter further credentials as required).
-
Generic database - a lightweight file-based database option (not recommended for implementations requiring high usage or many users)
-
MySQL database
Note: MySQL must already be installed.
Provide the following information to connect to your MySQL database:
- Username
- Password
- Hostname
- Port number
- Database
-
Microsoft SQL Server database
Note: Microsoft SQL Server must already be installed.
Provide the following information to connect to your Microsoft SQL Server database:
- Username
- Password
- JDBC URL
Once completed, click Next to proceed.
-
Enter the Metadata Service endpoint port (by default this is 9998).
Click Next to proceed.
-
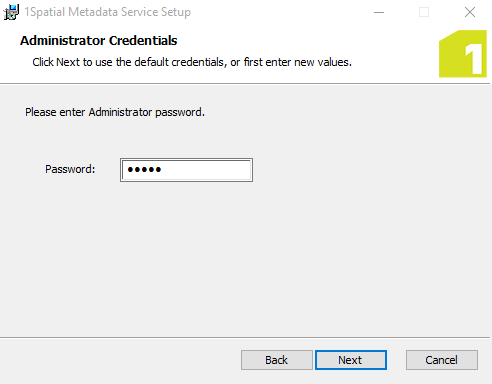
Enter an Administrator password, used to access the Metadata Service.
Note: This will become the password corresponding to the username "admin".
Note: We recommend you overwrite the default value for security purposes.
Click Next to proceed.
-
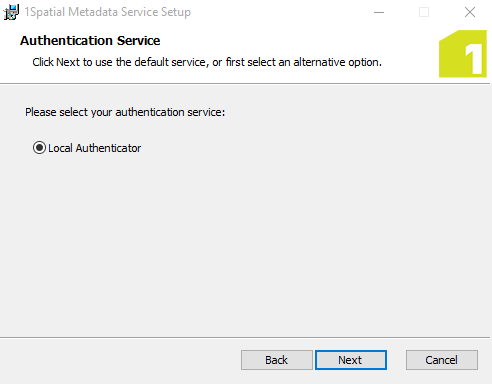
Select an authentication service to be used by users accessing the Metadata Service:
Note: Select Local Authenticator, as other options are not yet supported.
Once selected, click Next to proceed.
-
Click Install.
The Metadata Service is now installed. Click Finish to proceed.
-
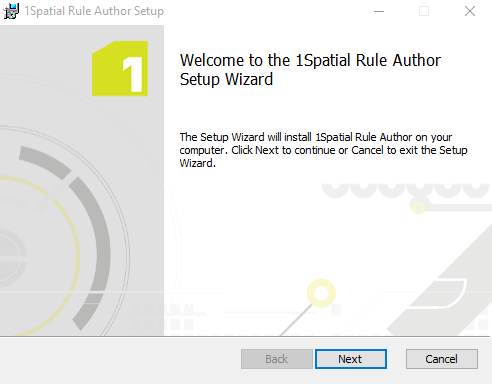
The Setup Wizard will now install the next component, the Rule Author.
Click Next to proceed.
-
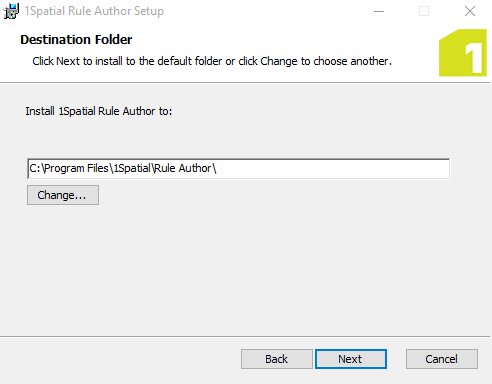
If you want to change the location in which to install the Rule Author, click Change.
To accept the location and proceed, click Next.
-
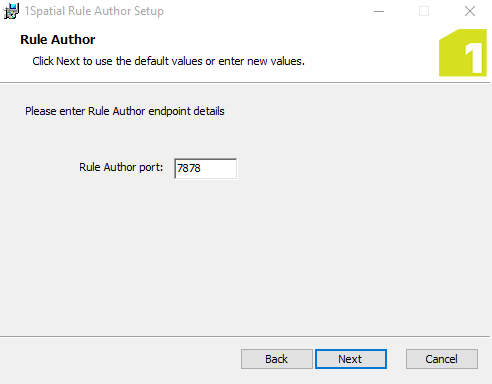
Enter the Rule Author endpoint port (by default this is 7878).
Click Next to proceed.
-
Enter the Metadata Service endpoint details:
Click Next to proceed.
-
Click Install.
The Rule Author is now installed. Click Finish to proceed.
Note: You can test that the Rule Author has installed correctly by navigating to https://[host]:[port]/login.html. The login screen should appear.
-
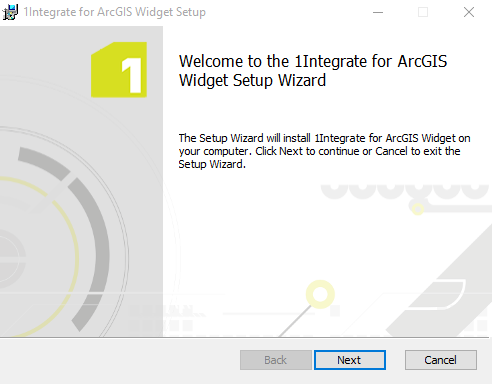
The Setup Wizard will now install the 1Integrate for ArcGIS Widget.
Click Next to proceed.
-
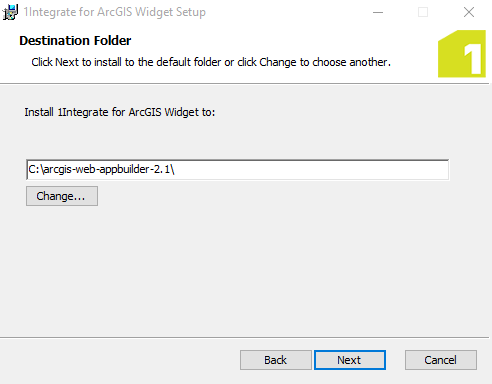
If you want to change the location in which to install the 1Integrate for ArcGIS Widget, click Change.
To accept the location and proceed, click Next.
-
Click Install.
The 1Integrate for ArcGIS Widget is now installed. Click Finish to proceed.
-
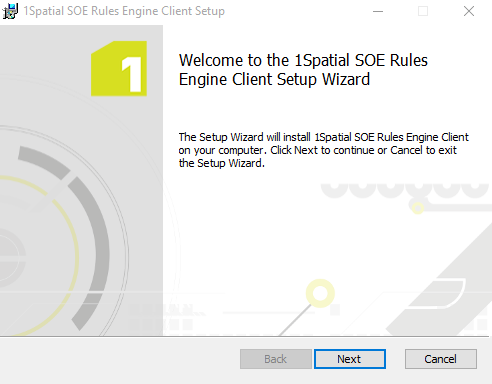
The Setup Wizard will now install the final component, the Rules Engine Client.
Click Next to proceed.
-
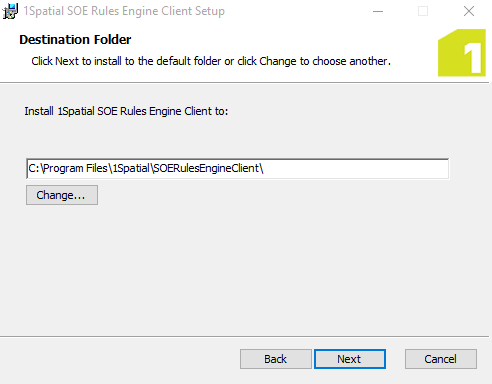
If you want to change the location in which to install the Rules Engine, click Change.
To accept the location and proceed, click Next.
-
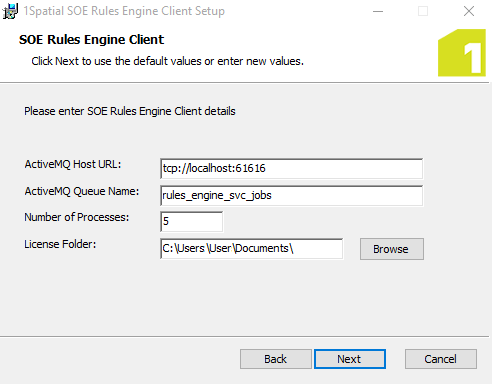
Enter the SOE Rules Engine Client details:
-
ActiveMQ Host URL - the machine and port on which Active MQ is already installed and running (see your Release Notes for system requirements).
-
ActiveMQ Queue Name - the name of the Rules Engine Queue that will be used with Active MQ. We recommend you keep the default setting.
-
Number of Workers - the number of concurrent 1Integrate for ArcGIS processes allowed. We recommend you keep the default setting.
-
License Directory - the location where the licence folder should be created (see Licences).
Click Next to proceed.
-
Enter the Metadata Service endpoint details:
Click Next to proceed.
-
Click Install.
The Rules Engine Client is now installed. Click Finish to exit the Setup Wizard.