Creating and Managing Sessions
Sessions are created and managed from the Sessions workspace.
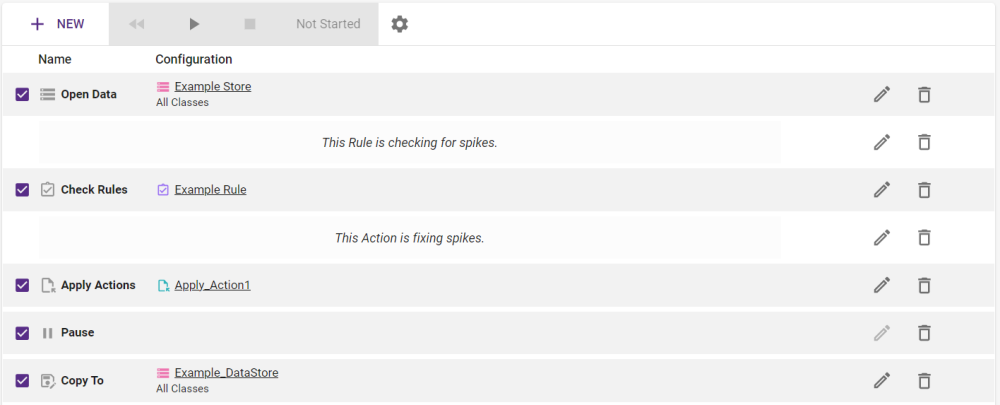
Sessions are defined by configuring a series of Tasks which determine the sequence of processes in the Session.
Creating Sessions
Once created, a Session must be defined by adding a sequence of Tasks.
The basic steps for creating and defining a Session are given below.
Best Practice: Once a Session has been put together it is good to re-evaluate the included Tasks to see if any changes can be made to increase their efficiency.
Check Rules and Apply Actions Tasks set to look at a particular feature type could use Non-Spatial Filtering to process a specific subset or only necessary Classes could be included in the Open Data Task.
Renaming, Moving and Deleting Sessions
Sessions can be renamed, moved or deleted by right clicking items in the Navigation Pane, or by using keyboard shortcuts.
For more information on using the navigation page please refer to Items and Folders.
Note: To move or copy into the top level, select the title of the list of items as your target folder.
Adding Comments to Sessions
You can add comments to the Tasks in a Session by right-clicking on a Task and selecting Add Comment from the context menu. The comment will then appear above the selected Task.
Once added, Comments can be changed with the Edit Icon ![]() and removed with the Delete Icon
and removed with the Delete Icon ![]() . Additionally, the comments can be relocated by selecting the Move Up and Move Down arrows, or by dragging and dropping.
. Additionally, the comments can be relocated by selecting the Move Up and Move Down arrows, or by dragging and dropping.