Custom Signs
If the default signs within 1Streetworks don't meet the signage needs, Custom Signs can be created as required. This is done while editing a plan, and the signs can be used while Editing Plans or adding Diversions.
Note: The language on the signage for custom signs appears exactly as written. If additional languages are needed, they must be added manually.
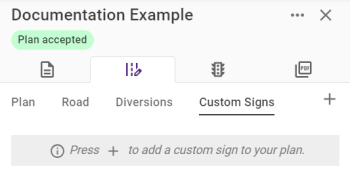
Create a new sign by clicking the Add Custom Sign button ![]() in the Custom Signs section in the Plan Design tab.
in the Custom Signs section in the Plan Design tab.
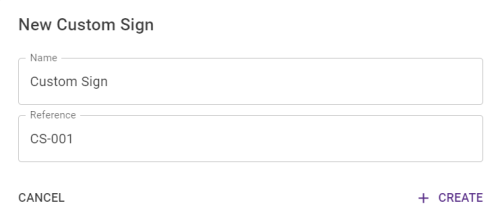
Each custom sign requires a unique Name but the Reference field is optional.
Once created the custom sign can be added as a feature in the Plan tab or in the Diversion tab.
Editing a Custom Sign
Custom signs can be updated in the editor, starting from the same base design.
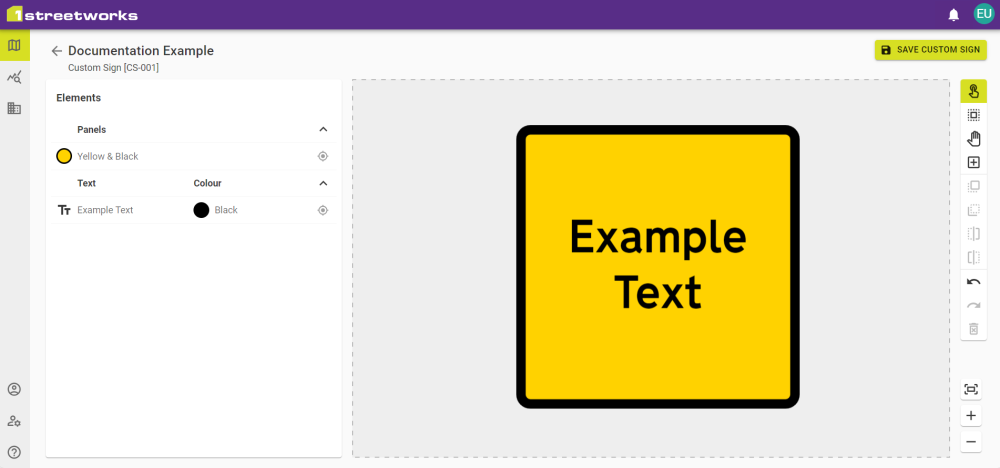
Existing elements can be edited by selecting them, or additional elements can be added to the sign.
Elements
|
Element |
Options |
|---|---|
|
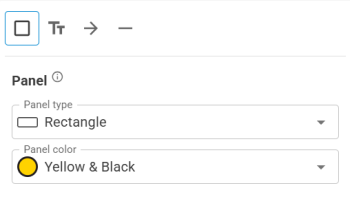
Panel |
Panel Type - Red & White, Yellow & Black, Blue & White, White & Black. |
|
Text |
Text Colour - Black or White. Text Alignment - Left, Centre, Right. Text is free text and can contain special characters as well as returns. |
|
Symbol |
Symbol Type - Arrows, Roadworks sign, basic shapes, etc. See app for full list. Symbol Colour - Black or White. |
|
Divider |
Divider Orientation - Horizontal or Vertical. Divider Colour - Black or White. |
Elements can be adjusted in size by selecting it and pulling on the green nodes that outline it.
Guide lines appear when placing objects, for help centring elements over others. There is a light "snapping" effect to help with placement.
Fully select multiple elements together to temporarily group them, allowing them to be moved as though they were a single object. This also allows the grouping to be moved forward and backward within the editor.
Once editing is complete, click Save Custom Sign to see a preview of the sign that will be created.
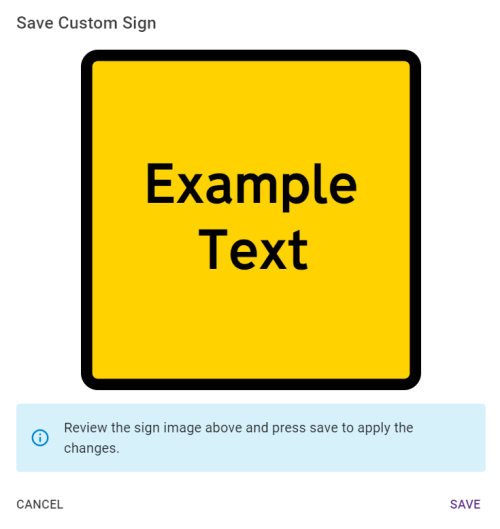
Click Save to make it available as a Custom Sign feature.
Toolbar
|
Tool |
Shortcut |
Description |
|---|---|---|
|
|
Esc |
Select an individual element. |
|
|
Ctrl+A |
Select all elements. |
|
|
F |
Select multiple plan features by dragging a selection box on the map. |
|
|
P |
Click and hold to pan around the editor. |
|
|
A |
Add a new element. |
|
|
|
Bring element to the front. |
|
|
|
Send element to the back. |
|
|
|
Bring element forward. |
|
|
|
Send element backward. |
|
|
Ctrl+Z |
Undo the last action(s). |
|
|
Ctrl+Y |
Redo the last action(s). |
|
|
Del |
Delete the selected feature(s). |
|
Copy |
Ctrl+C / Ctrl+X |
Copies the selected feature(s). |
|
Paste |
Ctrl+V |
Pastes a copy of the selected feature(s). |
|
|
|
Zoom to fit page. |
|
|
|
Zoom in. The mouse wheel and trackpad also work. |
|
|
Zoom out. The mouse wheel and trackpad also work. |
 minute read