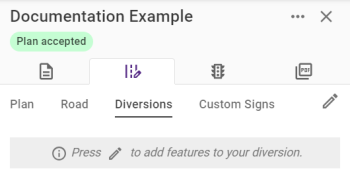
Diversions
Accepted plans can have diversions added to them from the Diversions section of the Plan Design tab.
Begin creating a Diversion by clicking the Edit button ![]() .
.
Diversions use the same tools as Editing Plans, however, the features that you can add are replaced with road closures, routes, and diversion specific signs. These can be Manual Diversions or using the Auto-Router , which automates some of the diversion creation.
Diversion Features
Closures, when added, create a red, dashed line between any points added to the map.
Routes, when added, create a coloured line between any points on the map, avoiding any Closures that are present.
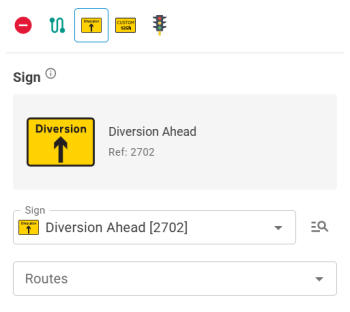
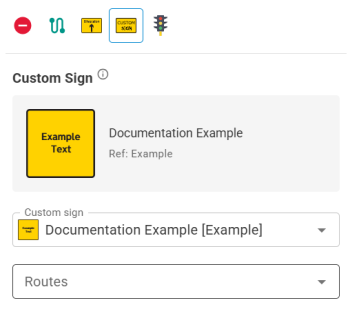
Signs are created in the same way as when editing plans, but the option to add supplementary plates is replaced with the Route(s) to associate them with.
Any accessible Custom Signs can be added from those available.
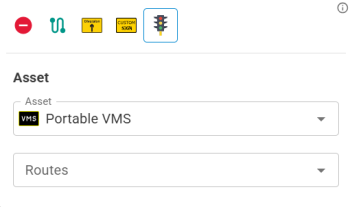
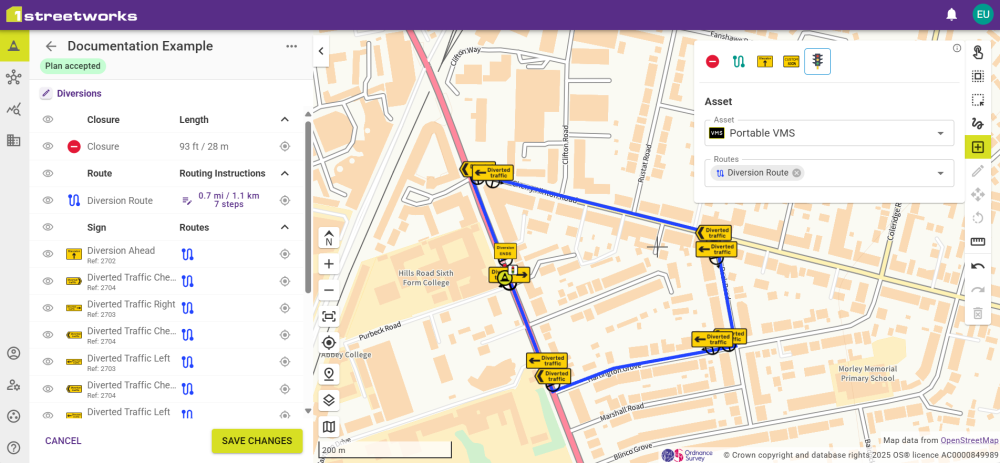
Assets can be assigned and attached to Routes.
Auto-Router
The Auto-Router allows Closures and Routes to be created in an assisted fashion. This will take two or more points and path a route or closure along the roads automatically. Points after the initial A and B points inform the Auto-Router of points on the map that the pathing should take. This allows routes to be set "the long way around" or where it is otherwise necessary to not take the shortest route.
Closures and Routes are built by adding a minimum of two points to the map. The first two points added are the primary points, with each additional point being used to influence the route between the start and end point.
Changing the Name will update how the Closure/Route is identified in the left-hand panel and makes it more identifiable when generating PDFs with Diversion information.
Additional points can be added, which will affect the pathing of the Closure/Route on the map. This follows the shortest route to each point, based on the order they are placed.
Click and drag points in the panel to change the ordering, updating the pathing.
Individual points can be deleted by clicking the Delete Waypoint button ![]() when hovering over its entry, automatically updating the pathing.
when hovering over its entry, automatically updating the pathing.
Co-ordinates are recorded for each point, updating if any changes made, but are only shown while building the route.
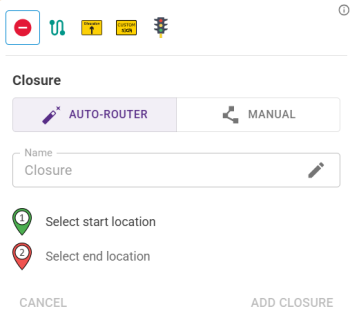
Closures
By adding two points to the map a Closure is created as a red, dashed line. Placing additional points will make the closure follow any necessary paths that are part of the closure.
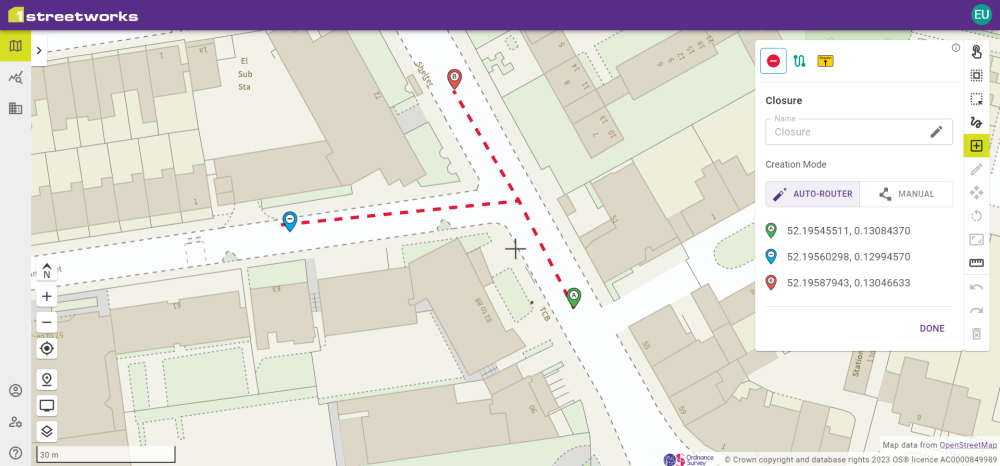
In the image above, one additional point has been added to ensure that the closure doesn't take the shortest route from the start to the end point, instead heading east before heading south and then west.
Click Add Closure to save the Closure.
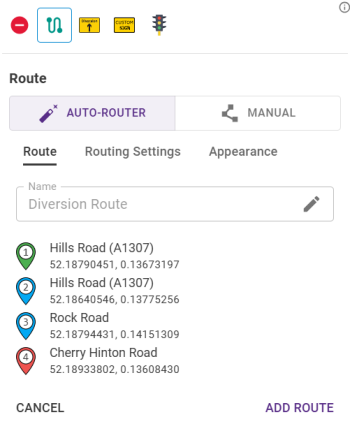
Routes
By adding two points to the map, a coloured line representing the Route will be created, automatically adding Diversion signage by default. Routes will automatically path around any Closures that are present in the Plan to create a valid Diversion.
The left-hand panel shows a preview of the directions that would be taken on that route.
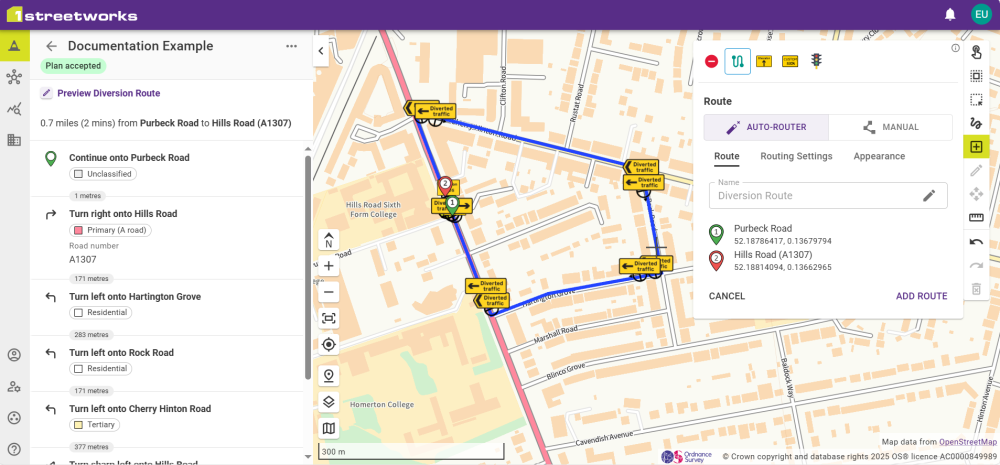
The Routing Settings and Appearance tabs are available when using the Auto-router.
Routing Settings allows the routing to be created based on road classes and whether HGVs require access.
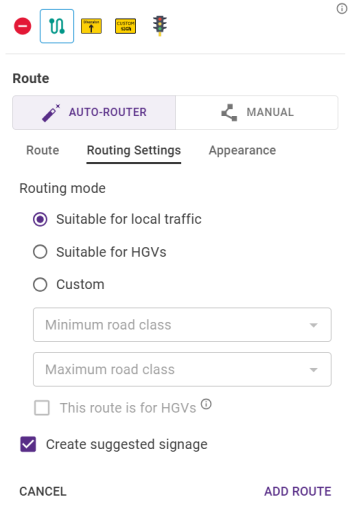
The toggle Create suggested signage will automatically add signage to the route.
Note: These are suggested signage only and may require manual additions/changes to ensure that all the correct signage has been placed.
The Appearance tab changes the colour, stroke style, and symbol for the Route.

Click Add Route to save the Route.
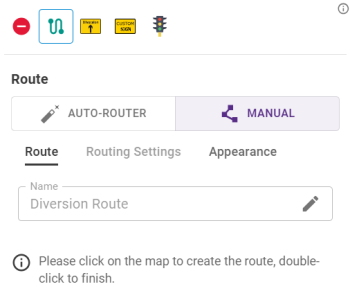
Manual Diversions
Closures and Routes are added via their palette and are drawn by clicking points on the map. Each point is anchored to the map and you should finish drawing the route before making any alterations. Right-clicking on the final point will confirm the route or press Esc to cancel it.
Once a route has been established, select it and choose the Edit button![]() from the toolbar to allow the route to be edited. Click and drag a point allows you to move that point around and the route will move in relation to it. Click along a line connecting two points to create a new point where the black dot is. Right-clicking on a point will remove it.
from the toolbar to allow the route to be edited. Click and drag a point allows you to move that point around and the route will move in relation to it. Click along a line connecting two points to create a new point where the black dot is. Right-clicking on a point will remove it.
Note: While editing, each individual change to a route can be undone with the undo shortcut or by clicking the Undo button ![]() .
.
When adding signs make sure that you have the correct route(s) selected when placing these signs to save time adding them manually later on.
If any signs are added without being assigned to a route it will show up in the Diversion tab with No Routes Selected on its entry.
Routing Instructions
When a Route has been added it will display the length of the route and how many steps there are.
Clicking this opens up the Route instructions.
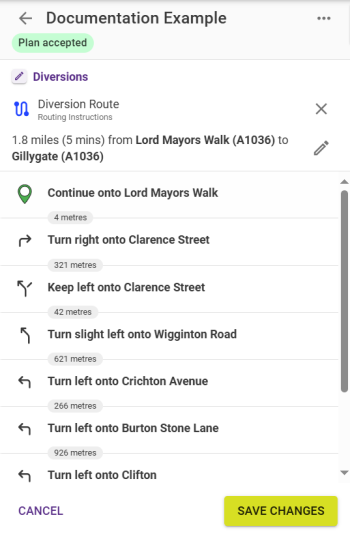
This contains the full set of generated instructions, describing each step in the diversion route.
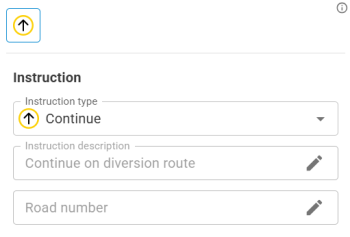
Clicking a step opens the editor panel where the instruction type and the description can be updated. The Instruction type updates the image used in the instructions while the Instruction description changes the written instructions for that step.
Click the Edit button ![]() next to edit the routing description.
next to edit the routing description.
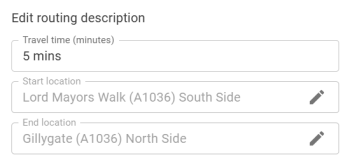
The Travel time, Start location and End location can all be updated here but only change the text, and will not update if changes are made to the Route.
If you want to cancel your changes, click Cancel in the Diversions panel.

You will then be asked to confirm this by clicking Discard Changes.
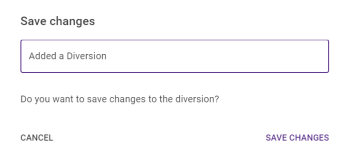
To save your changes, click Save Changes in the Diversions panel.
You are required to enter a comment to describe any changes that you have made to the plan.
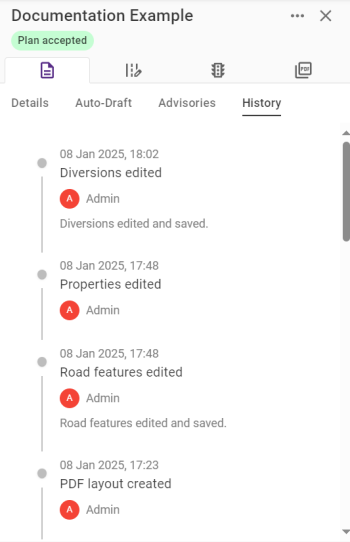
This editing session is then added to the History in the Plan panel alongside your comment.
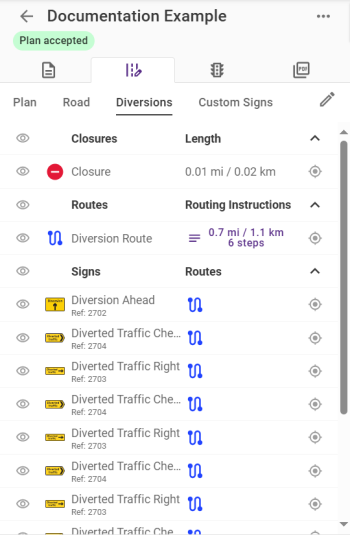
With the Diversion(s) saved, they can now be seen on the map in the Diversions tab, listing all routes and signs.
Any changes that are required can be made by clicking the Edit button ![]() .
.
 minute read