Upload Data
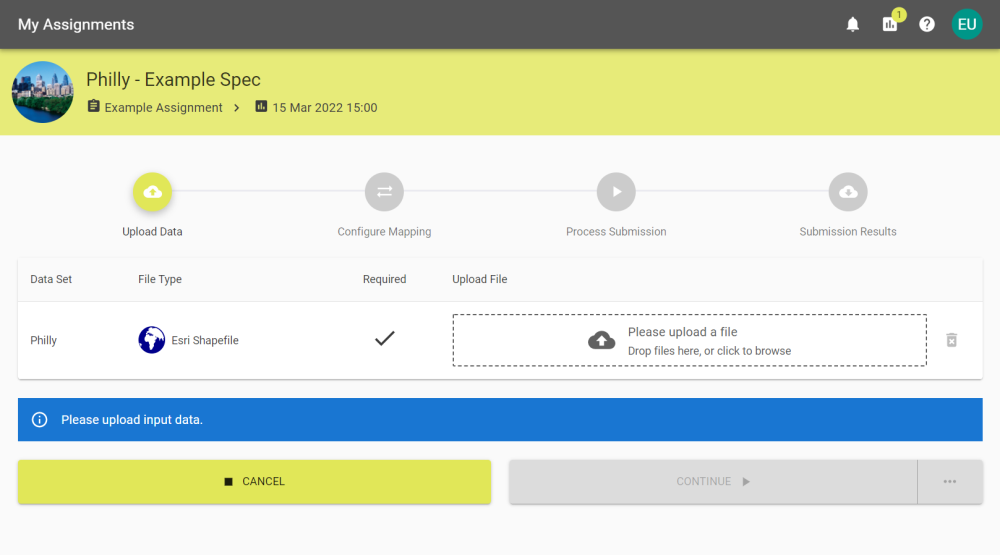
By creating a submission you will be brought to the Upload Data stage. The submission will remain open for the period configured in the project's settings but you can leave this page and return to it via the My Assignments tab at any point.
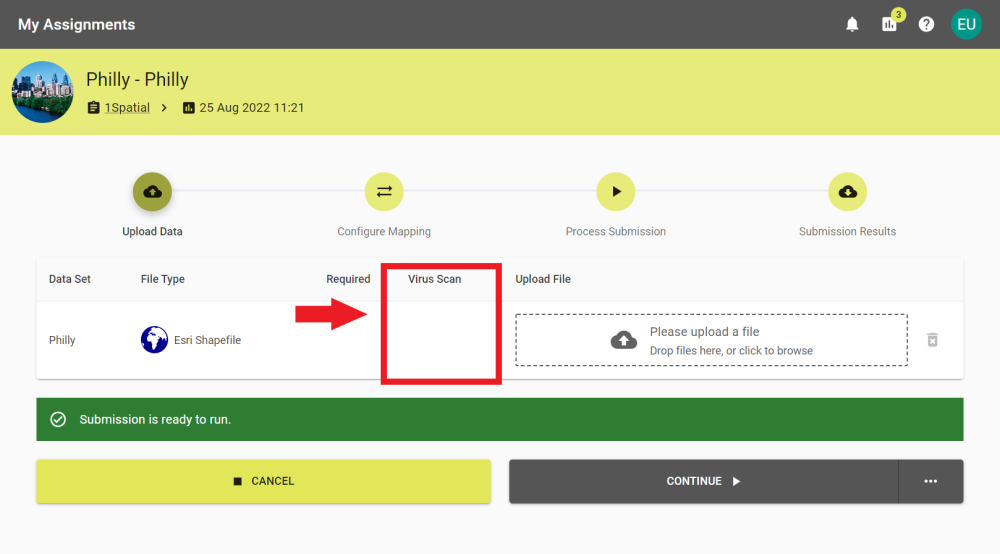
 Virus Scanner
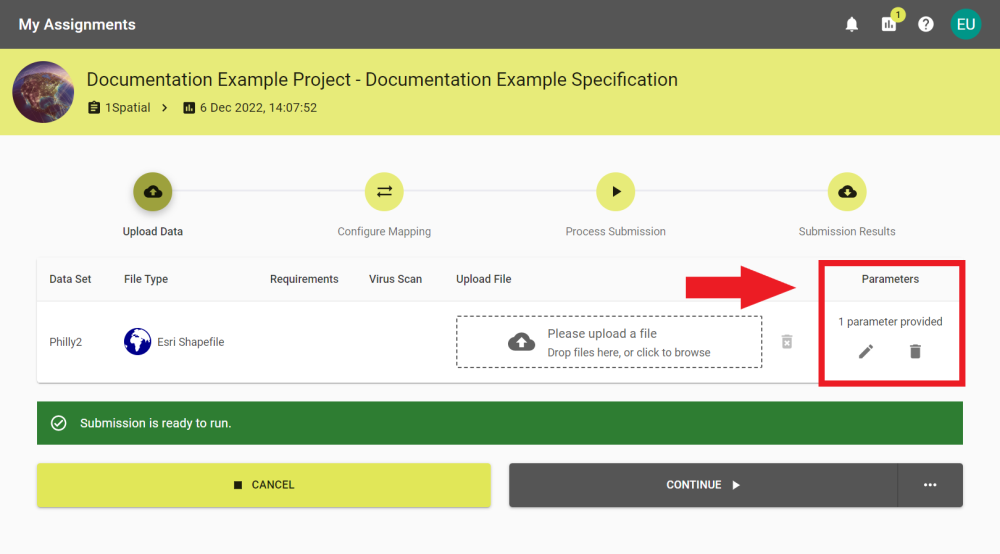
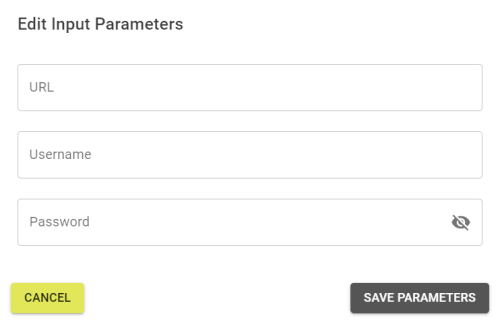
Parameters
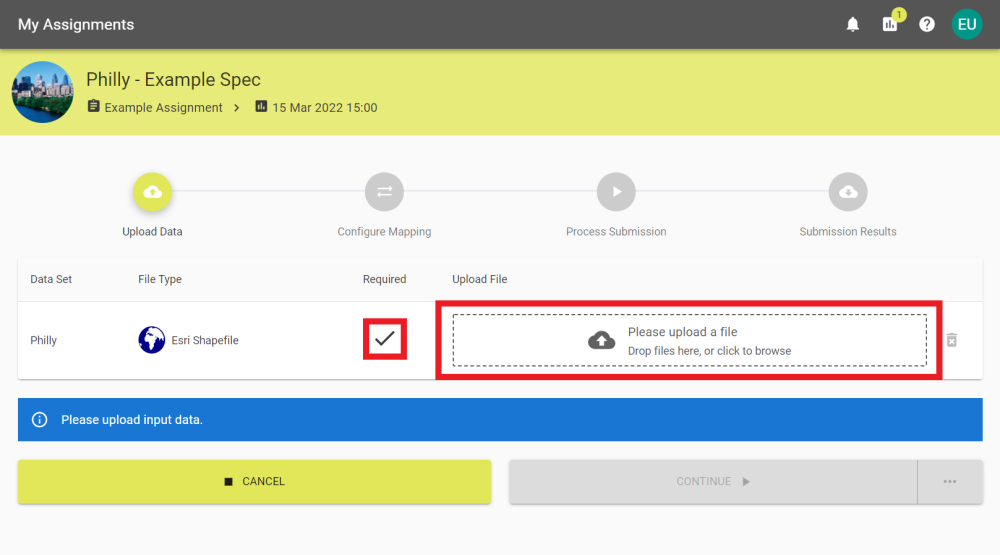
If a submission requires data to be uploaded there will be a tick under the required heading. You will need to add data for each required Data Set for the submission. You can drag and drop your desired files to the upload box or click to open the file system browser and select it from there.
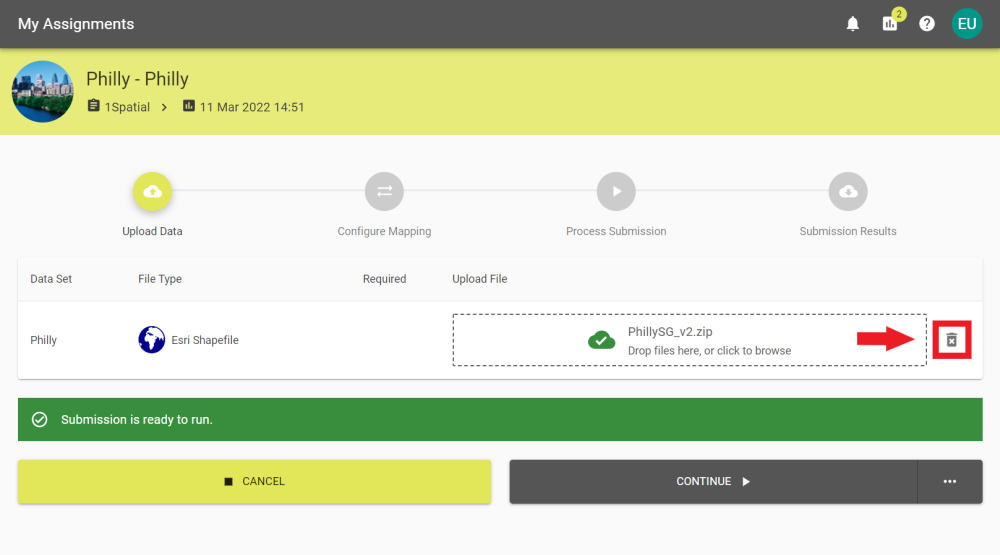
Once the file has finished uploading it will be displayed in the upload box.
If you need to remove a selected file, then you can remove it by clicking the bin icon and confirming the removal.
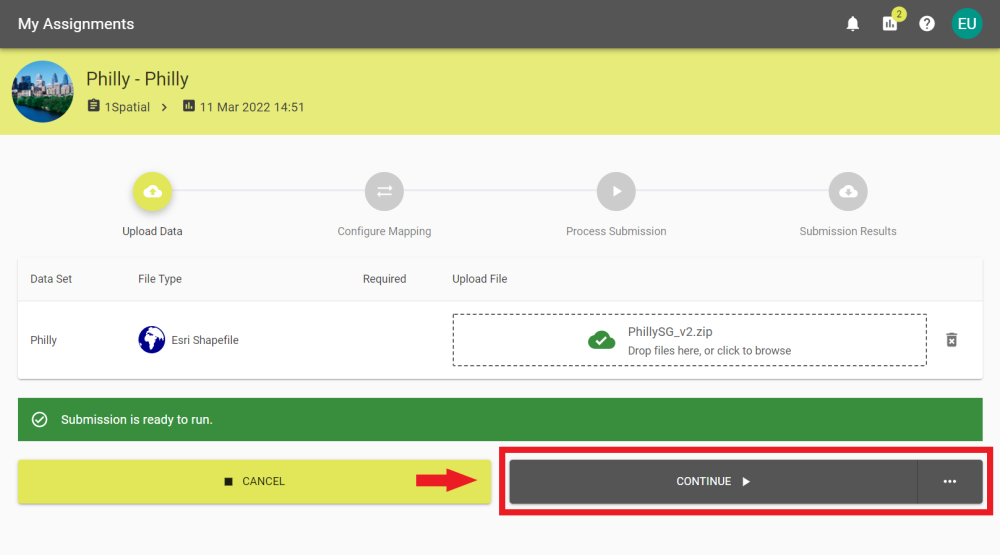
Select Continue to proceed to Configure Mapping. Alternatively, select the ellipses on the right side of the button to open the automation / notification options.
Interactive - The user is required to continue at each step.
Until processing complete - The submission will continue automatically until the processing is complete.
Until finished - The submission will continue automatically until it reaches the results stage.
Until finished & closed - The submission will run to completion and close automatically.
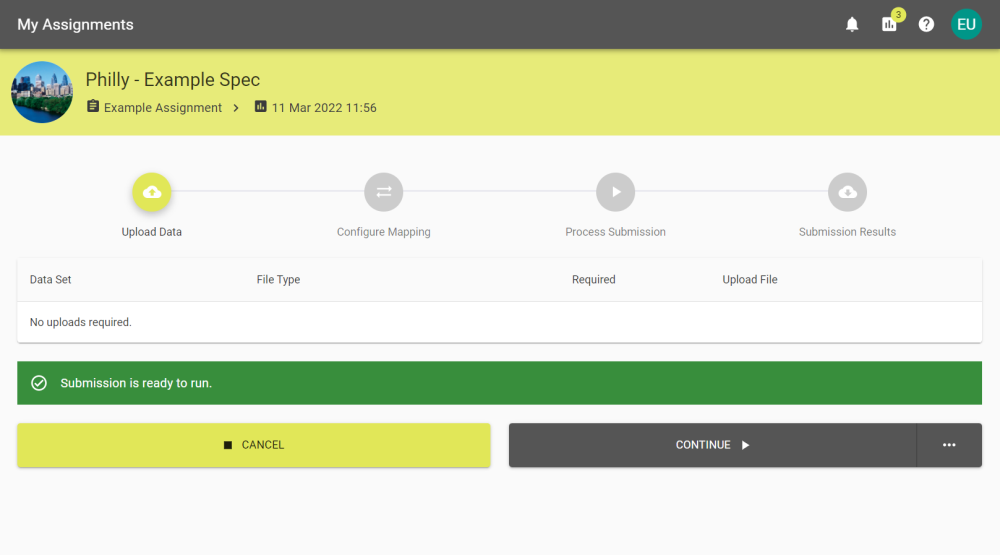
Note: Submissions that don't require data to be uploaded will already have data configured by an administrator. In this case skip to step 4.
Make sure that the file type of the data you upload is what is expected by the Data Set.
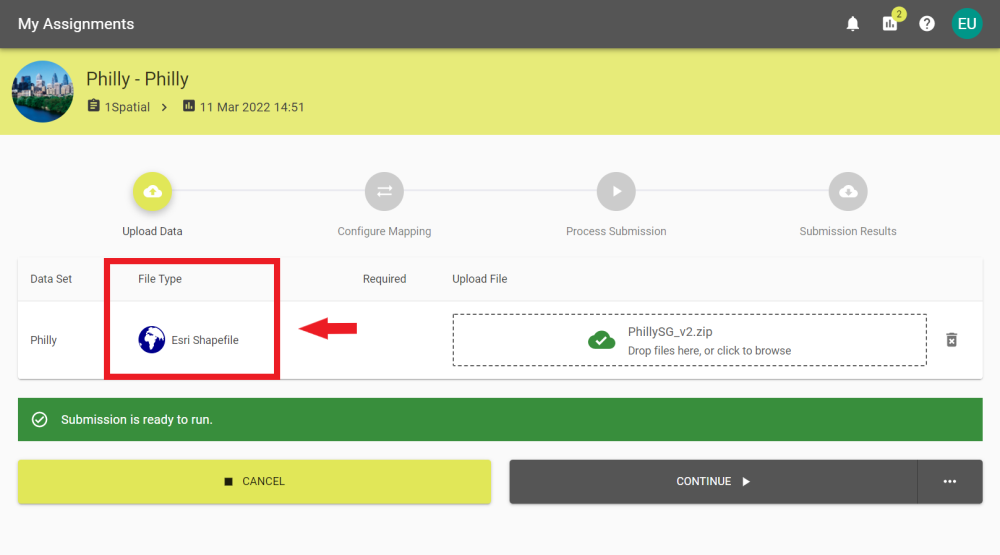
If all the files are correct the Please upload input data banner will change to the Submission is ready to run banner.
Selecting Automation / Notification will open a panel to configure how the submission should continue.
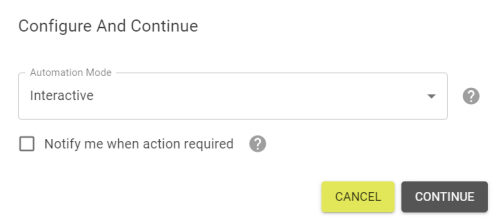
The options for automation are:
The Notify me when action required check-box will send a notification within 1Data Gateway and send a preconfigured email to the user's email when the automation reaches the stage set above.
Note: For more information, visit the Notifications page.