
Feature Vertices
When you select a feature on the map, its vertices are listed in the Properties panel, within the Vertices tab.
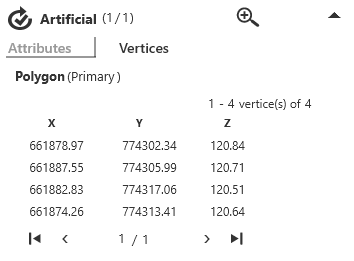
The Vertices tab in the Properties panel
Clicking on a specific vertex on the map will highlight the corresponding row in the Vertices tab.
Note: Vertices are selected if they are within snapping tolerance of the click location. Tolerance is defied in the 1Edit Settings panel (see 1Edit Settings).
Clicking on a row in the Vertices tab will select the corresponding vertex on the map.
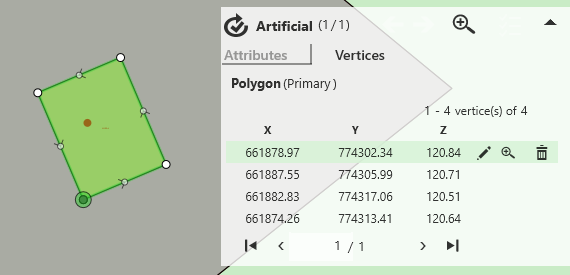
A selection showing the relevant vertex on the map
You can navigate through the rows of the vertices table using the arrow keys on the keyboard, which will automatically turn to the next page of the table if you reach the bottom. You can also scroll through the pages of the vertices table by clicking the < and > arrow buttons.
A selected vertex can be edited by clicking the ![]() icon in the selected row, and then entering new values for the X, Y or Z values. Click
icon in the selected row, and then entering new values for the X, Y or Z values. Click ![]() or press Enter to submit your changes and view them on the map, or
or press Enter to submit your changes and view them on the map, or ![]() to cancel.
to cancel.
Note: Z values of topology nodes, or edges cannot be changed. No part of a vertex can be changed for a topology face (see Using Topology Mode).
A vertex can be deleted by clicking ![]() .
.
Clicking ![]() will zoom to the selected vertex on the map.
will zoom to the selected vertex on the map.

Copyright © 2019 1Spatial

