

Installing Components for 1Integrate for ArcGIS Desktop Edition
The following components are installed via the 1Integrate for ArcGIS Setup Wizard:
- Metadata Service - stores all data related to 1Integrate for ArcGIS
- Rule Author - web application to allow the creation and publication of rules
- Rules Engine Service - runs all rule processing
Note: If you wish to configure a single central rules store for use by multiple 1Integrate for ArcGIS Desktop Edition users, see Configuring a Central Rules Store.
The Setup Wizard is run via the 1IFA_Desktop_Installer-[version].exe file provided in your Release Package.
-
Launch the wizard by double-clicking on 1IFA_Desktop_Installer-[version].exe.

Example Release Package
The 1Integrate for ArcGIS Setup Wizard will open.
-
Click Install to proceed.

Setup Wizard Start Page
If prompted to trust the application, click Accept.
-
The Setup Wizard will now run through each component to be installed, starting with the Metadata Service.
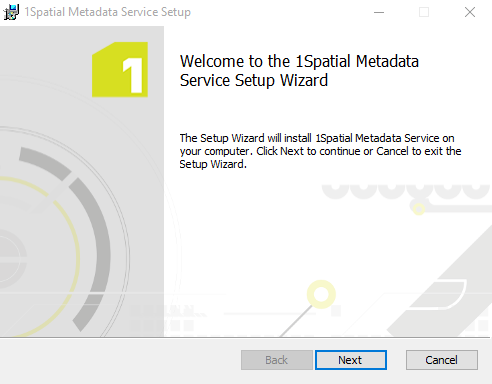
Installing the Metadata Service
Click Next to proceed.
-
If you want to change the location in which to install the Metadata Service, click Change.
To accept the location and proceed, click Next.

Location for the Metadata Service
-
Select a database option:
-
Generic database - a lightweight database option (not recommended for implementations requiring high usage or many users)
-
MySQL database
Note: MySQL must already be installed.
-
Microsoft SQL Server database
Note: Microsoft SQL Server must already be installed.
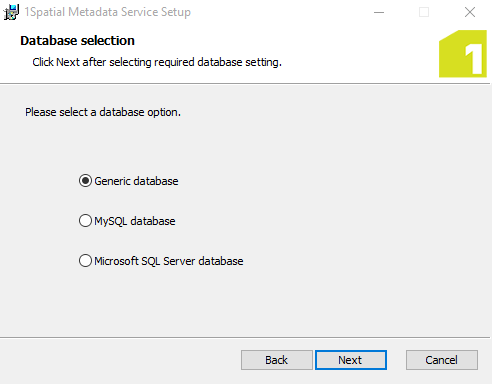
Select a database option
Once selected, click Next to proceed.
-
-
Enter the Metadata Service endpoint port (by default this is 9998).
Click Next to proceed.
-
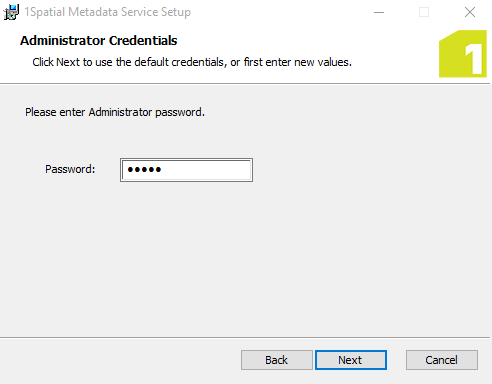
Enter an Administrator password, used to access the Metadata Service.
Note: This will become the password corresponding to the username "admin".
Note: We recommend you overwrite the default value for security purposes.
Click Next to proceed.
-
Select an authentication service to be used by users accessing the Metadata Service.
Note: Select Local Authenticator, as other options are not yet supported.
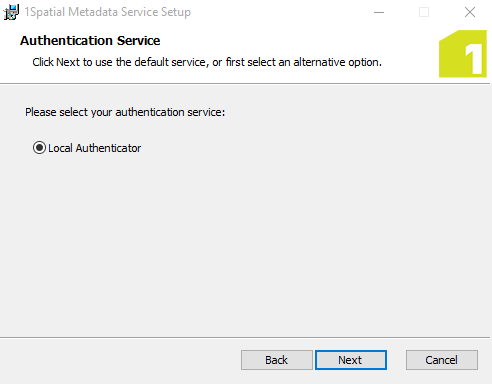
Select Authentication Service
Once selected, click Next to proceed.
-
Click Install.
The Metadata Service is now installed. Click Finish to proceed.
Note: You can test that the Metadata Service has installed correctly by navigating to https://[host]:[port]/login.html. The login screen should appear.
-
The Setup Wizard will now install the next component, the Rule Author.
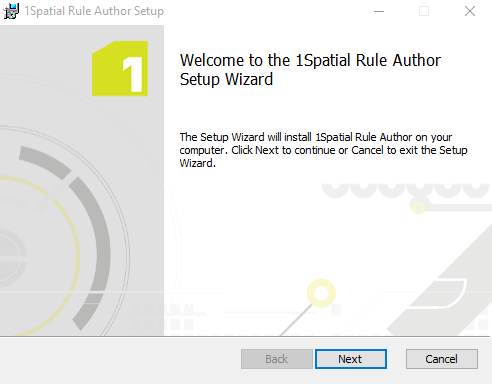
Installing the Rule Author
Click Next to proceed.
-
If you want to change the location in which to install the Rule Author, click Change.
To accept the location and proceed, click Next.
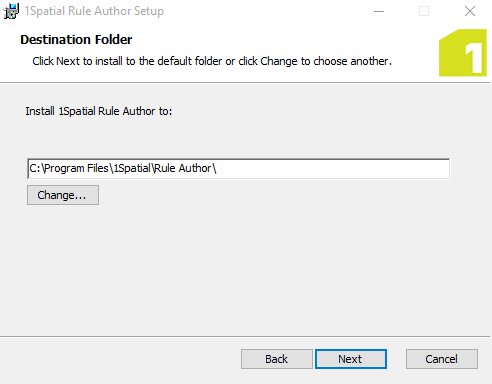
Location for the Rule Author
-
Enter the Rule Author endpoint port (by default this is 7878).
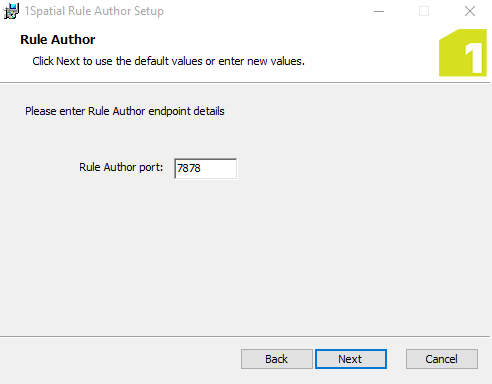
Set the Rule Author port
Click Next to proceed.
-
Enter the Metadata Service endpoint details:
-
Metadata Service host - the machine on which the Metadata Service is installed
-
Metadata Service port - the port defined during installation (by default this was set to 9998)

Enter details for the Metadata Service endpoint
Click Next to proceed.
-
-
Click Install.
The Rule Author is now installed. Click Finish to proceed.
Note: You can test that the Rule Author has installed correctly by navigating to https://[host]:[port]/login.html. The login screen should appear.
-
The Setup Wizard will now install the final component, the Rules Engine Service.

Installing the Rules Engine
Click Next to proceed.
-
If you want to change the location in which to install the Rules Engine, click Change.
To accept the location and proceed, click Next.
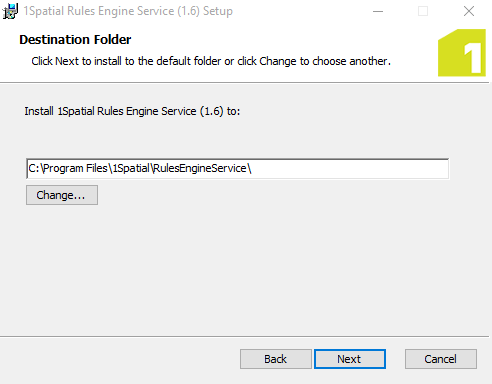
Location for the Rules Engine
-
Enter the Rules Engine Service port (by default this is 6868).
Click Browse to specify the location where the licence folder should be created (see Licences).

Rules Engine Service Details
Click Next to proceed.
-
Enter the Metadata Service endpoint details:
-
Metadata Service host - the machine on which the Metadata Service is installed
-
Metadata Service port - the port defined during installation (by default this was set to 9998)

Enter details for the Metadata Service endpoint
Click Next to proceed.
-
-
Click Install.
The Rule Engine is now installed. Click Finish to exit the Setup Wizard.
Note: You will need to acquire a licence before you can use 1Integrate for ArcGIS. See Licences for details on where to place the licence file.

