Quickstart
This guide follows the steps to create a basic Plan from start to finish, where the end goal is to have a usable PDF of the generated Plan.
Creating a Plan
-
Open the Plans tab via the View Plans tab
 on the side bar.
 -
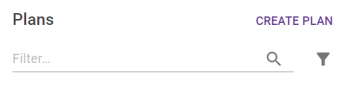
Click Create Plan on the Plans panel.
- Choose either Auto-draft or Create manually and click Continue. If you chose Create Manually, skip ahead to the Editing a Plan section.
-
If your map isn't at the correct location or zoomed in close enough, navigate there/zoom in using The Map until the extents box appears and covers the area that the plan is intended for.
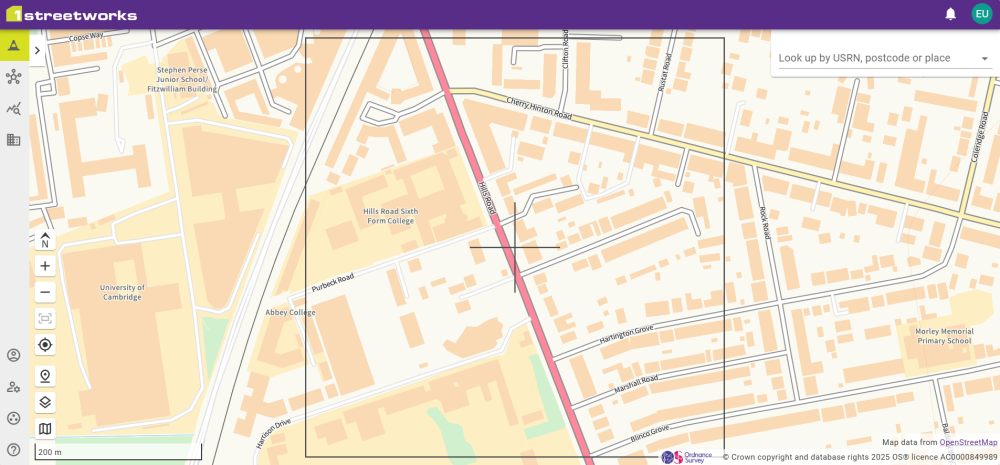
The Create Plan panel is collapsed in the above screenshot -
Complete the form in the Create Plan panel, only the Name and Promoter are required, the other fields are optional. If any details need changing later, this can be done by Editing Plans. Once everything is filled in, select Create.

-
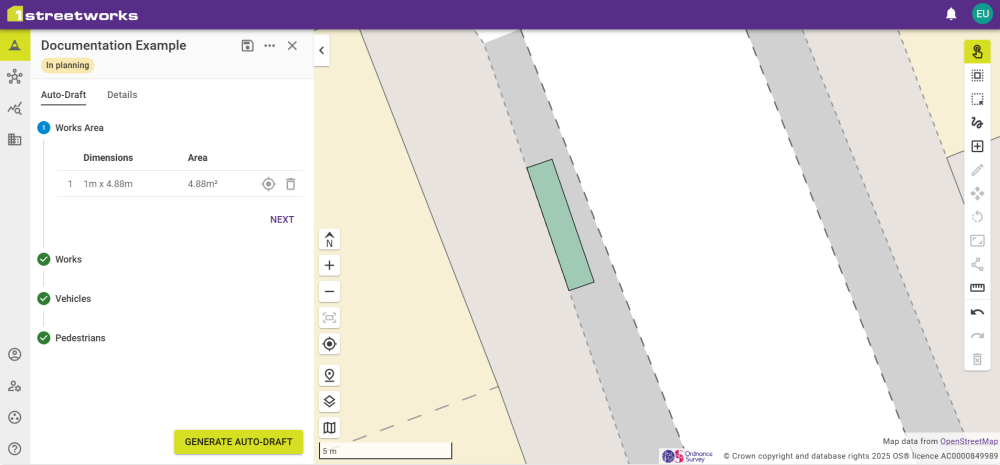
Start by creating the Works Area(s) on the map by clicking the Add Works Area button
 and marking out the relevant area(s).
 -
Make any adjustments using the tools to rotate, scale, and move the Works Area(s) and click Next when finished.
-
Answer the questions in steps 2-4 and Save the configuration.
-
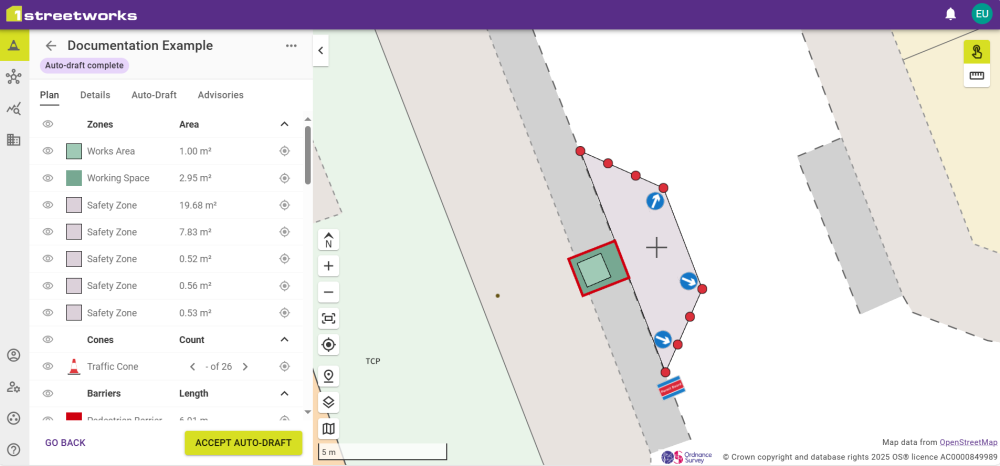
Click Generate Auto-draft to begin generating the plan.
-
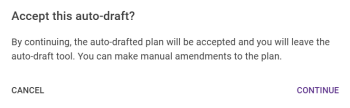
If you are happy with the Auto-draft, click Accept and then confirm after checking the box to agree to the terms and cost of the plan. This allows PDFs to be generated or further changes to be added/made by Editing Plans.
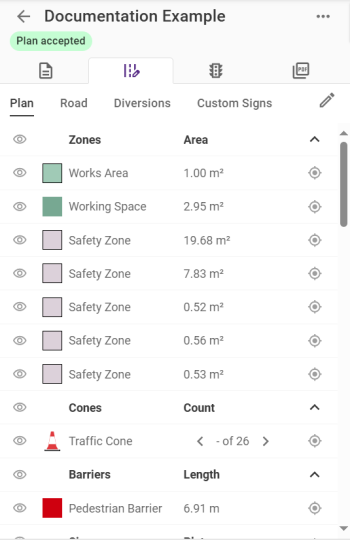
Once accepted, the status changes to Auto-draft complete and you can review the plan details in the panel's Details, Plan, Signals, Road, Diversions, Signs, PDF, History, Information and Advisories tabs.
This brings you to the 4-step Auto-draft process.
|
Step |
Description |
|---|---|
|
1 - Works Area |
The initial building block of a plan is the Works Area, as represented in the “Red Book” - Safety at Street Works and Road Works - A Code of Practice - October 2013 This may or may not be an excavation. At least one works area must be created per plan. |
|
2 - Works |
Further details about the works themselves. |
|
3 - Vehicles |
Information about the vehicle counts on the carriageway and bus and cycle questions. |
|
4 - Pedestrians |
This final step asks about pedestrian count and questions regarding whether a pedestrian diversion will be necessary. |
Once the generation is complete you can see the features generated by the Auto-draft process on the map.
Editing a Plan
-
Open a plan on the View Plan tab
by clicking a plan summary from the Plans panel or selecting it on the map. -
Accepted Drafts and Manually created plans can be adjusted by editing them from the Plan section of the Plan Design tab.
-
Click the Edit button
 and the confirmation dialog appears.
Note: By confirming to edit the plan, you agree to 1Streetworks being unable to undertake any subsequent automated compliance checks for any edits you make.
-
Once you're happy with any edits that were made, click Save Changes and add a comment to describe what was changed.
New features added with the Add Feature button ![]() and existing features selected on the map can have their properties edited in the feature palette.
and existing features selected on the map can have their properties edited in the feature palette.

Generating PDFs
PDFs can be generated and customised in the PDF section of an accepted Plan.
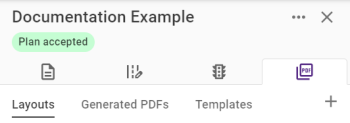
Layout allows you to customise PDF layouts, adding pages to the PDF with Widgets that contain information from the Plan.
Click the Add button ![]() to create a new Layout. Layouts can select a template, which includes Default and Blank options, as well as any Templates that have been saved within your organisation.
to create a new Layout. Layouts can select a template, which includes Default and Blank options, as well as any Templates that have been saved within your organisation.
Hovering over a Layout gives the option to edit the Layout by clicking the Edit icon ![]() , which opens the Layout for
, which opens the Layout for
Clicking the Options icon ![]() gives options for generating PDFs and Draft PDFs with the selected Layout, saving the Layout as a Template, and renaming and deleting the selected Layout.
gives options for generating PDFs and Draft PDFs with the selected Layout, saving the Layout as a Template, and renaming and deleting the selected Layout.
Generated PDFs can be downloaded with the Download button ![]() . PDFs cannot be deleted but can be filtered using the Filter button
. PDFs cannot be deleted but can be filtered using the Filter button ![]() .
.

 minute read