Submissions Quick Start
Submissions are work uploaded as part of an Assignment that a User has been allocated to.
Check out the Lifecycle of a Submission for a more detailed overview.
Click the icons below for more detailed information on each stage.
New
Upload
Configure
Process
Submission
Check the toggles below for a focussed overview of each stage.
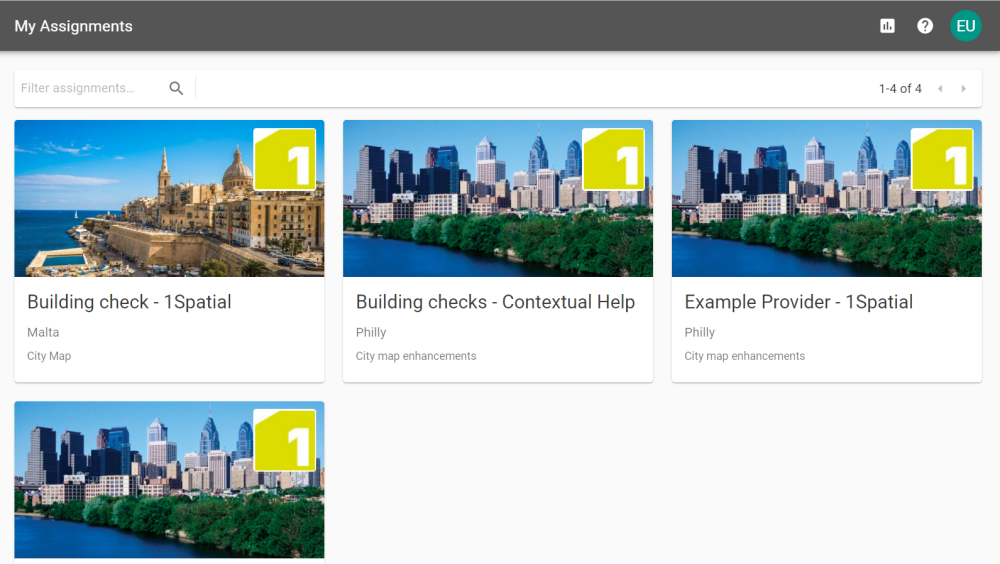
Open the My Assignments tab.
Pick the Assignment you want to create a submission for.
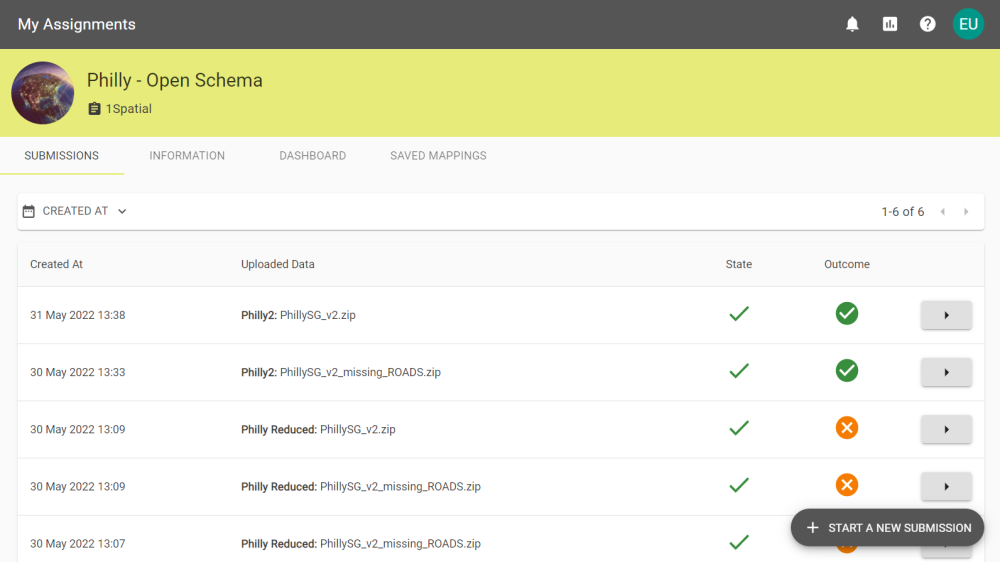
Click the Start a new Submission button.
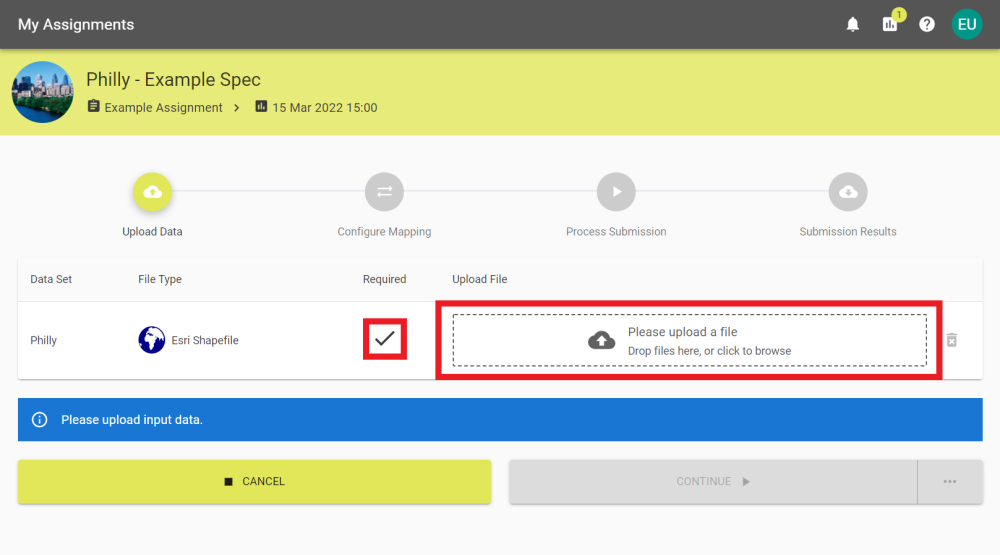
Drag and drop your desired files to the box, or click to open the file system browser. If the assignment doesn't require data, move on to the next step.
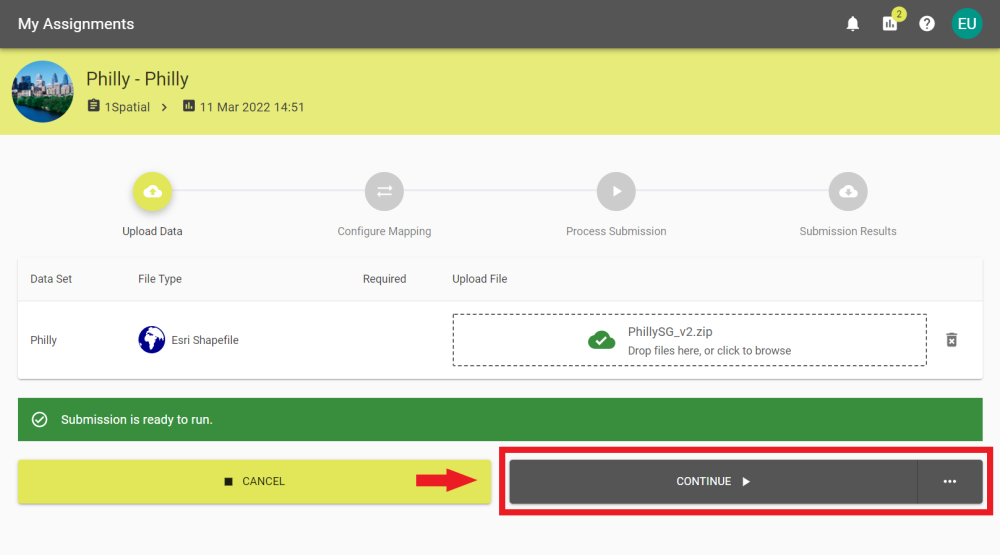
Select Continue to begin the submission process. Alternatively, select the ellipses next to Continue for Automation options.
Note :
If you selected an Automation option, skip to the relevant stage.
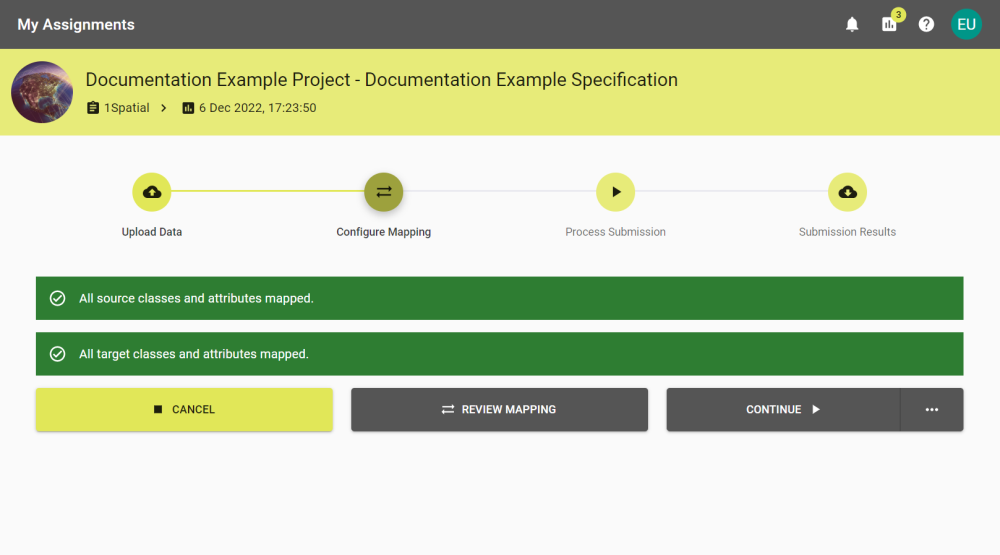
1Data Gateway will attempt to map each field with values in the source data. If it succeeds, you will see something like this:
You can review the mappings and change as them as appropriate.
Once you're happy with the mapping you can choose an Automation method or click Continue to process the submission.
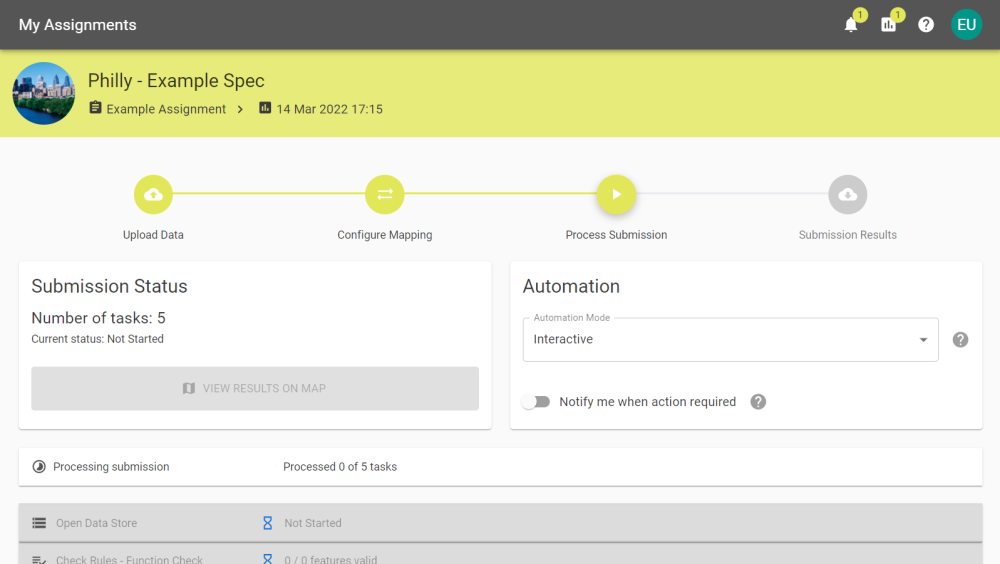
The submission will work through the tasks and update as it completes them.
If there are Pause tasks within the submission, you will need to click Resume to continue processing the submission.
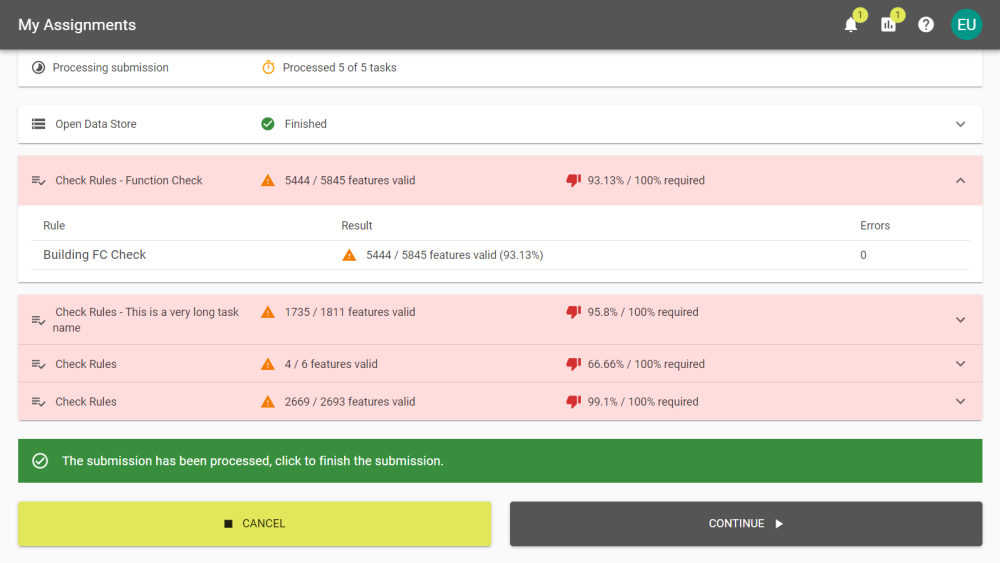
You can select tasks to expand and see a more detailed summary of completed actions.
An expanded task
For spatial data, you can view the results on a map .
Select Cancel to exit or Continue to complete the submission.
Note : find help here .
You may now review the results of the submission.
The Submission summary screen
You can download the Input Data , Modified Input Data , Output Data , or Log .
By clicking Reports you can also download a PDF Submission Report or a CSV of the Schema Mapping.
An example results PDF
You may want to click Remove Media when finished if you no longer need it.
It's important to close submissions once you are finished with them.
Once you have submitted an assignment and left the summary page, it is possible to view it or another summary from the My Assignments tab.